Craftsman 536.270320 Operation Manual - Page 7
Preparation
 |
View all Craftsman 536.270320 manuals
Add to My Manuals
Save this manual to your list of manuals |
Page 7 highlights
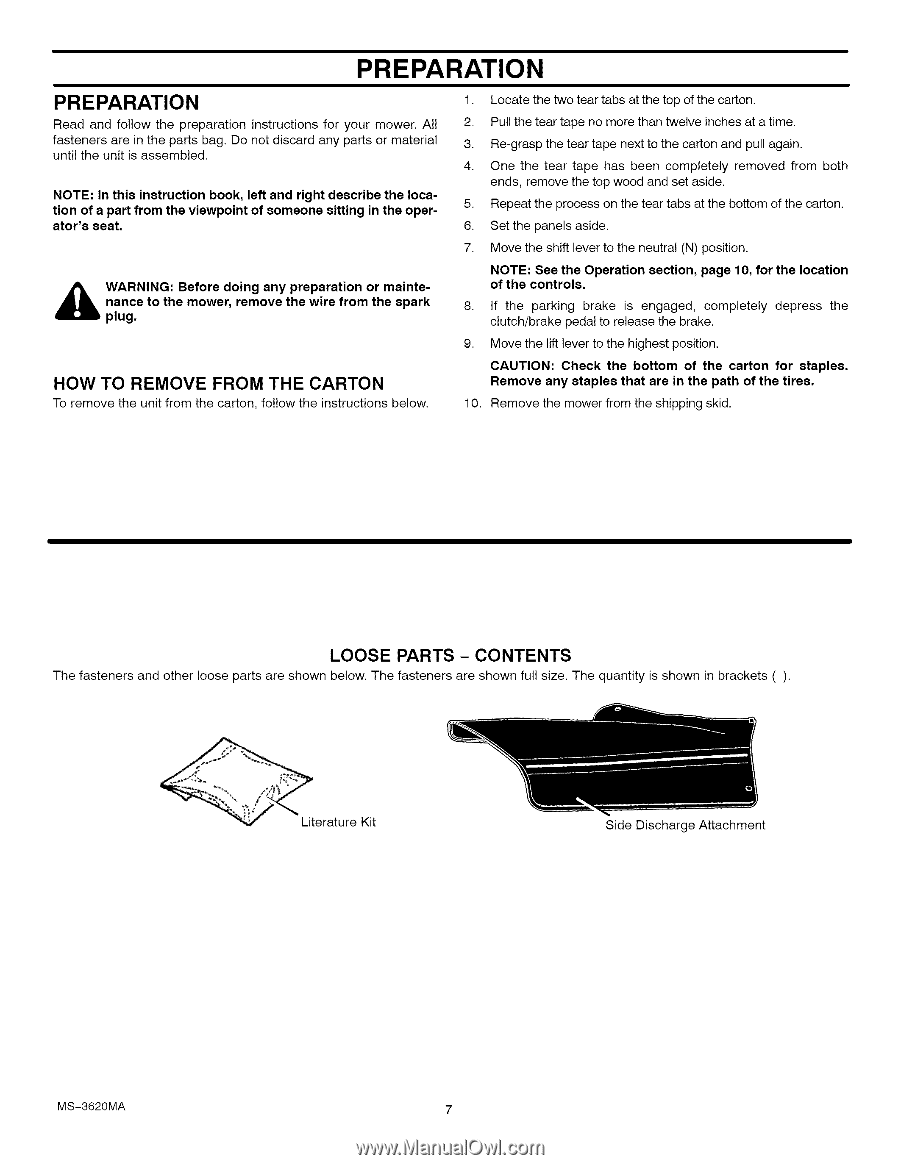
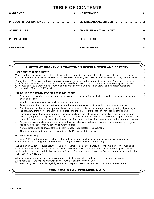
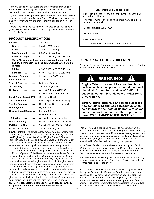
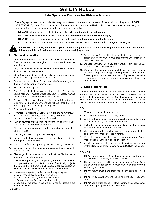
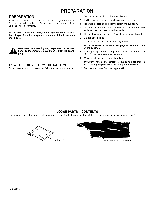
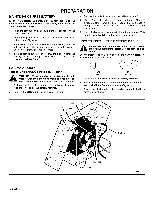
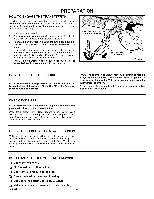
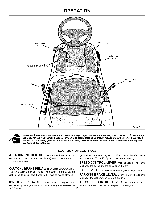
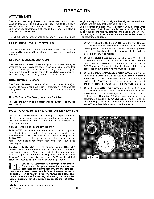
PREPARATION PREPARATION Read and follow the preparation instructions fasteners are in the parts bag. Do not discard until the unit is assembled. for your mower. All any parts or material NOTE: In this instruction book, left and right describe the loca- tion of a part from the viewpoint of someone sitting in the operator's seat. _b WnaAnRceNINtoGt:heBemfoorweerd, orienmg oavney thperepwairreatiforonm otrhemasipnaterk- plug. HOW TO REMOVE FROM THE CARTON To remove the unit from the carton, follow the instructions below. 1. Locate the two tear tabs at the top of the carton. 2. Pull the tear tape no more than twelve inches at a time. 3. Re-grasp the tear tape next to the carton and pull again. 4. One the tear tape has been completely removed from both ends, remove the top wood and set aside. 5. Repeat the process on the tear tabs at the bottom of the carton. 6. Set the panels aside. 7. Move the shift lever to the neutral (N) position. NOTE: See the Operation section, page 10, for the location of the controls. 8. If the parking brake is engaged, completely clutch/brake pedal to release the brake. depress the 9. Move the lift lever to the highest position. CAUTION: Check the bottom of the carton for staples. Remove any staples that are in the path of the tires. 10. Remove the mower from the shipping skid. LOOSE PARTS - CONTENTS The fasteners and other loose parts are shown below. The fasteners are shown full size. The quantity is shown in brackets (). Literature Kit Side Discharge Attachment MS-3620MA 7
-
 1
1 -
 2
2 -
 3
3 -
 4
4 -
 5
5 -
 6
6 -
 7
7 -
 8
8 -
 9
9 -
 10
10 -
 11
11 -
 12
12 -
13
-
14
-
15
-
16
-
17
-
18
-
19
-
20
-
21
-
22
-
23
-
24
-
25
-
26
-
27
-
28
-
29
-
30
-
31
-
32
-
33
-
34
-
35
-
36
-
37
-
38
-
39
-
40
-
41
-
42
-
43
-
44
-
45
-
46
-
47
-
48
-
49
-
50
-
51
-
52
-
53
-
54
-
55
-
56
-
57
-
58
-
59
-
60
-
61
-
62
-
63
-
64
-
65
-
66
-
67
-
68
-
69
-
70
-
71
-
72
-
73
-
74
-
75
-
76
-
77
-
78
-
79
-
80
-
81
-
82
-
83
-
84
-
85
-
86
-
87
-
88
-
89
-
90
-
91
-
92
-
93
-
94
-
95
-
96
-
97
-
98
-
99
-
100
-
101
-
102
-
103
-
104
-
105
-
106
-
107
-
108
 |
 |