Cub Cadet CC30H Riding Lawn Mower Operation Manual - Page 26
Deck Installation, Changing the Deck Belt
 |
View all Cub Cadet CC30H Riding Lawn Mower manuals
Add to My Manuals
Save this manual to your list of manuals |
Page 26 highlights
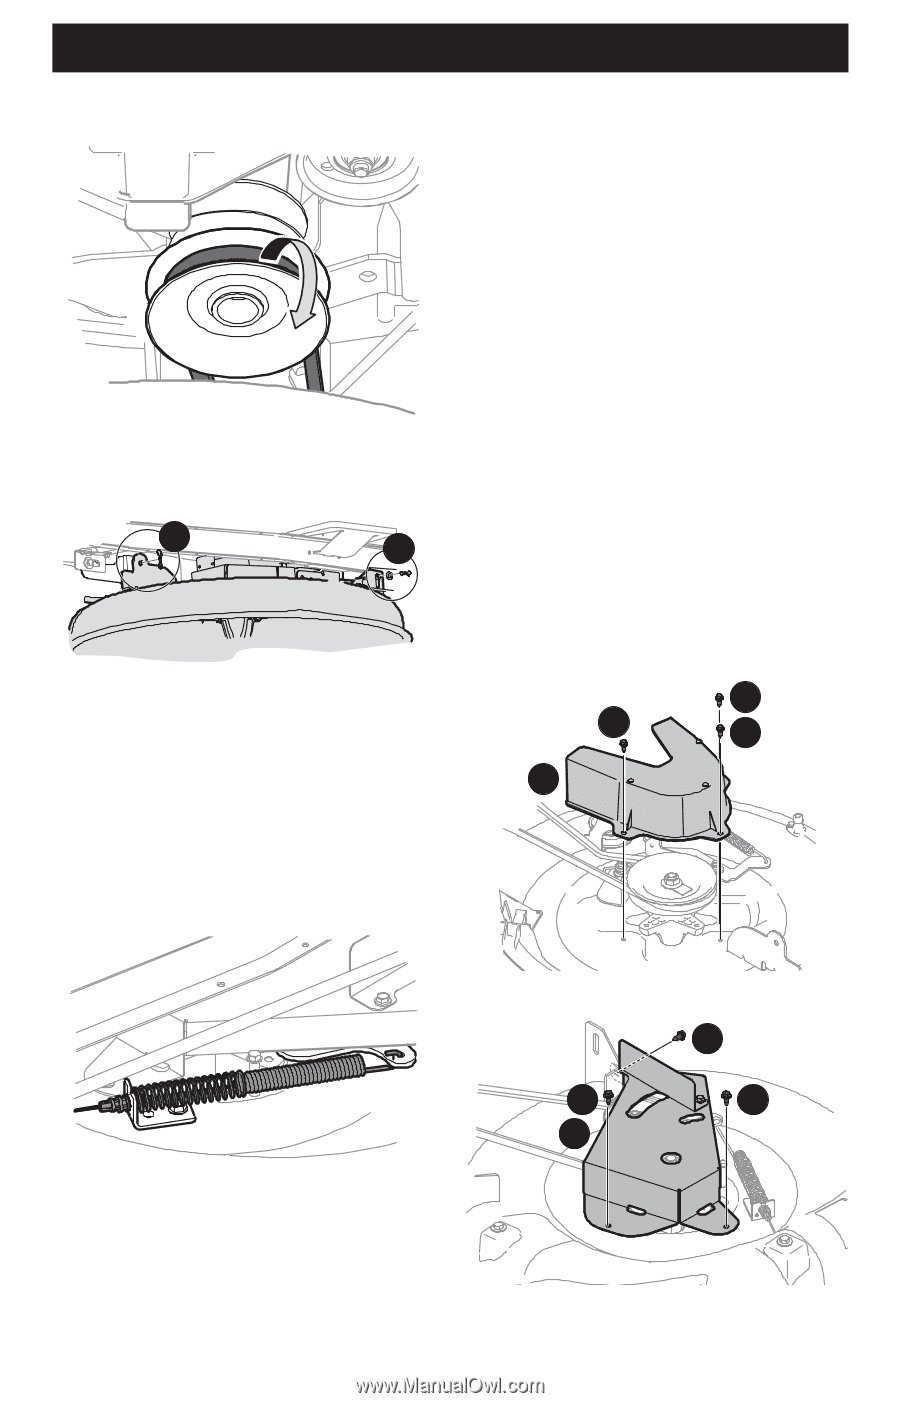
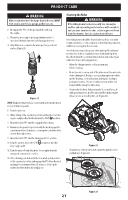
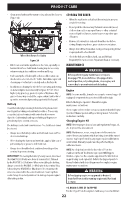
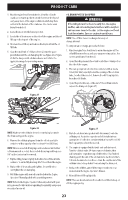
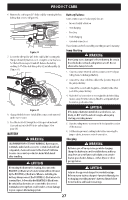
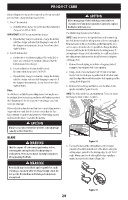
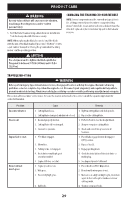
PRODUCT CARE 4. Remove the belt from around the riding mower's PTO pulley. (Figure 31). Figure 31 5. Remove the remaining bow-tie cotter pins (a) securing the deck to the riding mower (Figure 32). a a Figure 32 NOTE: When reassembling, the bow-tie cotter pins (a) should be re-installed from the top down (Figure 32). 6. Unplug the wire pigtail from the deck switch. 7. Move the deck lift lever into the top notch on the right fender to raise the deck lift arms up and out of the way. 8. Carefully remove the PTO cable from the rear of the cutting deck. Remove the spring from the deck idler bracket. (Figure 33). Changing the Deck Belt NOTE: It is possible to change the deck belt with the cutting deck still installed on the riding mower; however it is much easier to remove the deck first, change the deck belt, then re-install the cutting deck. To change the cutting deck belt, proceed as follows: 1. It is easiest to change the deck belt by first removing the cutting deck as instructed earlier in this section. Skip this step if deciding to change the deck belt with the mowing deck still installed on the riding mower. Otherwise, remove the cutting deck now. 2. If changing the deck belt with the cutting deck still installed on the riding mower, lower the deck to the lowest mowing position. 3. Remove the deck belt from around the riding mower's PTO drive pulley (Figure 31). Simply roll one side of the belt off of the pulley and then work it off the pulley by continuing around the pulley until the belt is off of the pulley. 4. Pull the belt towards the front of the riding mower, pulling it through and out of the belt keeper rod. 5. Remove the deck belt cover (a) by removing the three hex bolts (b) that secure it. See Figure 34 for 30" decks and Figure 35 for 24" decks. b b b a Figure 33 9. Gently slide the cutting deck (from the left side) out from underneath the riding mower. Deck Installation To install the deck, reverse the Cutting Deck Removal instructions. 26 Figure 34 b b b a Figure 35
-
 1
1 -
2
-
3
-
4
-
5
-
6
-
7
-
8
-
9
-
10
-
11
-
12
-
13
-
14
-
15
-
16
-
17
-
18
-
19
-
20
-
 21
21 -
 22
22 -
 23
23 -
 24
24 -
 25
25 -
 26
26 -
 27
27 -
 28
28 -
 29
29 -
 30
30 -
 31
31 -
32
-
33
-
34
-
35
-
36
-
37
-
38
-
39
-
40
-
41
-
42
-
43
-
44
-
45
-
46
-
47
-
48
-
49
-
50
-
51
-
52
-
53
-
54
-
55
-
56
-
57
-
58
-
59
-
60
-
61
-
62
-
63
-
64
-
65
-
66
-
67
-
68
-
69
-
70
-
71
-
72
-
73
-
74
-
75
-
76
-
77
-
78
-
79
-
80
-
81
-
82
-
83
-
84
-
85
-
86
-
87
-
88
-
89
-
90
-
91
-
92
-
93
-
94
-
95
-
96
 |
 |