Cub Cadet CC30H Riding Lawn Mower Operation Manual - Page 27
Battery
 |
View all Cub Cadet CC30H Riding Lawn Mower manuals
Add to My Manuals
Save this manual to your list of manuals |
Page 27 highlights
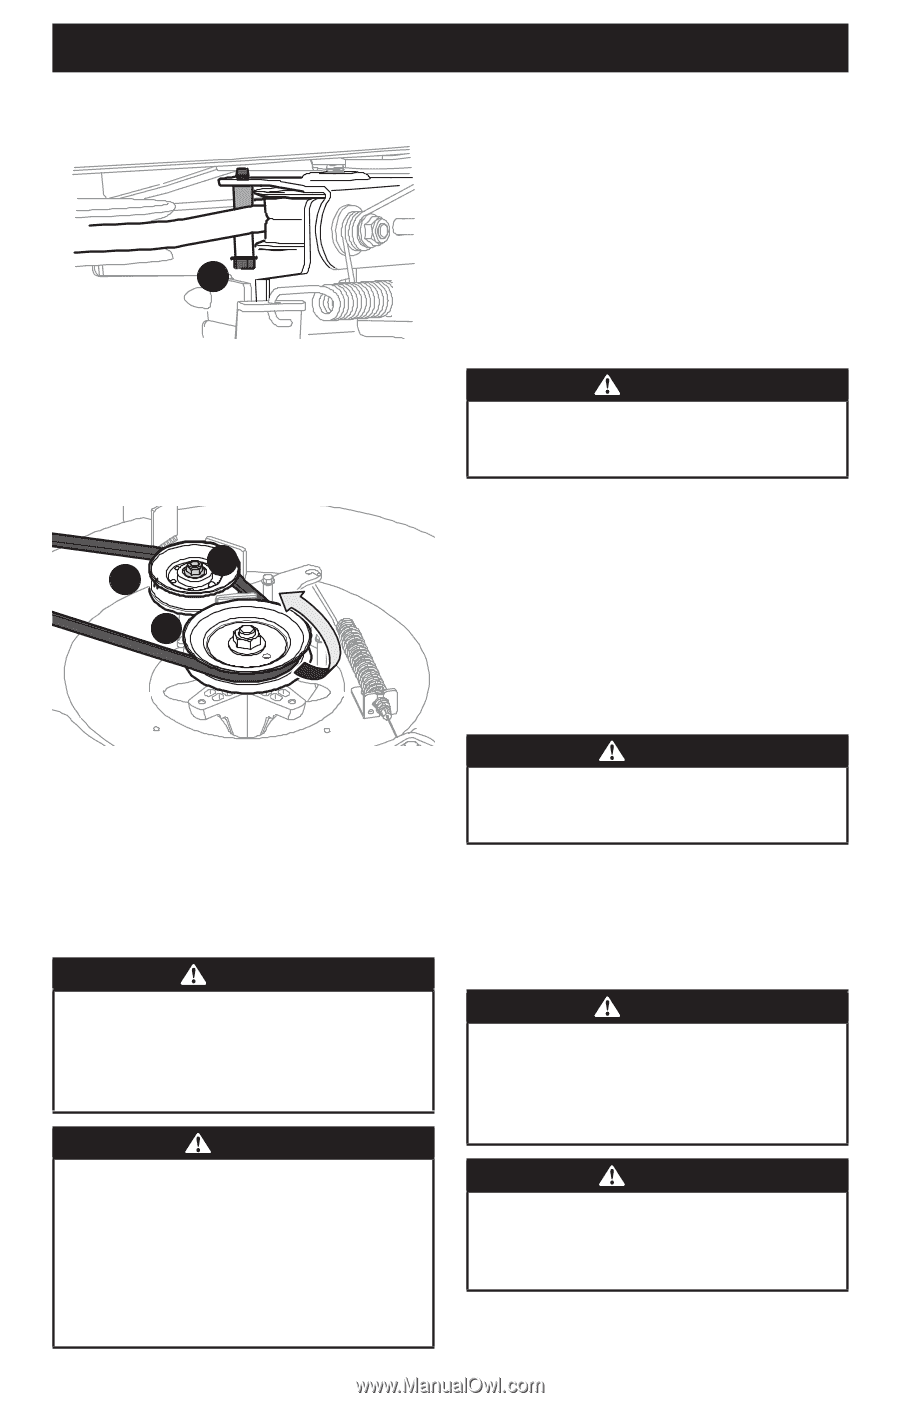
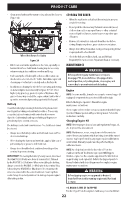
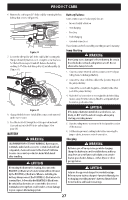
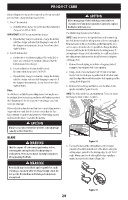
PRODUCT CARE 6. Remove the belt keeper (30" decks only) by removing the hex bolt (a) that secures it (Figure 36). a Figure 36 7. Loosen the idler pulley (24" decks only) (a) by loosening the flange lock nut (b) that secures it, enough to allow clearance for the belt to move past it and off. Remove the belt by working it off of the deck drive pulley (c) and idler pulley (a) (Figure 37). Battery Failures Some common causes for battery failure are: • Incorrect initial activation • Overcharging • Freezing • Undercharging • Corroded connections These failures are NOT covered by your riding mower's warranty. Jump Starting WARNING Never jump start a damaged or frozen battery. Be certain the vehicles do not touch and ignitions are off. Do not allow cable clamps to touch. 1. Connect positive (+) (red) cable to positive post (+) of your riding mower's discharged battery. b a 2. Connect the other end of the cable to the (positive +) post of the jumper battery. c 3. Connect the second cable (negative - (black)) to the other post of the jumper battery. 4. Make the final connection on the engine block of the riding mower, away from the battery. Attach to an unpainted part to assure a good connection. Figure 37 8. Change the belt then re-install all the components removed in the reverse order. 9. Feed the deck belt through the belt keeper rod and work it around and onto the PTO drive pulley (Figure 31 on page 26). BATTERY WARNING CALIFORNIA PROPOSITION 65 WARNING: Battery posts, terminals, and related accessories contain lead and lead compounds, chemicals known to the State of California to cause cancer and reproductive harm. Wash hands after handling. CAUTION If removing the battery for cleaning, disconnect the NEGATIVE (-) (Black) wire from its terminal first, followed by the POSITIVE (+) (Red) wire. When re-installing the battery, always connect the POSITIVE (+) (Red) wire to its terminal first, followed by the NEGATIVE (-) (Black) wire. Be certain that the wires are connected to the correct terminals; reversing them could result in serious damage to your engine's alternating system. CAUTION If the jumper battery is installed on a vehicle (i.e. car, truck), do NOT start the vehicle's engine when jump starting your riding mower. 5. Start the riding mower as instructed in the Operation section of this manual. 6. Set the riding mower's parking brake before removing the jumper cables, in reverse order of connection. Charging WARNING Batteries give off an explosive gas while charging. Charge the battery in a well-ventilated area and keep away from an open flame or pilot light as on a water heater, space heater, furnace, clothes dryer, or other gas appliances. CAUTION Only use the approved charger for your battery type. Reference your battery charger's Operator's Manual prior to charging your riding mower's battery. Always follow its instructions and heed its warnings. 27
-
 1
1 -
2
-
3
-
4
-
5
-
6
-
7
-
8
-
9
-
10
-
11
-
12
-
13
-
14
-
15
-
16
-
17
-
18
-
19
-
20
-
21
-
 22
22 -
 23
23 -
 24
24 -
 25
25 -
 26
26 -
 27
27 -
 28
28 -
 29
29 -
 30
30 -
 31
31 -
 32
32 -
33
-
34
-
35
-
36
-
37
-
38
-
39
-
40
-
41
-
42
-
43
-
44
-
45
-
46
-
47
-
48
-
49
-
50
-
51
-
52
-
53
-
54
-
55
-
56
-
57
-
58
-
59
-
60
-
61
-
62
-
63
-
64
-
65
-
66
-
67
-
68
-
69
-
70
-
71
-
72
-
73
-
74
-
75
-
76
-
77
-
78
-
79
-
80
-
81
-
82
-
83
-
84
-
85
-
86
-
87
-
88
-
89
-
90
-
91
-
92
-
93
-
94
-
95
-
96
 |
 |