Dell OptiPlex NX1 Service Manual - Page 76
interfere with the cover or with proper airflow inside the computer.
 |
View all Dell OptiPlex NX1 manuals
Add to My Manuals
Save this manual to your list of manuals |
Page 76 highlights
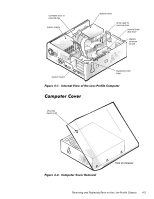
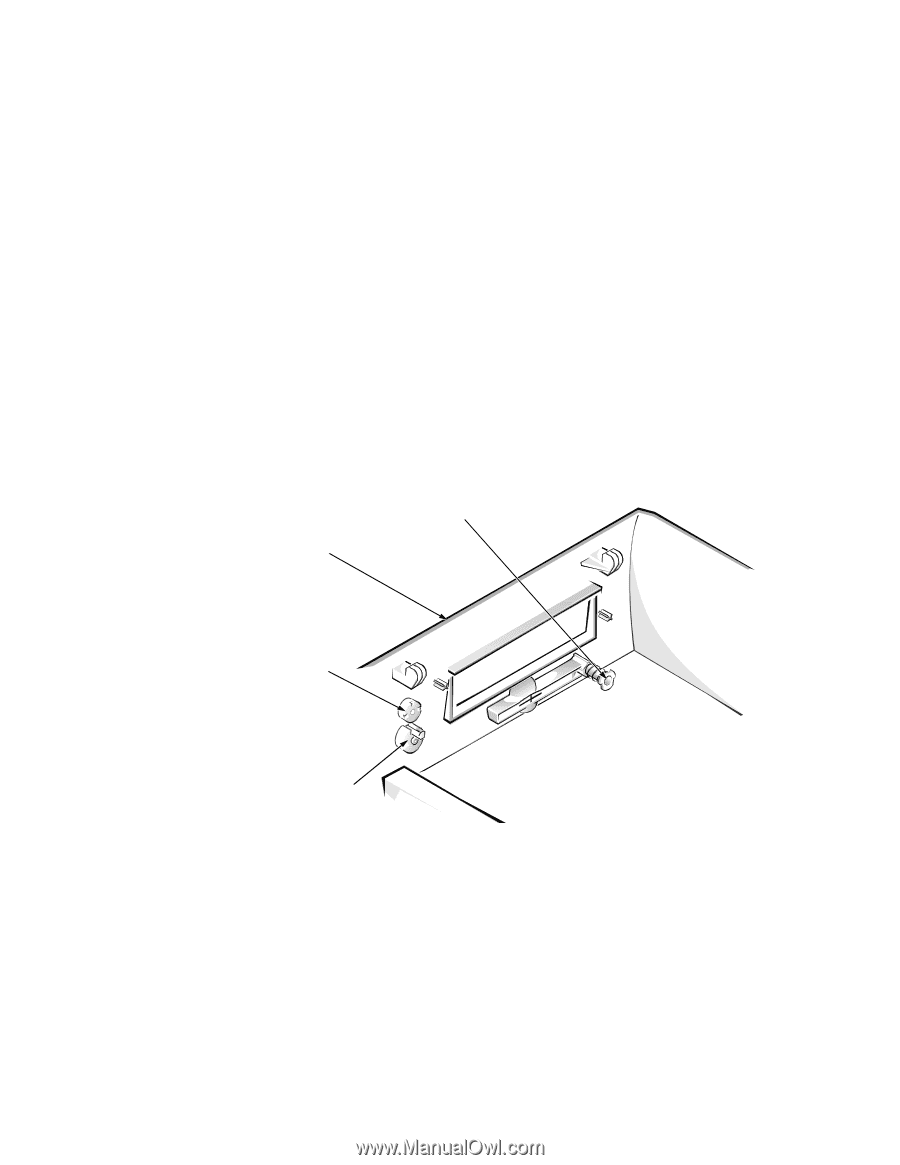
To remove the computer cover, follow these steps: Three plastic hooks on the inside-front part of the cover secure it to the chassis. Before you reinstall the cover, fold all cables out of the way so that they do not interfere with the cover or with proper airflow inside the computer. computer cover (upside down) eject button reset button power button 4-4
-
 1
1 -
2
-
3
-
4
-
5
-
6
-
7
-
8
-
9
-
10
-
11
-
12
-
13
-
14
-
15
-
16
-
17
-
18
-
19
-
20
-
21
-
22
-
23
-
24
-
25
-
26
-
27
-
28
-
29
-
30
-
31
-
32
-
33
-
34
-
35
-
36
-
37
-
38
-
39
-
40
-
41
-
42
-
43
-
44
-
45
-
46
-
47
-
48
-
49
-
50
-
51
-
52
-
53
-
54
-
55
-
56
-
57
-
58
-
59
-
60
-
61
-
62
-
63
-
64
-
65
-
66
-
67
-
68
-
69
-
70
-
 71
71 -
 72
72 -
 73
73 -
 74
74 -
 75
75 -
 76
76 -
 77
77 -
 78
78 -
 79
79 -
 80
80 -
 81
81 -
82
-
83
-
84
-
85
-
86
-
87
-
88
-
89
-
90
-
91
-
92
-
93
-
94
-
95
-
96
-
97
-
98
-
99
-
100
-
101
-
102
-
103
-
104
-
105
-
106
-
107
-
108
-
109
-
110
-
111
-
112
-
113
-
114
-
115
-
116
-
117
-
118
-
119
-
120
-
121
-
122
-
123
-
124
-
125
-
126
-
127
-
128
-
129
-
130
-
131
-
132
-
133
-
134
-
135
-
136
-
137
-
138
-
139
-
140
-
141
-
142
-
143
-
144
-
145
-
146
-
147
-
148
-
149
-
150
-
151
-
152
-
153
-
154
-
155
-
156
-
157
-
158
-
159
-
160
-
161
-
162
-
163
-
164
-
165
-
166
-
167
-
168
-
169
-
170
-
171
-
172
-
173
-
174
-
175
-
176
-
177
-
178
 |
 |
4-4
’HOO±2SWL3OH[±*;²±0DQDJHG±3&±DQG±2SWL3OH[±1;²±1HW±3&±6\VWHPV±6HUYLFH±0DQXDO
To remove the computer cover, follow these steps:
¸³
7XUQ²RII²SRZHU²WR²DOO²SHULSKHUDOV¶²DQG²GLVFRQQHFW²WKH²$&²SRZHU²
FDEOH²IURP²LWV²$&²RXWOHW³
º³
5HPRYH²WKH²SDGORFN²LI²RQH²LV²LQVWDOOHG³
»³
3UHVV²LQ²RQ²WKH²WZR²VHFXULQJ²EXWWRQV²XQWLO²WKH²FRYHU²LV²IUHH²WR²
VZLQJ²XS³
¾³
5DLVH²WKH²EDFN²RI²WKH²FRYHU¶²DQG²SLYRW²LW²WRZDUG²WKH²IURQW²RI²WKH²
FRPSXWHU³
¹³
/LIW²WKH²FRYHU²RII²RI²WKH²KRRNV²DW²WKH²IURQW²RI²WKH²FKDVVLV³
Three plastic hooks on the inside-front part of the cover secure it to the
chassis.
Before you reinstall the cover, fold all cables out of the way so that they do not
interfere with the cover or with proper airflow inside the computer.
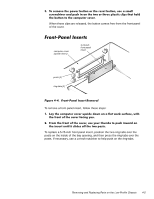
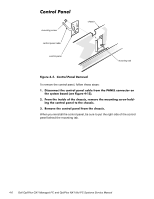
(MHFW»±3RZHU»±DQG±5HVHW±%XWWRQV
±
)LJXUH±·´¶³±±(MHFW»±3RZHU»±DQG±5HVHW±%XWWRQ±5HPRYDO±±±±±
¸³
/D\²WKH²FRPSXWHU²FRYHU²XSVLGH²GRZQ²RQ²D²IODW²ZRUN²VXUIDFH¶²ZLWK²
WKH²EDFN²RI²WKH²FRYHU²IDFLQJ²\RX³
º³
7R²UHPRYH²WKH²»³¹´LQFK²GLVNHWWH´GULYH²HMHFW²EXWWRQ¶²SXOO²JHQWO\²RQ²
WKH²SODVWLF²SDUW²RI²WKH²EXWWRQ²XQWLO²LW²FRPHV²IUHH³
power button
reset button
eject button
computer cover
(upside down)