Epson ES-300W Users Guide - Page 47
Network Interface, Epson Software
 |
View all Epson ES-300W manuals
Add to My Manuals
Save this manual to your list of manuals |
Page 47 highlights
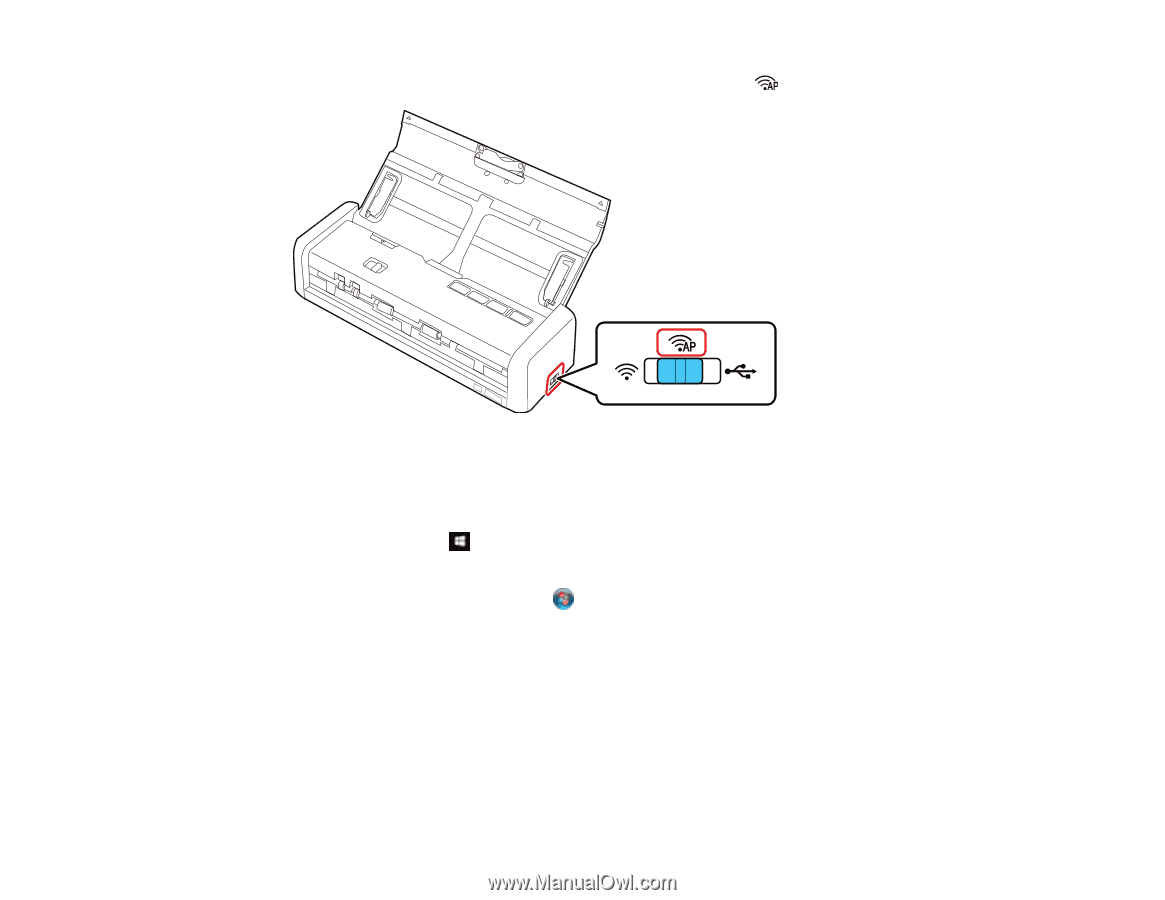
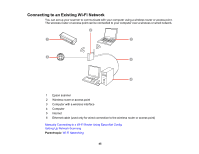
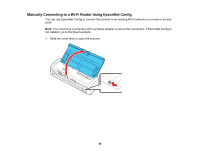
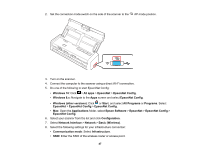
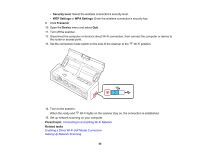
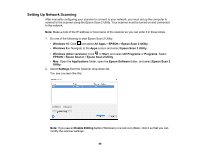
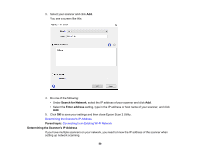
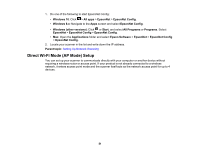
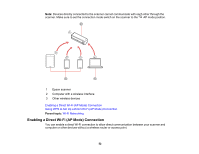
2. Set the connection mode switch on the side of the scanner to the AP mode position. 3. Turn on the scanner. 4. Connect the computer to the scanner using a direct Wi-Fi connection. 5. Do one of the following to start EpsonNet Config: • Windows 10: Click > All apps > EpsonNet > EpsonNet Config. • Windows 8.x: Navigate to the Apps screen and select EpsonNet Config. • Windows (other versions): Click or Start, and select All Programs or Programs. Select EpsonNet > EpsonNet Config > EpsonNet Config. • Mac: Open the Applications folder, select Epson Software > EpsonNet > EpsonNet Config > EpsonNet Config. 6. Select your scanner from the list and click Configuration. 7. Select Network Interface > Network > Basic (Wireless). 8. Select the following settings for your infrastructure connection: • Communication mode: Select Infrastructure. • SSID: Enter the SSID of the wireless router or access point. 47
-
 1
1 -
2
-
3
-
4
-
5
-
6
-
7
-
8
-
9
-
10
-
11
-
12
-
13
-
14
-
15
-
16
-
17
-
18
-
19
-
20
-
21
-
22
-
23
-
24
-
25
-
26
-
27
-
28
-
29
-
30
-
31
-
32
-
33
-
34
-
35
-
36
-
37
-
38
-
39
-
40
-
41
-
 42
42 -
 43
43 -
 44
44 -
 45
45 -
 46
46 -
 47
47 -
 48
48 -
 49
49 -
 50
50 -
 51
51 -
 52
52 -
53
-
54
-
55
-
56
-
57
-
58
-
59
-
60
-
61
-
62
-
63
-
64
-
65
-
66
-
67
-
68
-
69
-
70
-
71
-
72
-
73
-
74
-
75
-
76
-
77
-
78
-
79
-
80
-
81
-
82
-
83
-
84
-
85
-
86
-
87
-
88
-
89
-
90
-
91
-
92
-
93
-
94
-
95
-
96
-
97
-
98
-
99
-
100
-
101
-
102
-
103
-
104
-
105
-
106
-
107
-
108
-
109
-
110
-
111
-
112
-
113
-
114
-
115
-
116
-
117
-
118
-
119
-
120
-
121
-
122
-
123
-
124
-
125
-
126
-
127
-
128
-
129
-
130
-
131
-
132
-
133
-
134
-
135
-
136
-
137
-
138
-
139
-
140
-
141
-
142
-
143
-
144
-
145
-
146
-
147
-
148
-
149
-
150
-
151
-
152
 |
 |