Epson PowerLite Pro Cinema 6010 User's Guide - Page 29
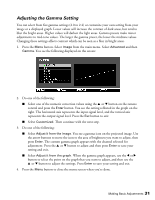
Choosing the Color Mode
 |
View all Epson PowerLite Pro Cinema 6010 manuals
Add to My Manuals
Save this manual to your list of manuals |
Page 29 highlights
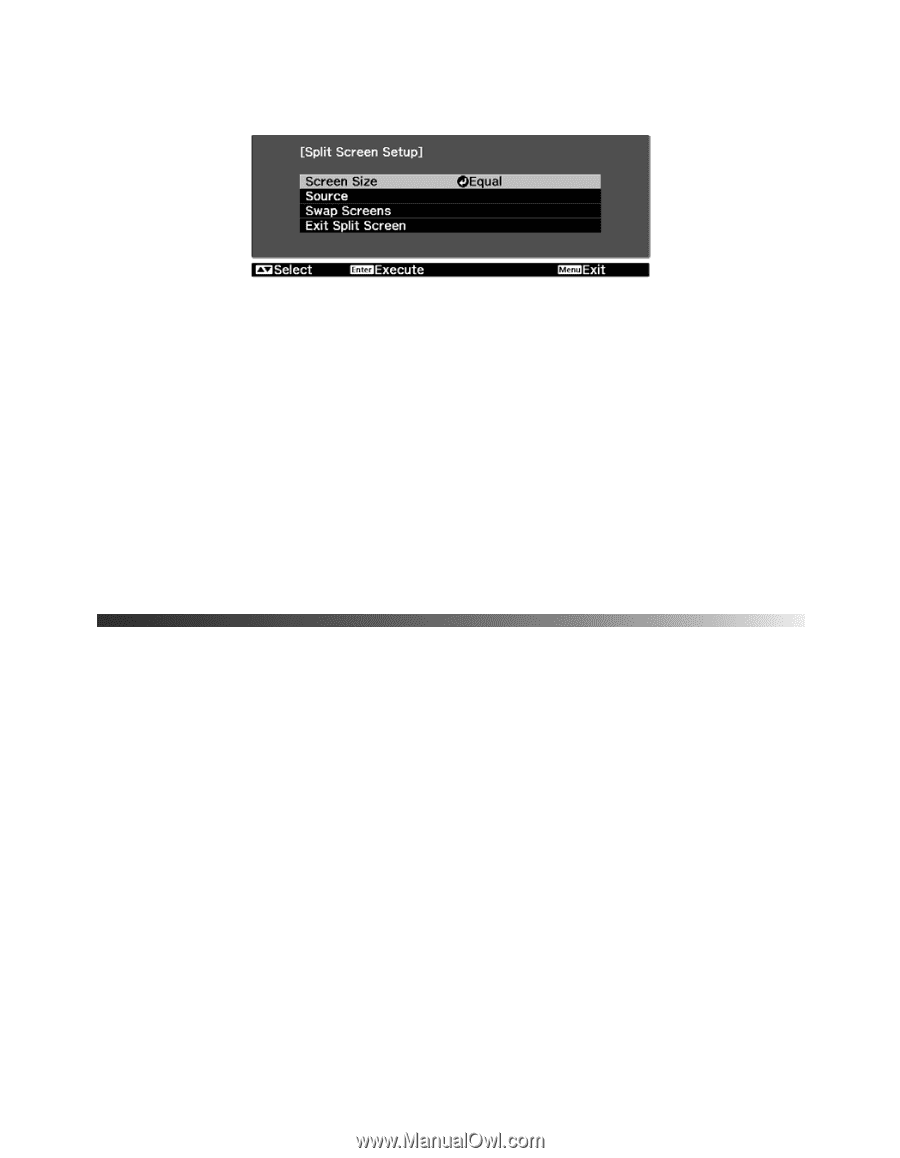
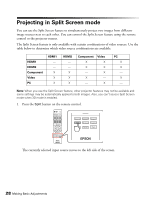
2. Press the Menu button. You see this screen: 3. To select an input source for the other image, select the Source setting, press Enter, select the input source, select Execute, and press Enter. (You can also change image sources, if necessary.) 4. To switch the images, select the Swap Screens setting and press Enter. 5. To change the image sizes, select the Screen Size setting, press Enter, select a sizing option, press Enter, and press Menu to exit. Note: Depending on the video input signals, the images may not appear at the same size even if you choose the Equal setting. 6. To exit the Split Screen feature, press the Split or Esc button. Choosing the Color Mode You can change the Color Mode to automatically adjust brightness, contrast, and color, letting you quickly optimize the projected image for various lighting environments. You can also select a different color mode for each input source-which is useful if you view different types of images from different sources. (For example, you might set the HDMI 1 source to Living Room if it's usually used for watching movies in the daytime with the blinds closed, and the PC source to Dynamic for playing video games with the blinds open.) Making Basic Adjustments 29
-
 1
1 -
2
-
3
-
4
-
5
-
6
-
7
-
8
-
9
-
10
-
11
-
12
-
13
-
14
-
15
-
16
-
17
-
18
-
19
-
20
-
21
-
22
-
23
-
 24
24 -
 25
25 -
 26
26 -
 27
27 -
 28
28 -
 29
29 -
 30
30 -
 31
31 -
 32
32 -
 33
33 -
 34
34 -
35
-
36
-
37
-
38
-
39
-
40
-
41
-
42
-
43
-
44
-
45
-
46
-
47
-
48
-
49
-
50
-
51
-
52
-
53
-
54
-
55
-
56
-
57
-
58
-
59
-
60
-
61
-
62
-
63
-
64
-
65
-
66
-
67
-
68
-
69
-
70
-
71
-
72
-
73
-
74
-
75
-
76
-
77
-
78
-
79
 |
 |