Epson Stylus Pro User Manual - Page 54
Clearing and preventing paper jams, Pull the paper out carefully. If it tears, make sure
 |
View all Epson Stylus Pro manuals
Add to My Manuals
Save this manual to your list of manuals |
Page 54 highlights
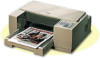
Clearing and preventing paper jams If paper has jammed inside the printer, clear the jam as follows: 1. Turn off the printer. 2. Open the printer cover. 3. Push in the knob on the right side of the printer and turn it counterclockwise as shown below. Be sure to turn the knob in the direction shown; otherwise ink from the printed sheet can come off onto the printer and smear other sheets. 4. Pull the paper out carefully. If it tears, make sure you remove any remaining pieces. 5. If paper is caught in the paper eject area, gently pull it out of the printer. 6. Close the printer cover. 7. Turn on the printer to move the print heads to the correct positions. Maintenance and Troubleshooting 3-21
-
 1
1 -
2
-
3
-
4
-
5
-
6
-
7
-
8
-
9
-
10
-
11
-
12
-
13
-
14
-
15
-
16
-
17
-
18
-
19
-
20
-
21
-
22
-
23
-
24
-
25
-
26
-
27
-
28
-
29
-
30
-
31
-
32
-
33
-
34
-
35
-
36
-
37
-
38
-
39
-
40
-
41
-
42
-
43
-
44
-
45
-
46
-
47
-
48
-
 49
49 -
 50
50 -
 51
51 -
 52
52 -
 53
53 -
 54
54 -
 55
55 -
 56
56 -
 57
57 -
 58
58 -
 59
59 -
60
-
61
-
62
-
63
-
64
-
65
-
66
-
67
-
68
-
69
-
70
-
71
-
72
-
73
-
74
-
75
-
76
-
77
-
78
-
79
-
80
-
81
-
82
-
83
-
84
-
85
-
86
-
87
-
88
-
89
-
90
-
91
-
92
-
93
-
94
-
95
-
96
-
97
-
98
 |
 |
Clearing and preventing paper jams
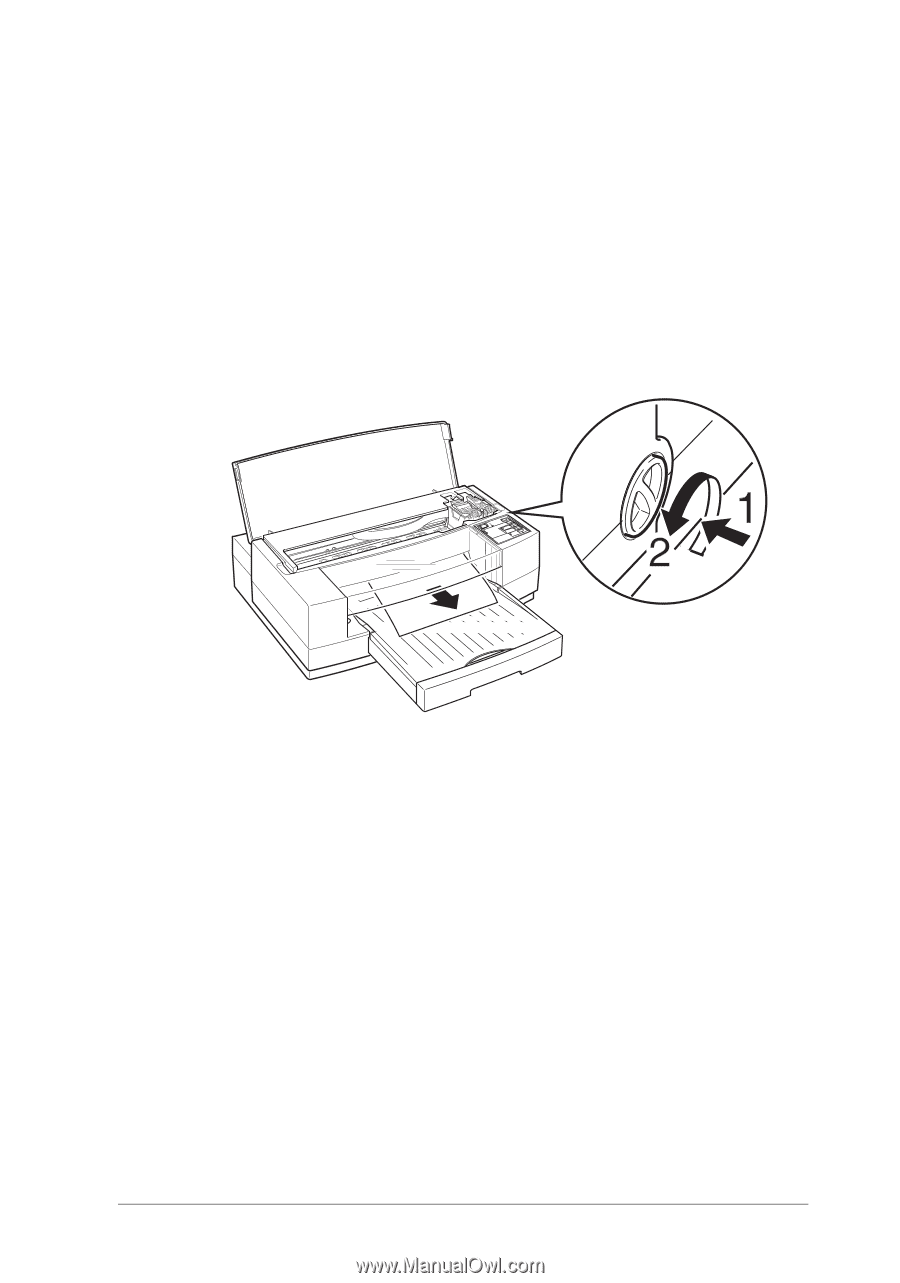
If paper has jammed inside the printer, clear the jam as follows:
1.
Turn off the printer.
2.
Open the printer cover.
3.
Push in the knob on the right side of the printer and turn it
counterclockwise as shown below.
Be sure to turn the knob in the direction shown; otherwise
ink from the printed sheet can come off onto the printer
and smear other sheets.
4.
Pull the paper out carefully. If it tears, make sure you
remove any remaining pieces.
5.
If paper is caught in the paper eject area, gently pull it out
of the printer.
6.
Close the printer cover.
7.
Turn on the printer to move the print heads to the correct
positions.
Maintenance and Troubleshooting
3-21