HP Designjet 4200 HP Designjet 4200 Scanner - User Guide - Page 33
camera alignment and calibration, cleaning the scan area. An unclean scanning area will give
 |
View all HP Designjet 4200 manuals
Add to My Manuals
Save this manual to your list of manuals |
Page 33 highlights
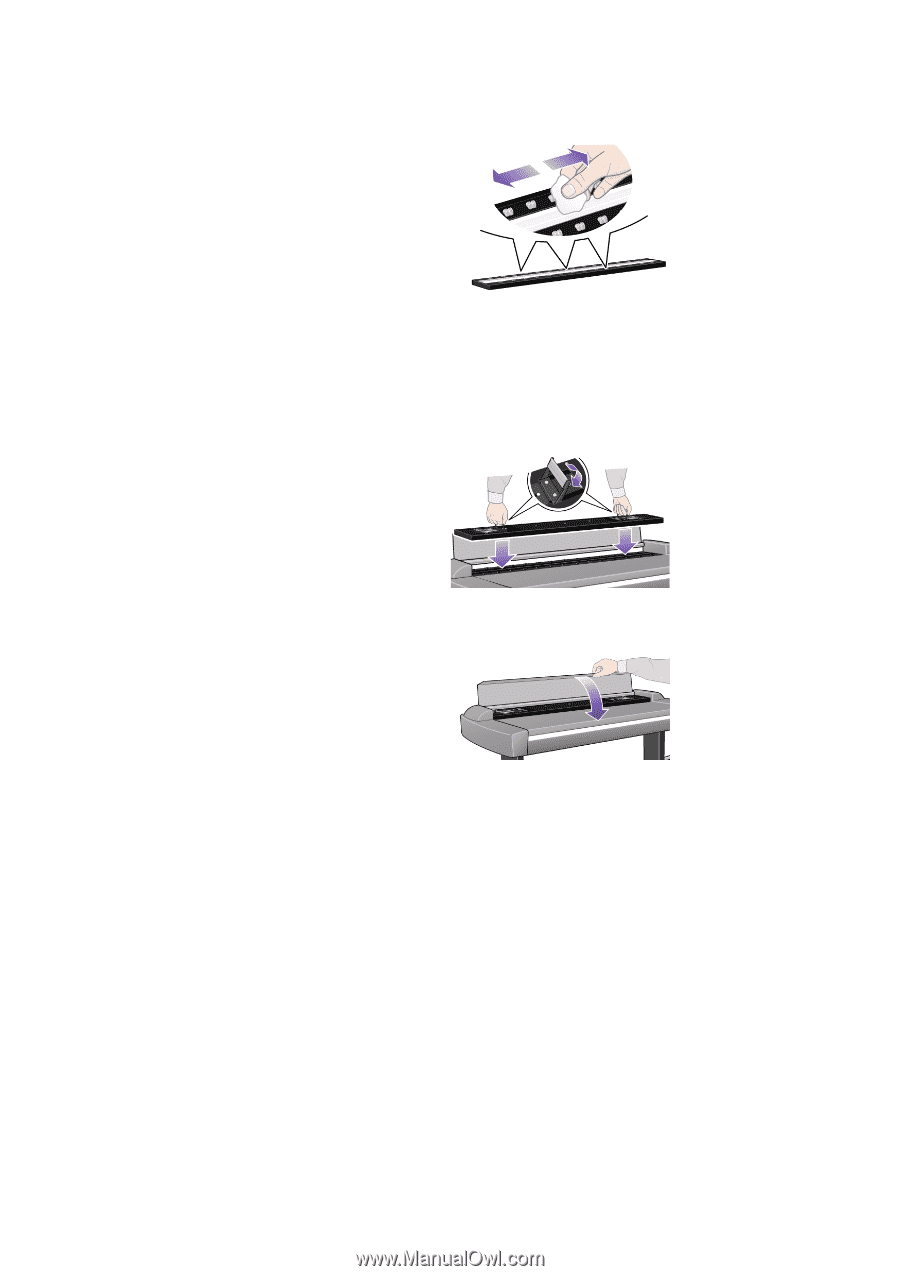
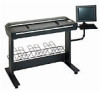
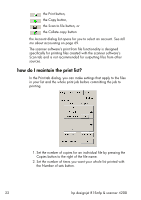
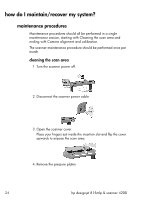
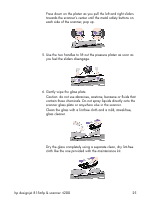
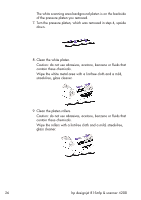
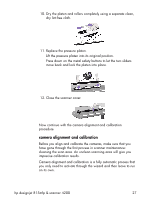
10. Dry the platen and rollers completely using a separate clean, dry lint-free cloth. 11. Replace the pressure platen. Lift the pressure platen into its original position. Press down on the metal safety buttons to let the two sliders move back and lock the platen into place. 12. Close the scanner cover. Now continue with the camera alignment and calibration procedure. camera alignment and calibration Before you align and calibrate the cameras, make sure that you have gone through the first process in scanner maintenance: cleaning the scan area. An unclean scanning area will give you imprecise calibration results. Camera alignment and calibration is a fully automatic process that you only need to activate through the wizard and then leave to run on its own. hp designjet 815mfp & scanner 4200 27
-
 1
1 -
2
-
3
-
4
-
5
-
6
-
7
-
8
-
9
-
10
-
11
-
12
-
13
-
14
-
15
-
16
-
17
-
18
-
19
-
20
-
21
-
22
-
23
-
24
-
25
-
26
-
27
-
 28
28 -
 29
29 -
 30
30 -
 31
31 -
 32
32 -
 33
33 -
 34
34 -
 35
35 -
 36
36 -
 37
37 -
 38
38 -
39
-
40
-
41
-
42
-
43
-
44
-
45
-
46
-
47
-
48
-
49
-
50
-
51
-
52
-
53
-
54
-
55
-
56
-
57
-
58
-
59
-
60
-
61
-
62
-
63
-
64
-
65
-
66
-
67
-
68
-
69
-
70
-
71
-
72
-
73
-
74
-
75
-
76
-
77
-
78
-
79
-
80
-
81
-
82
-
83
-
84
-
85
-
86
-
87
-
88
-
89
-
90
-
91
-
92
-
93
-
94
-
95
-
96
-
97
-
98
-
99
-
100
-
101
-
102
-
103
-
104
-
105
-
106
-
107
-
108
-
109
-
110
 |
 |