HP Deskjet 1280 HP Deskjet 1280 - User Guide - Page 9
Connecting the printer, For Windows - driver
 |
View all HP Deskjet 1280 manuals
Add to My Manuals
Save this manual to your list of manuals |
Page 9 highlights
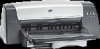
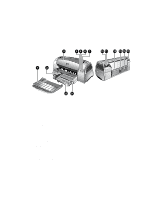
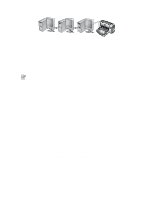
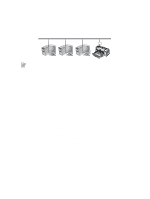
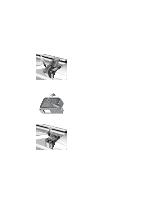
Connecting the printer Your printer supports local printing and network printing. For local printing, you can connect the printer using a USB cable or parallel cable. For network printing, you can connect via an optional HP external print server. It is recommended that you install the software before you connect the printer to the computer. For Windows Use a USB cable to connect the printer to the computer if the computer has a USB port and is running Windows 98, Windows Me, Windows 2000, or Windows XP. If your computer does not meet these specifications, connect the printer to your computer using a parallel cable. In most cases, after you install the printer software and connect a printer to the computer, you can install additional printers with USB cables without reinstalling the printing software. Software-first installation (recommended) 1 Start Windows and make sure no other Windows applications are running. 2 Insert the Starter CD into the CD-ROM drive. The CD menu runs automatically. If the CD menu does not run automatically, click Start, click Run, and in the command line box type the letter of your computer's CD-ROM drive followed by :\setup (for example, type D:\setup). 3 Click Install Printer Driver from the CD menu. 4 Choose your language and click OK. 5 Follow the onscreen instructions. 6 Click Connected directly to this computer, and then click Next. 7 If you are using a USB cable, select USB Cable and click Next. If you are using a parallel cable, select Parallel Cable. From the Ports drop-down list, select the parallel port on which the printer is connected. If the setup program detects an existing parallel connection and prompts you, you can choose to install the printer on the port that is detected. In addition, if you select the Express Install check box, the setup program will install using default settings. 8 Click Next and follow the onscreen instructions. 9 Connect the USB cable or parallel cable to the computer and the printer when prompted. The Found New Hardware wizard appears on the computer screen and the printer icon is created in the Printers folder. Connect only the cable you have selected in step 7. ENWW 2-2
-
 1
1 -
2
-
3
-
 4
4 -
 5
5 -
 6
6 -
 7
7 -
 8
8 -
 9
9 -
 10
10 -
 11
11 -
 12
12 -
 13
13 -
 14
14 -
15
-
16
-
17
-
18
-
19
-
20
-
21
-
22
-
23
-
24
-
25
-
26
-
27
-
28
-
29
-
30
-
31
-
32
-
33
-
34
-
35
-
36
-
37
-
38
-
39
-
40
-
41
-
42
-
43
-
44
-
45
-
46
-
47
-
48
-
49
-
50
-
51
-
52
-
53
-
54
-
55
-
56
-
57
-
58
-
59
-
60
-
61
-
62
-
63
-
64
 |
 |