HP OmniBook 2000 HP OmniBook 2000 - Installation and Setup Guides - Page 37
To insert a PC card
 |
View all HP OmniBook 2000 manuals
Add to My Manuals
Save this manual to your list of manuals |
Page 37 highlights
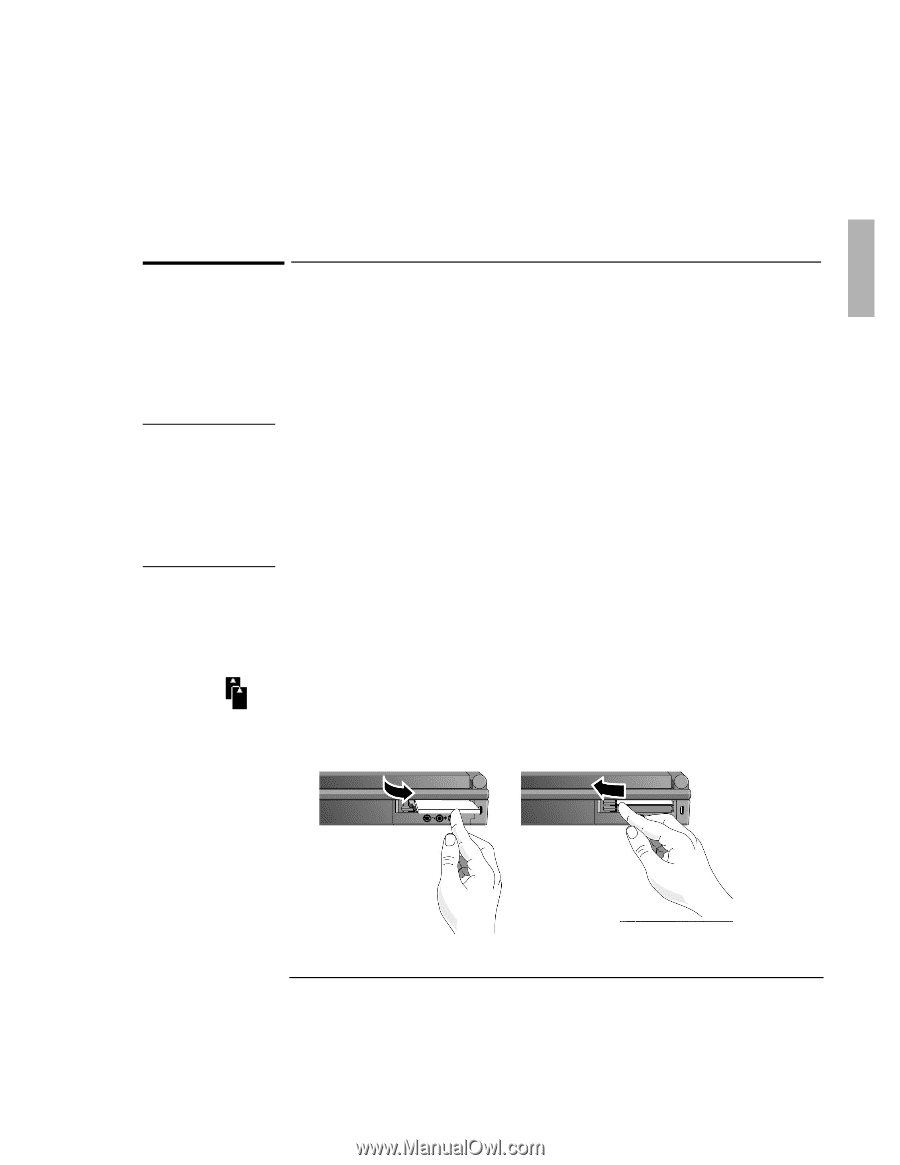
Starting Out with Your OmniBook Using OmniBook Accessories To insert a PC card CAUTION The OmniBook PC card slots are available for storing data and expanding the communication capabilities of the OmniBook. The OmniBook supports standard Type I, II, and III PC cards (PCMCIA and CardBus). You can use two thin cards or one thick card. The lower card slot supports Zoomed Video, which allows a zoomed video card to show high-quality multimedia presentations. Do not install Card Services or Socket Services software if it comes with your PC card. The OmniBook already includes Card Services and Socket Services, which automatically detect and set up PC cards you install in the upper and lower card slots. Different versions of this software will disrupt this support. Never insert or remove a plug -in card while an OmniBook PC card drive is actively reading or writing data. Wait until the PC card drive stops reading or writing. Otherwise, you could lose data or the OmniBook could stop responding. PC card indicator The OmniBook automatically detects and sets up a card when you insert it in a card slot. See the card's instructions for additional information. 1. Hold the card with its face up and its connector holes toward the card slot, then slide it into a PC card slot until it won't go any further. 2. When the card is fully inserted, the PC card indicator appears on the Status Panel. A double beep signals that the card has been recognized and is 3. Inserting a card causes the slot's button to protrude from the case. You can rotate the button towards the front to make it flush with the case. 1-29
-
 1
1 -
2
-
3
-
4
-
5
-
6
-
7
-
8
-
9
-
10
-
11
-
12
-
13
-
14
-
15
-
16
-
17
-
18
-
19
-
20
-
21
-
22
-
23
-
24
-
25
-
26
-
27
-
28
-
29
-
30
-
31
-
 32
32 -
 33
33 -
 34
34 -
 35
35 -
 36
36 -
 37
37 -
 38
38 -
 39
39 -
 40
40 -
 41
41 -
 42
42 -
43
-
44
-
45
-
46
-
47
-
48
-
49
-
50
-
51
-
52
-
53
-
54
-
55
-
56
-
57
-
58
-
59
-
60
-
61
-
62
-
63
-
64
-
65
-
66
-
67
-
68
-
69
-
70
-
71
-
72
-
73
-
74
-
75
-
76
-
77
-
78
-
79
-
80
-
81
-
82
-
83
-
84
-
85
-
86
-
87
-
88
-
89
-
90
-
91
-
92
-
93
-
94
-
95
-
96
-
97
-
98
-
99
-
100
 |
 |