HP Z600 HP Z Workstation series User Guide - Page 64
Installing an HDD in an HP Z600 or Z800 Workstation,
 |
UPC - 884962074053
View all HP Z600 manuals
Add to My Manuals
Save this manual to your list of manuals |
Page 64 highlights
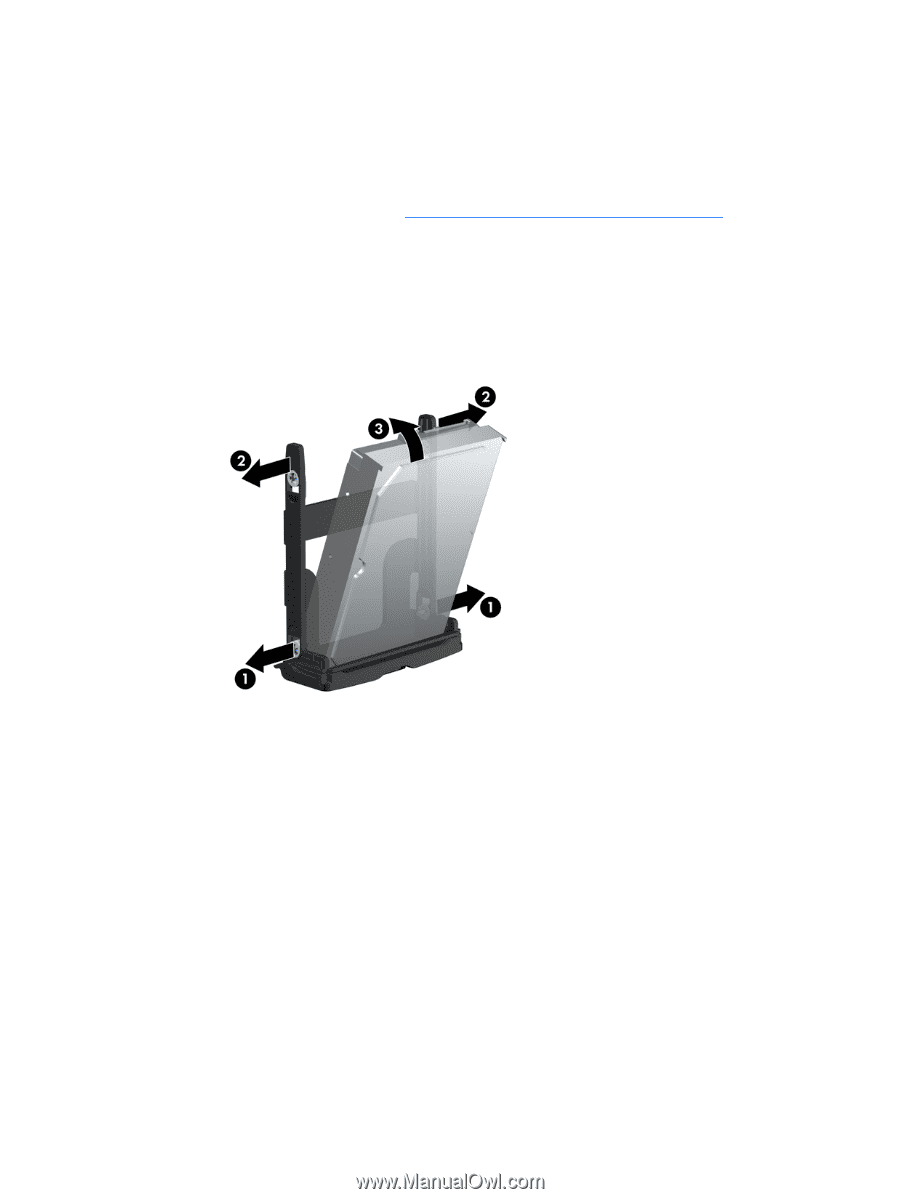
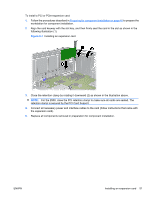
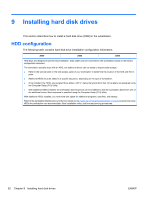
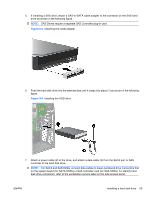
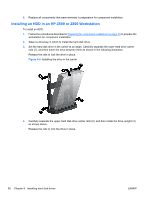
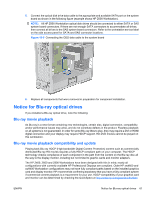
8. Replace all components that were removed in preparation for component installation. Installing an HDD in an HP Z600 or Z800 Workstation To install an HDD: 1. Follow the procedures described in Preparing for component installation on page 40 to prepare the workstation for component installation. 2. Select a drive bay in which to install the hard disk drive. 3. Set the hard disk drive in the carrier at an angle. Carefully separate the lower hard drive carrier rails (1), and then lower the drive between them as shown in the following illustration. Release the rails to lock the drive in place. Figure 9-5 Installing the drive in the carrier 4. Carefully separate the upper hard disk drive carrier rails (2), and then rotate the drive upright (3) as shown above. Release the rails to lock the drive in place. 56 Chapter 9 Installing hard disk drives ENWW
-
 1
1 -
2
-
3
-
4
-
5
-
6
-
7
-
8
-
9
-
10
-
11
-
12
-
13
-
14
-
15
-
16
-
17
-
18
-
19
-
20
-
21
-
22
-
23
-
24
-
25
-
26
-
27
-
28
-
29
-
30
-
31
-
32
-
33
-
34
-
35
-
36
-
37
-
38
-
39
-
40
-
41
-
42
-
43
-
44
-
45
-
46
-
47
-
48
-
49
-
50
-
51
-
52
-
53
-
54
-
55
-
56
-
57
-
58
-
 59
59 -
 60
60 -
 61
61 -
 62
62 -
 63
63 -
 64
64 -
 65
65 -
 66
66 -
 67
67 -
 68
68 -
 69
69 -
70
-
71
-
72
 |
 |