Kyocera FS-C5350DN FS-C5350DN Operation Guide (Advanced) - Page 82
Memory Card Using the memory card
 |
View all Kyocera FS-C5350DN manuals
Add to My Manuals
Save this manual to your list of manuals |
Page 82 highlights
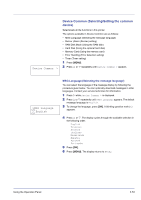
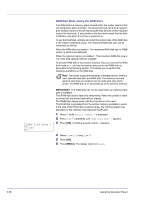
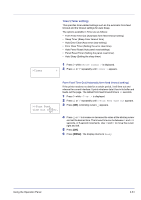
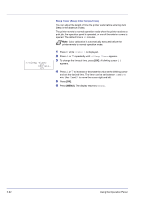
>>Format ? Format (Formatting hard disk) A new hard disk must be formatted before it can be used in the printer. Formatting allows data to be written to the hard disk. This menu is displayed only when the optional hard disk is installed on the printer. Note Formatting will destroy any existing data on a storage device including a used hard disk. Formatting of the hard disk must be executed from the printer. Use the procedure below to format the hard disk. When a new hard disk is inserted in the printer's slot, Format error Hard disk will appear on the message display. 1 Press Z while >Hard Disk > is displayed. 2 >>Format appears. 3 Press [OK]. A question mark (?) appears. 4 Press [OK] again. Processing appears and formatting of the hard disk starts. When the formatting is successfully completed, the display returns to Ready. Memory Card (Using the memory card) The printer is equipped with a slot for a memory card. By inserting a memory card into the printer, the following operations become available. • Format (Formatting memory card) For details about the handling of the memory card, refer to Memory Card on page 3-5. IMPORTANT The Memory Card menu options are only displayed when a memory card is installed in the printer. 1 Press Z while Device Common > is displayed. >Memory Card > 2 Press U or V repeatedly until >Memory Card > appears. 2-58 Using the Operation Panel
-
 1
1 -
2
-
3
-
4
-
5
-
6
-
7
-
8
-
9
-
10
-
11
-
12
-
13
-
14
-
15
-
16
-
17
-
18
-
19
-
20
-
21
-
22
-
23
-
24
-
25
-
26
-
27
-
28
-
29
-
30
-
31
-
32
-
33
-
34
-
35
-
36
-
37
-
38
-
39
-
40
-
41
-
42
-
43
-
44
-
45
-
46
-
47
-
48
-
49
-
50
-
51
-
52
-
53
-
54
-
55
-
56
-
57
-
58
-
59
-
60
-
61
-
62
-
63
-
64
-
65
-
66
-
67
-
68
-
69
-
70
-
71
-
72
-
73
-
74
-
75
-
76
-
 77
77 -
 78
78 -
 79
79 -
 80
80 -
 81
81 -
 82
82 -
 83
83 -
 84
84 -
 85
85 -
 86
86 -
 87
87 -
88
-
89
-
90
-
91
-
92
-
93
-
94
-
95
-
96
-
97
-
98
-
99
-
100
-
101
-
102
-
103
-
104
-
105
-
106
-
107
-
108
-
109
-
110
-
111
-
112
-
113
-
114
-
115
-
116
-
117
-
118
-
119
-
120
-
121
-
122
-
123
-
124
-
125
-
126
-
127
-
128
-
129
-
130
-
131
-
132
-
133
-
134
-
135
-
136
-
137
-
138
-
139
-
140
 |
 |
