Netgear WG111v3 WG111v3 User Manual - Page 32
Profiles, Default
 |
View all Netgear WG111v3 manuals
Add to My Manuals
Save this manual to your list of manuals |
Page 32 highlights
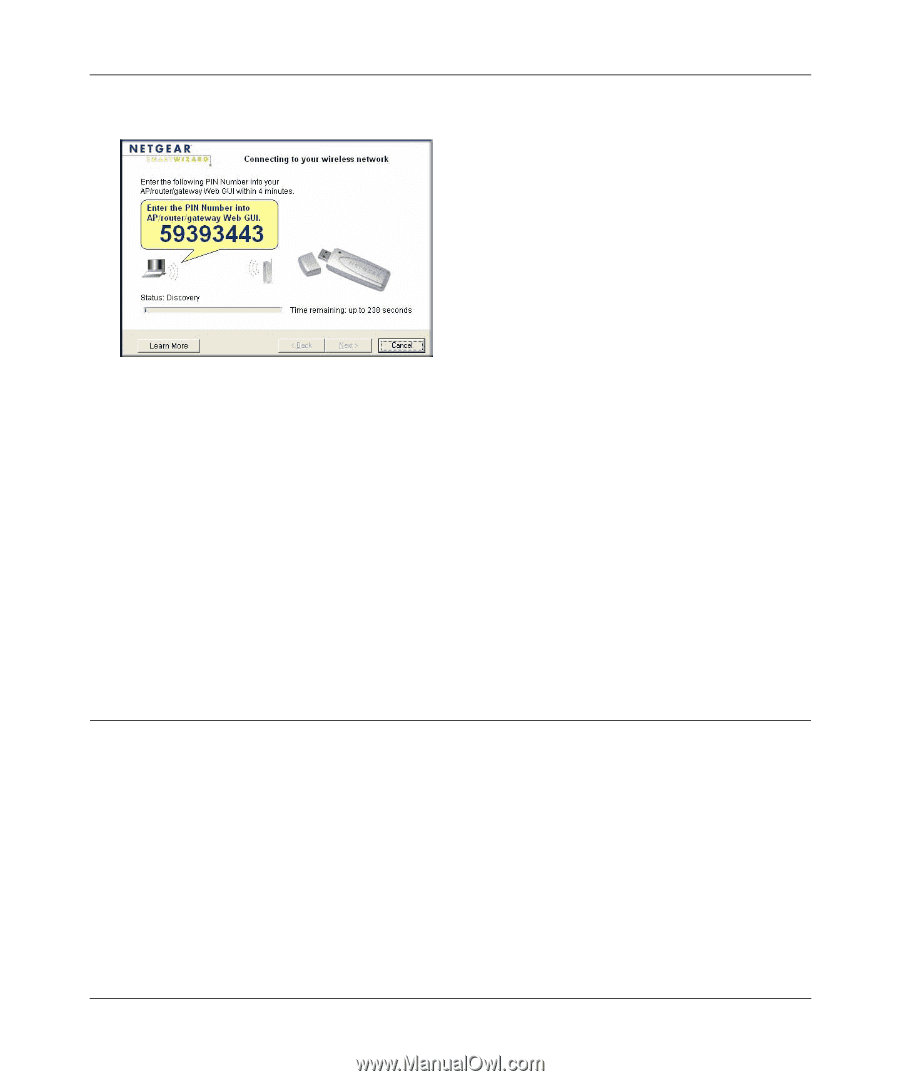
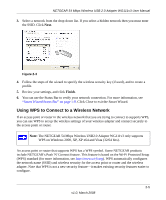
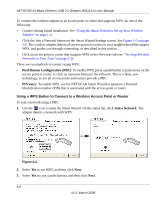
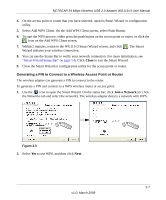
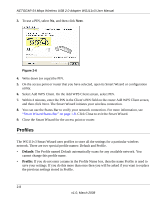
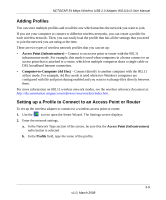
NETGEAR 54 Mbps Wireless USB 2.0 Adapter WG111v3 User Manual 3. To use a PIN, select No, and then click Next. Figure 2-6 4. Write down (or copy) the PIN. 5. On the access point or router that you have selected, open its Smart Wizard or configuration utility. 6. Select Add WPS Client. On the Add WPS Client screen, select PIN. 7. Within 4 minutes, enter the PIN in the Client's PIN field on the router Add WPS Client screen, and then click Next. The Smart Wizard initiates your wireless connection. 8. You can use the Status Bar to verify your network connection. For more information, see "Smart Wizard Status Bar" on page 1-8. Click Close to exit the Smart Wizard. 9. Close the Smart Wizard for the access point or router. Profiles The WG111v3 Smart Wizard uses profiles to store all the settings for a particular wireless network. There are two special profile names: Default and Profile. • Default: The Profile named Default automatically scans for any available network. You cannot change this profile name. • Profile: If you do not enter a name in the Profile Name box, then the name Profile is used to save your settings. If you do this more than once then you will be asked if you want to replace the previous settings stored in Profile. 2-8 v1.0, March 2008
-
 1
1 -
2
-
3
-
4
-
5
-
6
-
7
-
8
-
9
-
10
-
11
-
12
-
13
-
14
-
15
-
16
-
17
-
18
-
19
-
20
-
21
-
22
-
23
-
24
-
25
-
26
-
 27
27 -
 28
28 -
 29
29 -
 30
30 -
 31
31 -
 32
32 -
 33
33 -
 34
34 -
 35
35 -
 36
36 -
 37
37 -
38
-
39
-
40
-
41
-
42
-
43
-
44
-
45
-
46
-
47
-
48
-
49
-
50
-
51
-
52
-
53
-
54
 |
 |