Ricoh CL3500N Maintenance Manual - Page 72
Adjustment, Horiz: Tray 2, Horiz: Tray 2, 15 +15
 |
UPC - 026649024344
View all Ricoh CL3500N manuals
Add to My Manuals
Save this manual to your list of manuals |
Page 72 highlights
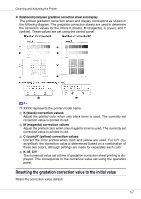
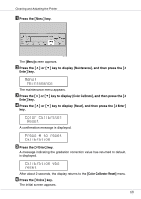
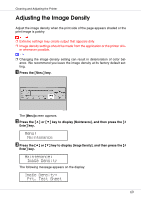
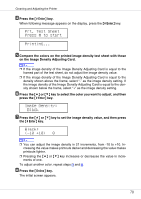
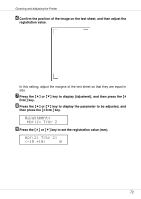
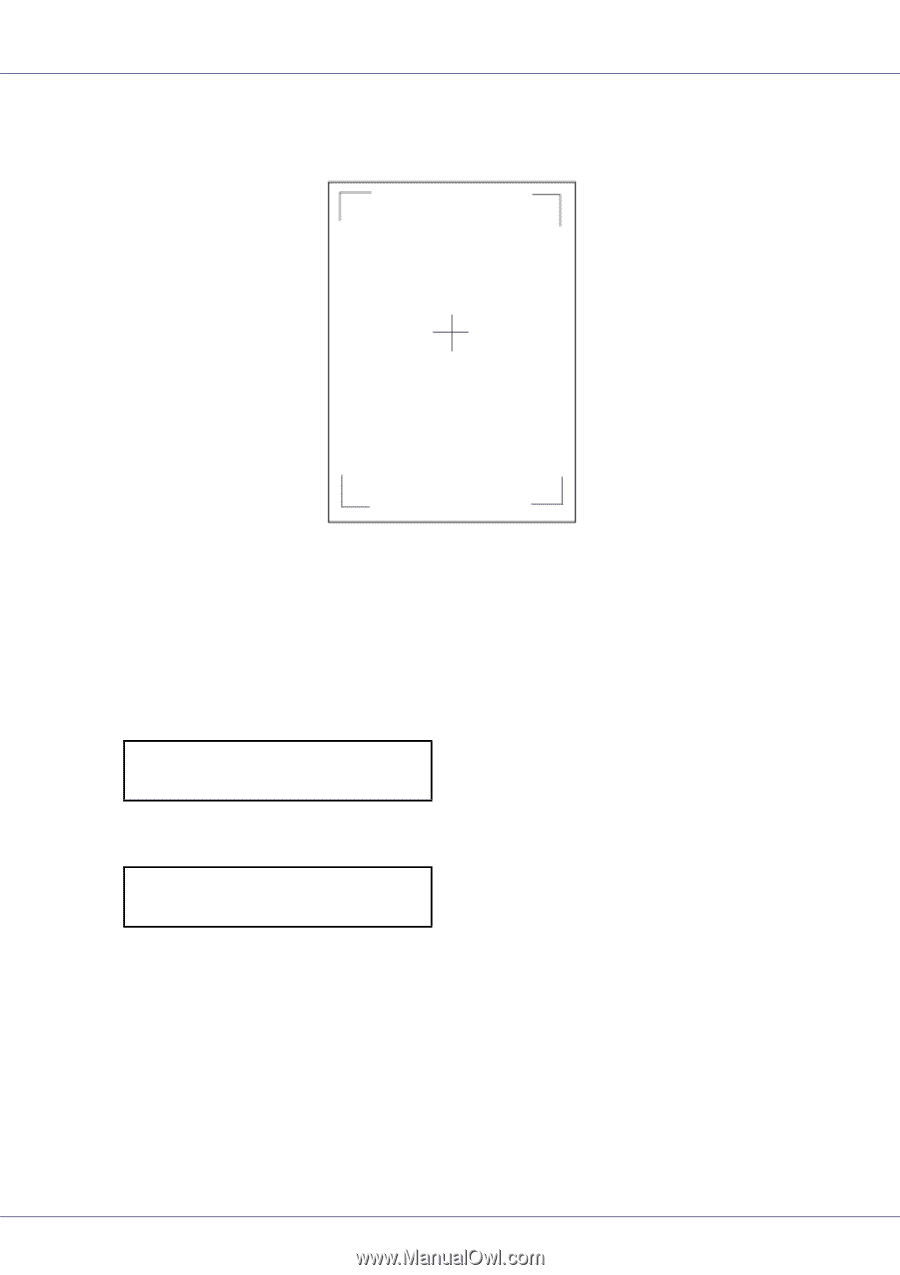
Cleaning and Adjusting the Printer F Confirm the position of the image on the test sheet, and then adjust the registration value. In this setting, adjust the margins of the test sheet so that they are equal in size. G Press the {U} or {T} key to display [Adjustment], and then press the {# Enter} key. H Press the {U} or {T} key to display the parameter to be adjusted, and then press the {# Enter} key. Adjustment: Horiz: Tray 2 I Press the {U} or {T} key to set the registration value (mm). Horiz: Tray 2: (-15 +15) 0 72
-
 1
1 -
2
-
3
-
4
-
5
-
6
-
7
-
8
-
9
-
10
-
11
-
12
-
13
-
14
-
15
-
16
-
17
-
18
-
19
-
20
-
21
-
22
-
23
-
24
-
25
-
26
-
27
-
28
-
29
-
30
-
31
-
32
-
33
-
34
-
35
-
36
-
37
-
38
-
39
-
40
-
41
-
42
-
43
-
44
-
45
-
46
-
47
-
48
-
49
-
50
-
51
-
52
-
53
-
54
-
55
-
56
-
57
-
58
-
59
-
60
-
61
-
62
-
63
-
64
-
65
-
66
-
 67
67 -
 68
68 -
 69
69 -
 70
70 -
 71
71 -
 72
72 -
 73
73 -
 74
74 -
 75
75 -
 76
76 -
 77
77 -
78
-
79
-
80
-
81
-
82
-
83
-
84
-
85
-
86
-
87
-
88
-
89
-
90
-
91
-
92
-
93
-
94
-
95
-
96
-
97
-
98
-
99
-
100
-
101
-
102
-
103
-
104
-
105
-
106
-
107
-
108
-
109
-
110
-
111
-
112
-
113
-
114
-
115
-
116
 |
 |
Cleaning and Adjusting the Printer
72
F
Confirm the position of the image on the test sheet, and then adjust the
registration value.
In this setting, adjust the margins of the test sheet so that they are equal in
size.
G
Press the
{U}
or
{T}
key to display [
Adjustment
], and then press the
{
#
Enter
}
key.
H
Press the
{U}
or
{T}
key to display the parameter to be adjusted, and
then press the
{
# Enter
}
key.
I
Press the
{U}
or
{T}
key to set the registration value (mm).
Adjustment:
Horiz: Tray 2
Horiz: Tray 2:
(-15 +15)
0