Samsung SGH-X506 User Manual (user Manual) (ver.f2) (English) - Page 59
Using Contacts List Entry Options, Adding a New Contact, Storing a Number in the Phone’s Memory
 |
View all Samsung SGH-X506 manuals
Add to My Manuals
Save this manual to your list of manuals |
Page 59 highlights
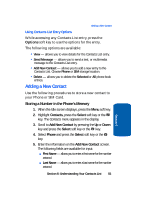
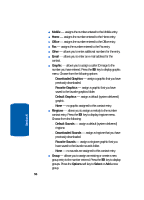
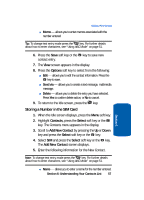
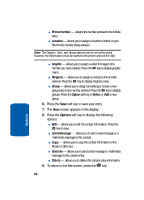
Adding a New Contact Using Contacts List Entry Options While accessing any Contacts List entry, press the Options soft key to use the options for the entry. The following options are available: • View - allows you to view details for the Contacts List entry. • Send Message - allows you to send a text, or multimedia message to the Contacts List entry. • Add New Contact - allows you to add a new entry to the Contacts List. Choose Phone or SIM storage location. • Delete - allows you to delete the Selected or All phone book entries. Adding a New Contact Use the following procedures to store a new contact to your Phone or SIM Card. Storing a Number in the Phone's Memory 1. When the Idle screen displays, press the Menu soft key. 2. Highlight Contacts, press the Select soft key or the key. The Contacts menu appears in the display. 3. Scroll to Add New Contact by pressing the Up or Down key and press the Select soft key or the key. 4. Select Phone and press the Select soft key or the key. 5. Enter the information on the Add New Contact screen. The following fields are available for input: ⅷ First Name - allows you to enter a first name for the number entered. ⅷ Last Name - allows you to enter a last name for the number entered. Section 6: Understanding Your Contacts List 55 Section 6
-
 1
1 -
2
-
3
-
4
-
5
-
6
-
7
-
8
-
9
-
10
-
11
-
12
-
13
-
14
-
15
-
16
-
17
-
18
-
19
-
20
-
21
-
22
-
23
-
24
-
25
-
26
-
27
-
28
-
29
-
30
-
31
-
32
-
33
-
34
-
35
-
36
-
37
-
38
-
39
-
40
-
41
-
42
-
43
-
44
-
45
-
46
-
47
-
48
-
49
-
50
-
51
-
52
-
53
-
 54
54 -
 55
55 -
 56
56 -
 57
57 -
 58
58 -
 59
59 -
 60
60 -
 61
61 -
 62
62 -
 63
63 -
 64
64 -
65
-
66
-
67
-
68
-
69
-
70
-
71
-
72
-
73
-
74
-
75
-
76
-
77
-
78
-
79
-
80
-
81
-
82
-
83
-
84
-
85
-
86
-
87
-
88
-
89
-
90
-
91
-
92
-
93
-
94
-
95
-
96
-
97
-
98
-
99
-
100
-
101
-
102
-
103
-
104
-
105
-
106
-
107
-
108
-
109
-
110
-
111
-
112
-
113
-
114
-
115
-
116
-
117
-
118
-
119
-
120
-
121
-
122
-
123
-
124
-
125
-
126
-
127
-
128
-
129
-
130
-
131
-
132
-
133
-
134
-
135
-
136
-
137
-
138
-
139
-
140
-
141
-
142
-
143
-
144
-
145
-
146
-
147
-
148
-
149
-
150
-
151
-
152
-
153
-
154
-
155
-
156
-
157
-
158
-
159
-
160
-
161
-
162
-
163
-
164
-
165
-
166
-
167
-
168
-
169
-
170
-
171
-
172
-
173
-
174
-
175
-
176
-
177
-
178
-
179
-
180
-
181
-
182
-
183
-
184
-
185
-
186
-
187
-
188
-
189
-
190
-
191
-
192
-
193
-
194
-
195
-
196
 |
 |
