Sharp AR-337 AR-287 , AR-337 , AR-407 Operation Manual - Page 23
touch panel.
 |
View all Sharp AR-337 manuals
Add to My Manuals
Save this manual to your list of manuals |
Page 23 highlights
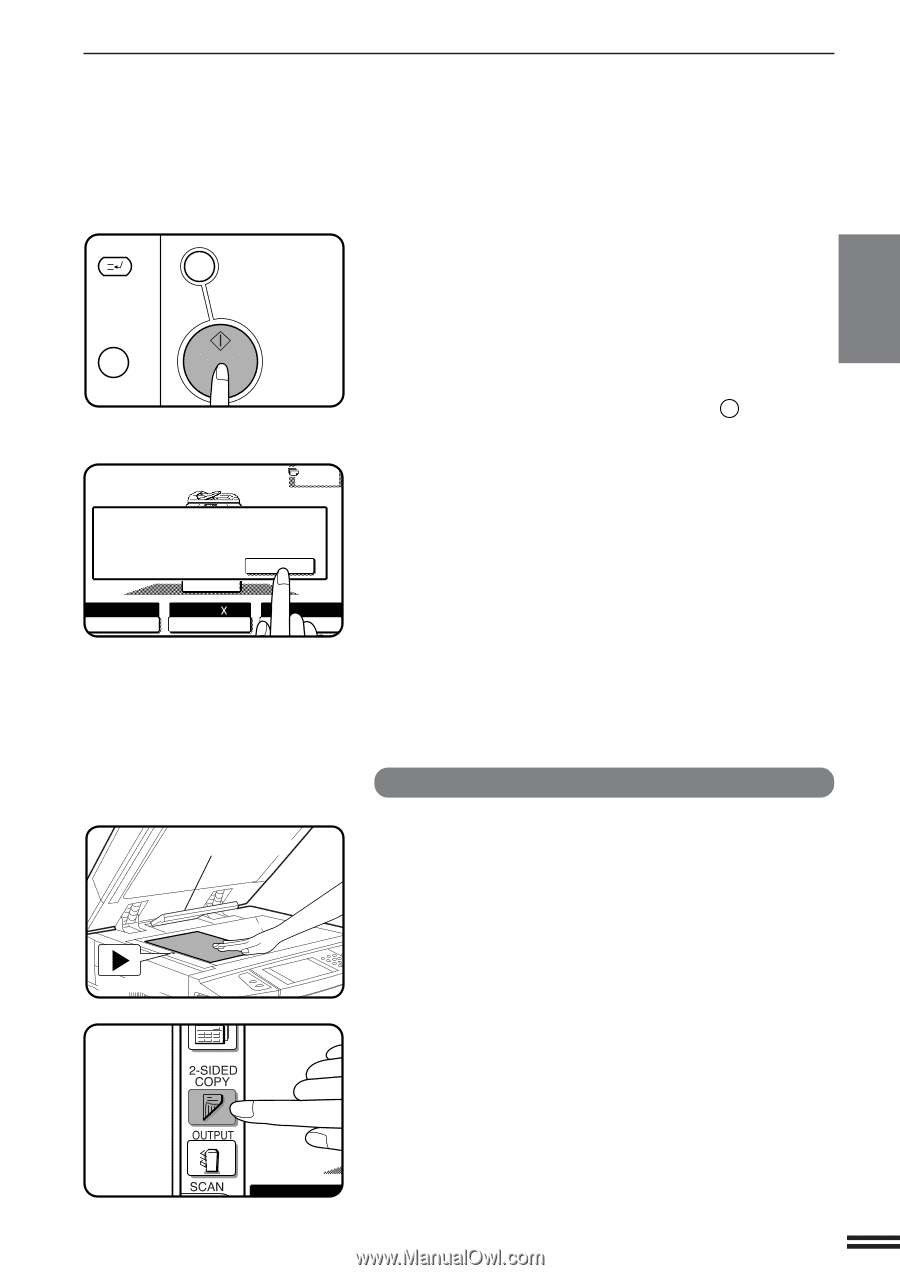
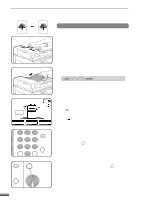
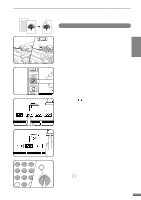
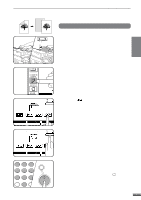
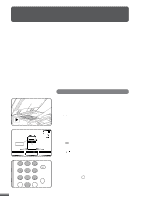
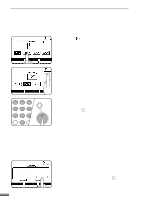
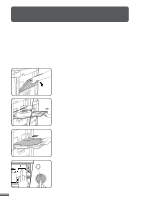
COPYING FROM THE DOCUMENT GLASS 2 CHAPTER MAKING COPIES Copying from the document glass INTERRUPT CLEAR C CLEAR ALL CA START 3 PLACE NEXT ORIGINAL. PRESS [START]. WHEN FINISHED, PRESS [READ-END]. READ-END AUTO EXPOSURE AUTO 81/2 11 PAPER SELECT 100% COPY RATIO 5 Press the START key. q If the copier is in the GROUP mode (the sort icon is not displayed on the touch panel), copying will start and the number in the copy quantity display will decrease by 1 each time a copy is made. To repeat the same copy sequence with a different original, simply replace the original and press the START key. q If the copier is in the SORT mode, the original will be scanned when the START key is pressed but copying will not begin. Proceed to step 6. q To cancel a copy run, press the CLEAR ALL ( CA ) key. Copying will stop and the number in the copy quantity display will be reset to 0. 6 Remove the first original with the next original after the START key indicator lights up, and then press the START key. Repeat this step until all the originals have been scanned. Then, press the "READ-END" key on the touch panel. q Copying will start after the "READ-END" key is pressed. q Up to 120 sheets of 8-1/2" x 11" originals or up to 60 sheets of originals larger than 8-1/2" x 11" can be scanned. Original size detector Centring scale 2-sided copies from 1-sided originals 1 Set the last page of the document onto the document glass, using the centering scale to position it. NOTE: Do not place objects under the original size detector, because they may damage it. 2 Close the document feeder cover. q The original size will be indicated on the touch panel, and the paper tray with the corresponding paper size will be automatically selected. 3 Press the 2-SIDED COPY key. AUTO 2-9
-
 1
1 -
2
-
3
-
4
-
5
-
6
-
7
-
8
-
9
-
10
-
11
-
12
-
13
-
14
-
15
-
16
-
17
-
 18
18 -
 19
19 -
 20
20 -
 21
21 -
 22
22 -
 23
23 -
 24
24 -
 25
25 -
 26
26 -
 27
27 -
 28
28 -
29
-
30
-
31
-
32
-
33
-
34
-
35
-
36
-
37
-
38
-
39
-
40
-
41
-
42
-
43
-
44
-
45
-
46
-
47
-
48
-
49
-
50
-
51
-
52
-
53
-
54
-
55
-
56
-
57
-
58
-
59
-
60
-
61
-
62
-
63
-
64
-
65
-
66
-
67
-
68
-
69
-
70
-
71
-
72
-
73
-
74
-
75
-
76
-
77
-
78
-
79
-
80
-
81
-
82
-
83
-
84
-
85
-
86
-
87
-
88
-
89
-
90
-
91
-
92
-
93
-
94
-
95
-
96
-
97
-
98
-
99
-
100
-
101
-
102
-
103
-
104
-
105
-
106
-
107
-
108
-
109
-
110
-
111
-
112
-
113
-
114
-
115
-
116
-
117
-
118
-
119
-
120
-
121
-
122
-
123
-
124
-
125
-
126
-
127
-
128
-
129
-
130
-
131
-
132
-
133
-
134
-
135
-
136
-
137
-
138
-
139
-
140
-
141
-
142
-
143
-
144
-
145
-
146
-
147
-
148
-
149
-
150
-
151
-
152
 |
 |