Sony DSC-P92 Operating Instructions (primary manual) - Page 23
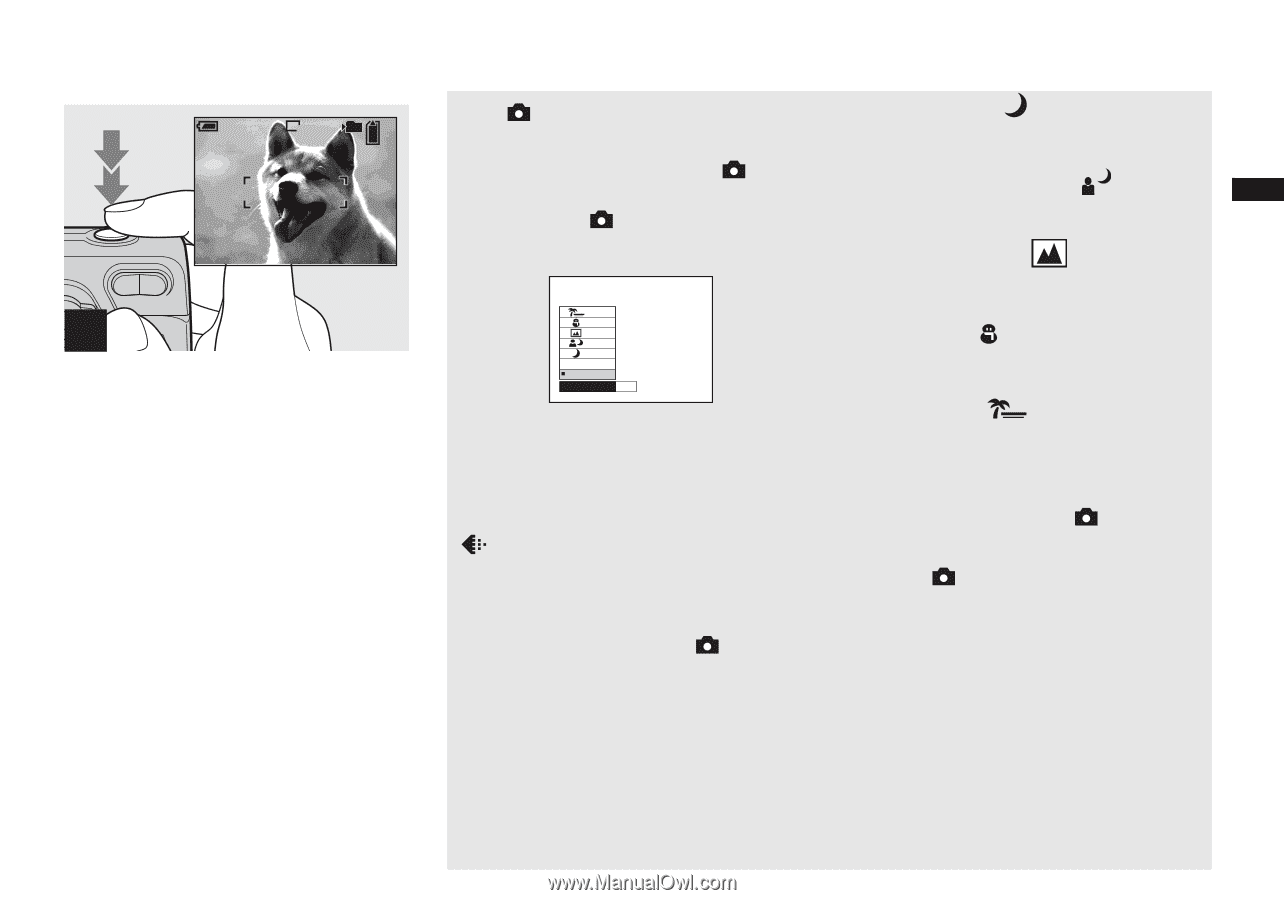
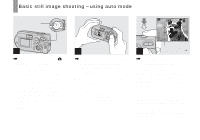
position on the mode, selector, Press the shutter button fully, down.
 |
View all Sony DSC-P92 manuals
Add to My Manuals
Save this manual to your list of manuals |
Page 23 highlights
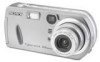
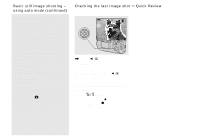
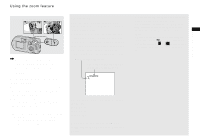
VGA 101 97 4 , Press the shutter button fully down. The shutter clicks, the shooting is completed, and the still image is saved in the "Memory Stick." When the recording lamp (page 9) goes out, you can shoot the next image. • When you are shooting with the batteries, if no tasks are performed for a while with the camera turned on, power is automatically shut off to preserve battery power (page 16). The position on the mode selector When the mode selector is set to , the functions that can be selected change according to the (Camera) setting in the menu settings as follows: Program Auto Camera Mode Auto mode shooting [Auto] You can shoot your subject easily since this mode automatically adjusts the focus, exposure, and white balance. In this mode, (P. Quality) is set to [Fine], the AF range finder is set to [Multi AF], and the metering mode is set to multi-pattern metering (pages 44, 47). The menu items you can display are limited to (Camera) and [Mode] (REC Mode). Program mode shooting [Program] You can set the shooting functions in the menu settings according to your shooting condition. Twilight mode [ ] See page 54. Twilight portratit mode [ ] See page 54. Landscape mode [ ] See page 54. Snow mode [ ] See page 54. Beach mode [ ] See page 54. To change the camera mode 1 Set the mode selector to . 2 Press MENU. 3 Select (Camera) with b on the control button. 4 Select the desired camera mode with v/ V on the control button. 23 Shooting still images
-
 1
1 -
2
-
3
-
4
-
5
-
6
-
7
-
8
-
9
-
10
-
11
-
12
-
13
-
14
-
15
-
16
-
17
-
 18
18 -
 19
19 -
 20
20 -
 21
21 -
 22
22 -
 23
23 -
 24
24 -
 25
25 -
 26
26 -
 27
27 -
 28
28 -
29
-
30
-
31
-
32
-
33
-
34
-
35
-
36
-
37
-
38
-
39
-
40
-
41
-
42
-
43
-
44
-
45
-
46
-
47
-
48
-
49
-
50
-
51
-
52
-
53
-
54
-
55
-
56
-
57
-
58
-
59
-
60
-
61
-
62
-
63
-
64
-
65
-
66
-
67
-
68
-
69
-
70
-
71
-
72
-
73
-
74
-
75
-
76
-
77
-
78
-
79
-
80
-
81
-
82
-
83
-
84
-
85
-
86
-
87
-
88
-
89
-
90
-
91
-
92
-
93
-
94
-
95
-
96
-
97
-
98
-
99
-
100
-
101
-
102
-
103
-
104
-
105
-
106
-
107
-
108
-
109
-
110
-
111
-
112
-
113
-
114
-
115
-
116
 |
 |