Sony DSC-P92 Operating Instructions (primary manual) - Page 50
To delete shot images in the, midst of shooting, Set the mode selector to, Press, Image Size.
 |
View all Sony DSC-P92 manuals
Add to My Manuals
Save this manual to your list of manuals |
Page 50 highlights
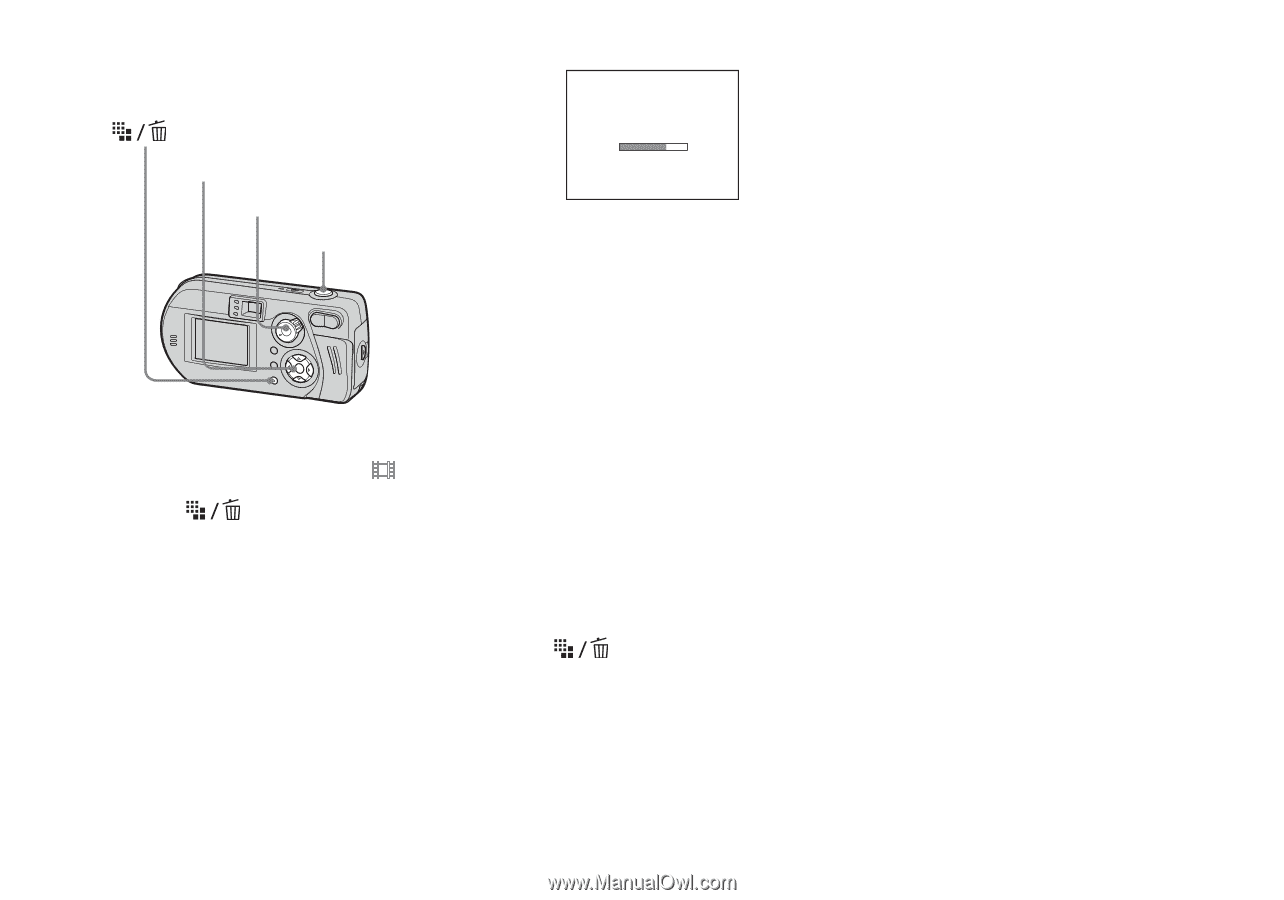
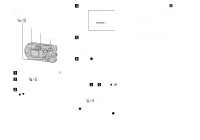
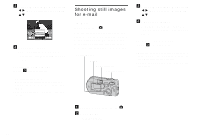
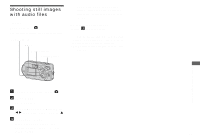
Before operation Set [Moving Image] to [Clip Motion] in the SET UP settings (pages 41, 102). Control button Mode selector Shutter button a Set the mode selector to . b Press (Image Size). The Image Size setup item appears. c Select the desired mode with v/V. You can select from [Normal] or [Mobile]. 50 d Shoot one frame. Making "Clip Motion" e Shoot the next frame. Press the shutter button once to shoot the next frame, then repeat this operation until you have shot the desired number of frames. f Press z. All of the frames will be saved in the "Memory Stick." To delete shot images in the midst of shooting 1 In Steps 4 or 5, press b (7). Shot images will be played back in order, and when the last image is reached, playback stops. 2 Press (Delete), and select either [Delete Last] or [Delete All], then press z. 3 Select [Delete], then press z. If you chose [Delete Last] in Step 2, repeat Steps 1 to 3 to delete the images in order, from the latest one shot. • If you do not complete Step 6, all the images will not be saved in the "Memory Stick." • In Clip Motion, the date and time cannot be inserted. • When you view Clip Motion images using the Index screen, the images may appear different from the actual image recorded. • GIF files made on other cameras may not be displayed correctly on this camera. • For the number of images you can record using Clip Motion, see page 97.
-
 1
1 -
2
-
3
-
4
-
5
-
6
-
7
-
8
-
9
-
10
-
11
-
12
-
13
-
14
-
15
-
16
-
17
-
18
-
19
-
20
-
21
-
22
-
23
-
24
-
25
-
26
-
27
-
28
-
29
-
30
-
31
-
32
-
33
-
34
-
35
-
36
-
37
-
38
-
39
-
40
-
41
-
42
-
43
-
44
-
 45
45 -
 46
46 -
 47
47 -
 48
48 -
 49
49 -
 50
50 -
 51
51 -
 52
52 -
 53
53 -
 54
54 -
 55
55 -
56
-
57
-
58
-
59
-
60
-
61
-
62
-
63
-
64
-
65
-
66
-
67
-
68
-
69
-
70
-
71
-
72
-
73
-
74
-
75
-
76
-
77
-
78
-
79
-
80
-
81
-
82
-
83
-
84
-
85
-
86
-
87
-
88
-
89
-
90
-
91
-
92
-
93
-
94
-
95
-
96
-
97
-
98
-
99
-
100
-
101
-
102
-
103
-
104
-
105
-
106
-
107
-
108
-
109
-
110
-
111
-
112
-
113
-
114
-
115
-
116
 |
 |