Sony DSC-P92 Operating Instructions (primary manual) - Page 80
Changing “Image Transfer” settings, Copying images without using “Image Transfer” - dsc drivers
 |
View all Sony DSC-P92 manuals
Add to My Manuals
Save this manual to your list of manuals |
Page 80 highlights
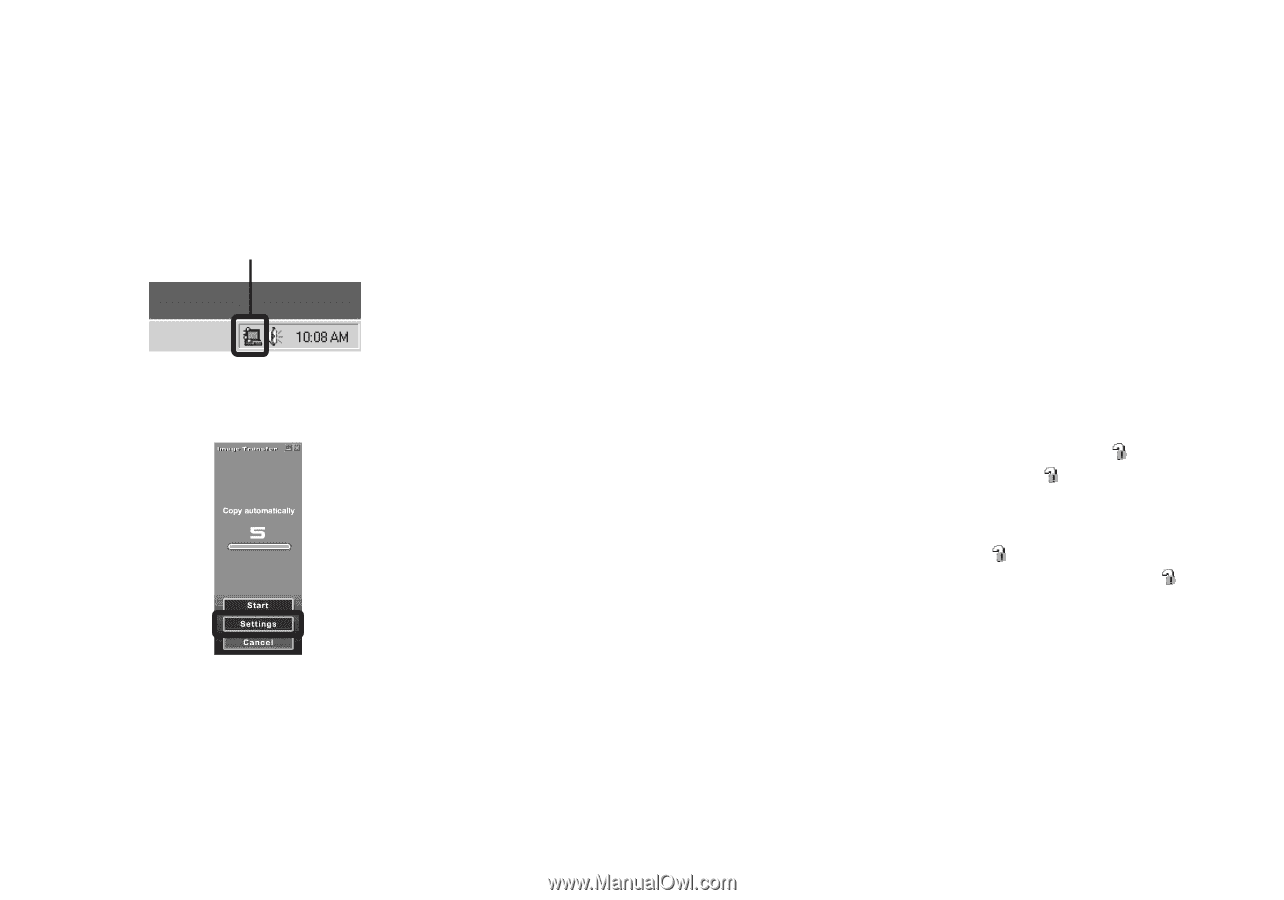
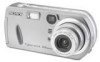
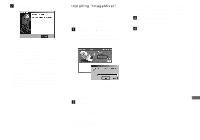
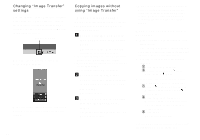
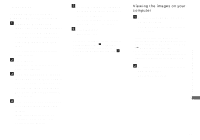
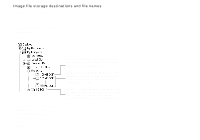
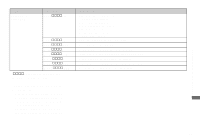
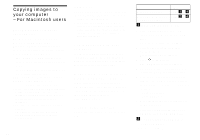
Changing "Image Transfer" settings You can change "Image Transfer" settings. Right-click the "Image Transfer" icon on the task tray, select [Open Settings]. The settings you can set are as follows: [Basic], [Copy], and [Delete]. Right-click here When the "Image Transfer" starts, the below window appears. When you select [Settings] from the above window, you can only change the [Basic] setting. 80 Copying images without using "Image Transfer" - Windows 98/98SE/2000/Me If you do not set to launch "Image Transfer" automatically, you can copy images as following procedure. a Double-click [My Computer], then double-click [Removable Disk]. The contents of the "Memory Stick" inserted in your camera appear. • This section describes an example of copying images to the "My Documents" folder. • When the "Removable Disk" icon is not shown, see the right column. • When using Windows XP, see page 81. b Double-click [DCIM], then double-click the folder that the image files you want to copy are stored. The folder opens. c Drag and drop the image files into the "My Documents" folder. The image files are copied to the "My Documents" folder. • When you try to copy an image to a folder in which an image with the same file name is stored, the overwrite confirmation message appears. When you overwrite the existing image with the new one, the original file is deleted. When a removable disk icon is not shown 1 Right-click [My Computer], then click [Properties]. The "System Properties" screen appears. • For Windows 2000 users, click the [Hardware] tab on the "System Properties" screen. 2 Confirm if other devices are already installed. 1 Click [Device Manager]. 2 Confirm if there is a " Sony DSC" with a mark. 3 If you find either of the devices above, follow the steps below to delete them. 1 Click [ Sony DSC]. (In case of Windows 2000, right-click [ Sony DSC].) 2 Click [Remove]. (In case of Windows 2000, click [Uninstall].) The "Confirm Device Removal" screen appears. 3 Click [OK]. The device is deleted. Try the USB driver installation again using the supplied CD-ROM (page 75).
-
 1
1 -
2
-
3
-
4
-
5
-
6
-
7
-
8
-
9
-
10
-
11
-
12
-
13
-
14
-
15
-
16
-
17
-
18
-
19
-
20
-
21
-
22
-
23
-
24
-
25
-
26
-
27
-
28
-
29
-
30
-
31
-
32
-
33
-
34
-
35
-
36
-
37
-
38
-
39
-
40
-
41
-
42
-
43
-
44
-
45
-
46
-
47
-
48
-
49
-
50
-
51
-
52
-
53
-
54
-
55
-
56
-
57
-
58
-
59
-
60
-
61
-
62
-
63
-
64
-
65
-
66
-
67
-
68
-
69
-
70
-
71
-
72
-
73
-
74
-
 75
75 -
 76
76 -
 77
77 -
 78
78 -
 79
79 -
 80
80 -
 81
81 -
 82
82 -
 83
83 -
 84
84 -
 85
85 -
86
-
87
-
88
-
89
-
90
-
91
-
92
-
93
-
94
-
95
-
96
-
97
-
98
-
99
-
100
-
101
-
102
-
103
-
104
-
105
-
106
-
107
-
108
-
109
-
110
-
111
-
112
-
113
-
114
-
115
-
116
 |
 |