Sony RDR VX500 Operating Instructions - Page 39
Recording a Program to a VHS Tape, To stop recording - formats
 |
UPC - 027242657441
View all Sony RDR VX500 manuals
Add to My Manuals
Save this manual to your list of manuals |
Page 39 highlights
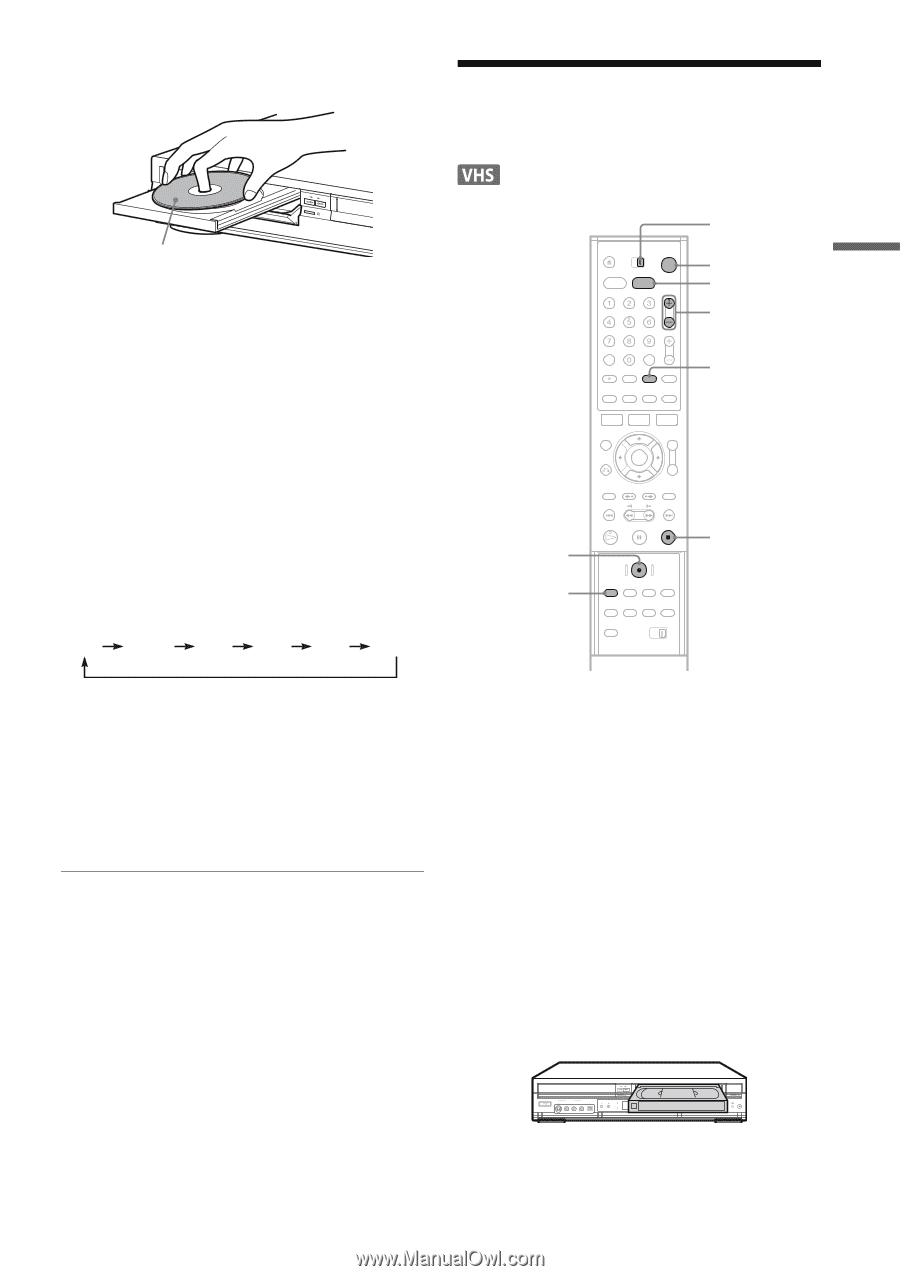
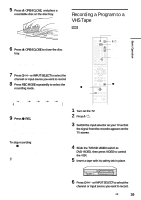
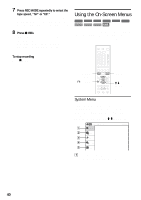
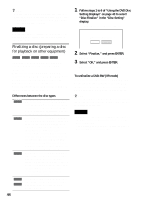
Basic Operation 5 Press Z OPEN/CLOSE, and place a recordable disc on the disc tray. Recording a Program to a VHS Tape With the playback side facing down 6 Press Z OPEN/CLOSE to close the disc tray. Wait until "LOAD" disappears from the front panel display. Unused DVD-RWs are formatted in VR mode automatically. To format in Video mode, see page 43. 7 Press CH +/- or INPUT SELECT to select the channel or input source you want to record. 8 Press REC MODE repeatedly to select the recording mode. Each time you press the button, the display changes on the TV screen as follows: HQ HSP SP LP EP SLP z REC REC MODE TV/DVD·VIDEO switch "/1 VIDEO CH +/- INPUT SELECT x STOP For more details about the recording mode, see page 47. 9 Press z REC. "REC" appears in the front panel display and recording starts. Recording continues until you stop the recording or the disc is full. To stop recording Press x STOP. Note that it may take a few seconds for the recorder to stop recording. z Hint This recorder can record on various discs. Select the disc type according to your needs (page 10). 1 Turn on the TV. 2 Press "/1. The recorder turns on. 3 Switch the input selector on your TV so that the signal from the recorder appears on the TV screen. When connecting the recorder to the TV using only the antenna cable, see "Setting the RF Output channel" on page 19. 4 Slide the TV/DVD·VIDEO switch to DVD·VIDEO, then press VIDEO to control the VCR. 5 Insert a tape with its safety tab in place. 6 Press CH +/- or INPUT SELECT to select the channel or input source you want to record. ,continued 39
-
 1
1 -
2
-
3
-
4
-
5
-
6
-
7
-
8
-
9
-
10
-
11
-
12
-
13
-
14
-
15
-
16
-
17
-
18
-
19
-
20
-
21
-
22
-
23
-
24
-
25
-
26
-
27
-
28
-
29
-
30
-
31
-
32
-
33
-
 34
34 -
 35
35 -
 36
36 -
 37
37 -
 38
38 -
 39
39 -
 40
40 -
 41
41 -
 42
42 -
 43
43 -
 44
44 -
45
-
46
-
47
-
48
-
49
-
50
-
51
-
52
-
53
-
54
-
55
-
56
-
57
-
58
-
59
-
60
-
61
-
62
-
63
-
64
-
65
-
66
-
67
-
68
-
69
-
70
-
71
-
72
-
73
-
74
-
75
-
76
-
77
-
78
-
79
-
80
-
81
-
82
-
83
-
84
-
85
-
86
-
87
-
88
-
89
-
90
-
91
-
92
-
93
-
94
-
95
-
96
-
97
-
98
-
99
-
100
-
101
-
102
-
103
-
104
-
105
-
106
-
107
-
108
-
109
-
110
-
111
-
112
-
113
-
114
-
115
-
116
-
117
-
118
-
119
-
120
-
121
-
122
-
123
-
124
-
125
-
126
-
127
-
128
 |
 |