TP-Link Archer D5 Archer D5 V1 User Guide - Page 86
Route Settings
 |
View all TP-Link Archer D5 manuals
Add to My Manuals
Save this manual to your list of manuals |
Page 86 highlights
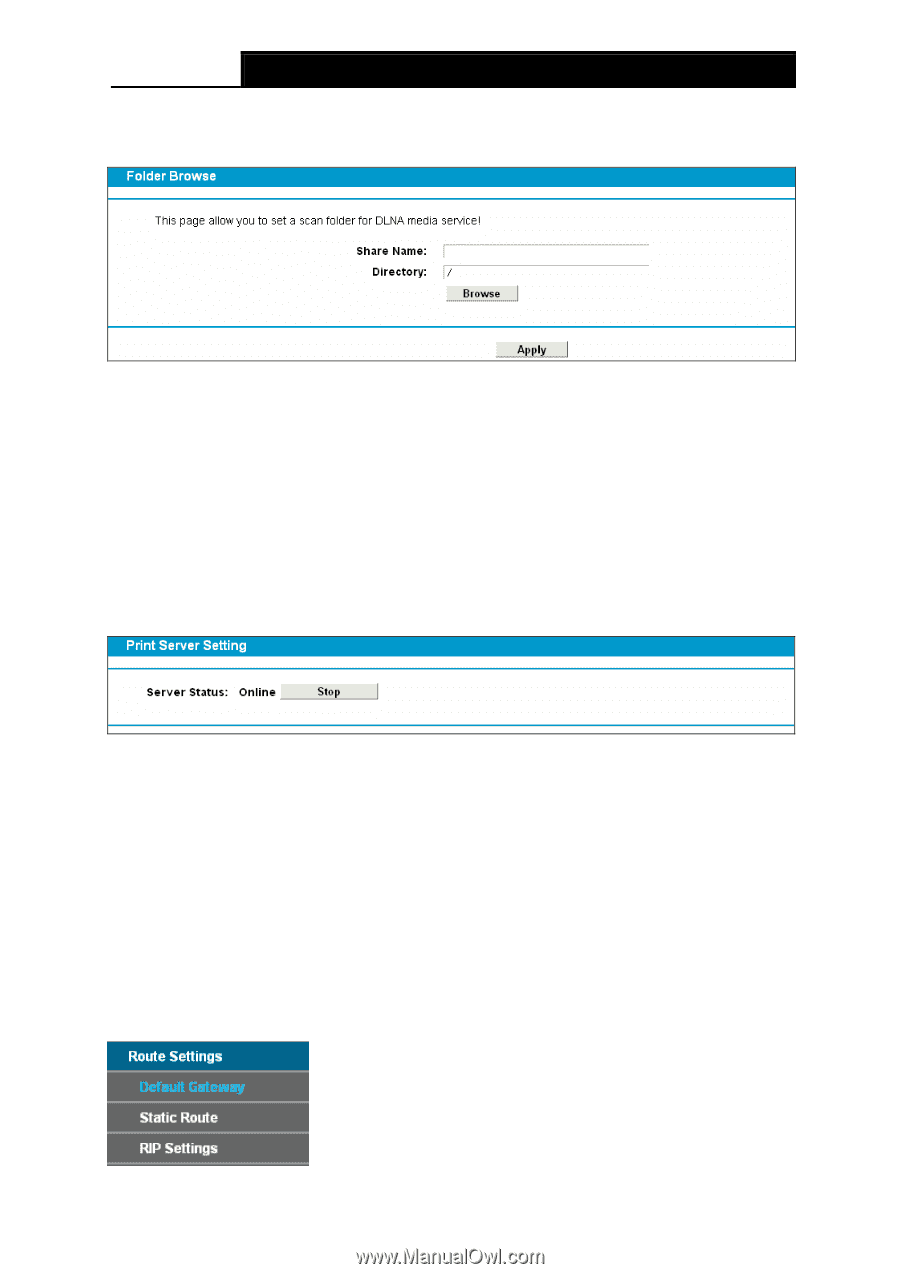
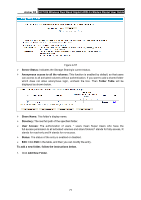
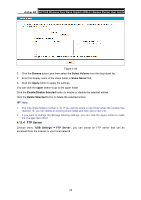
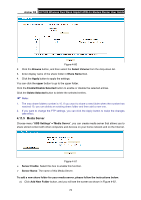
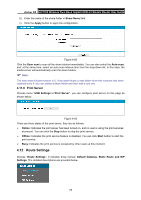
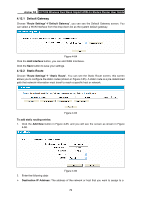
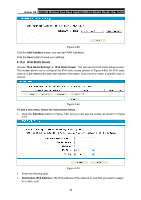
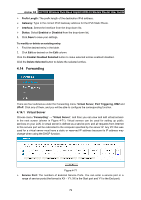
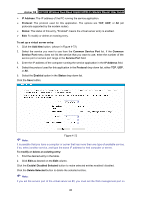
Archer D5 AC1200 Wireless Dual Band Gigabit ADSL2+ Modem Router User Guide b) Enter the name of the share folder in Share Name field. c) Click the Apply button to apply the configuration. Figure 4-62 Click the Scan now to scan all the share folders immediately. You can also select the Auto-scan, and, at the same time, select an auto scan interval time from the drop-down list. In this case, the media server will automatically scan the share folders. Note: The max share folders number is 6. If you want share a new folder when the numbers has been reached to be 6, you can delete a share folder and then add a new one. 4.11.6 Print Server Choose menu "USB Settings"→"Print Server", you can configure print server on this page as shown below. Figure 4-63 There are three states of the print server, they are as follows: Online: Indicates the print server has been turned on, and no user is using the print services at present. You can click the Stop button to stop the print service. Offline: Indicates the print service feature is disabled. You can click Start button to start the print service. Busy: Indicates the print service is occupied by other users at this moment. 4.12 Route Settings Choose "Route Settings", it includes three menus: Default Gateway, Static Route and RIP Settings. The detailed descriptions are provided below. 75
-
 1
1 -
2
-
3
-
4
-
5
-
6
-
7
-
8
-
9
-
10
-
11
-
12
-
13
-
14
-
15
-
16
-
17
-
18
-
19
-
20
-
21
-
22
-
23
-
24
-
25
-
26
-
27
-
28
-
29
-
30
-
31
-
32
-
33
-
34
-
35
-
36
-
37
-
38
-
39
-
40
-
41
-
42
-
43
-
44
-
45
-
46
-
47
-
48
-
49
-
50
-
51
-
52
-
53
-
54
-
55
-
56
-
57
-
58
-
59
-
60
-
61
-
62
-
63
-
64
-
65
-
66
-
67
-
68
-
69
-
70
-
71
-
72
-
73
-
74
-
75
-
76
-
77
-
78
-
79
-
80
-
 81
81 -
 82
82 -
 83
83 -
 84
84 -
 85
85 -
 86
86 -
 87
87 -
 88
88 -
 89
89 -
 90
90 -
 91
91 -
92
-
93
-
94
-
95
-
96
-
97
-
98
-
99
-
100
-
101
-
102
-
103
-
104
-
105
-
106
-
107
-
108
-
109
-
110
-
111
-
112
-
113
-
114
-
115
-
116
-
117
-
118
-
119
-
120
-
121
-
122
-
123
-
124
-
125
-
126
-
127
 |
 |