Adobe 26001360 Printing Guide - Page 24
Document Info, Layers palette
 |
UPC - 718659321840
View all Adobe 26001360 manuals
Add to My Manuals
Save this manual to your list of manuals |
Page 24 highlights
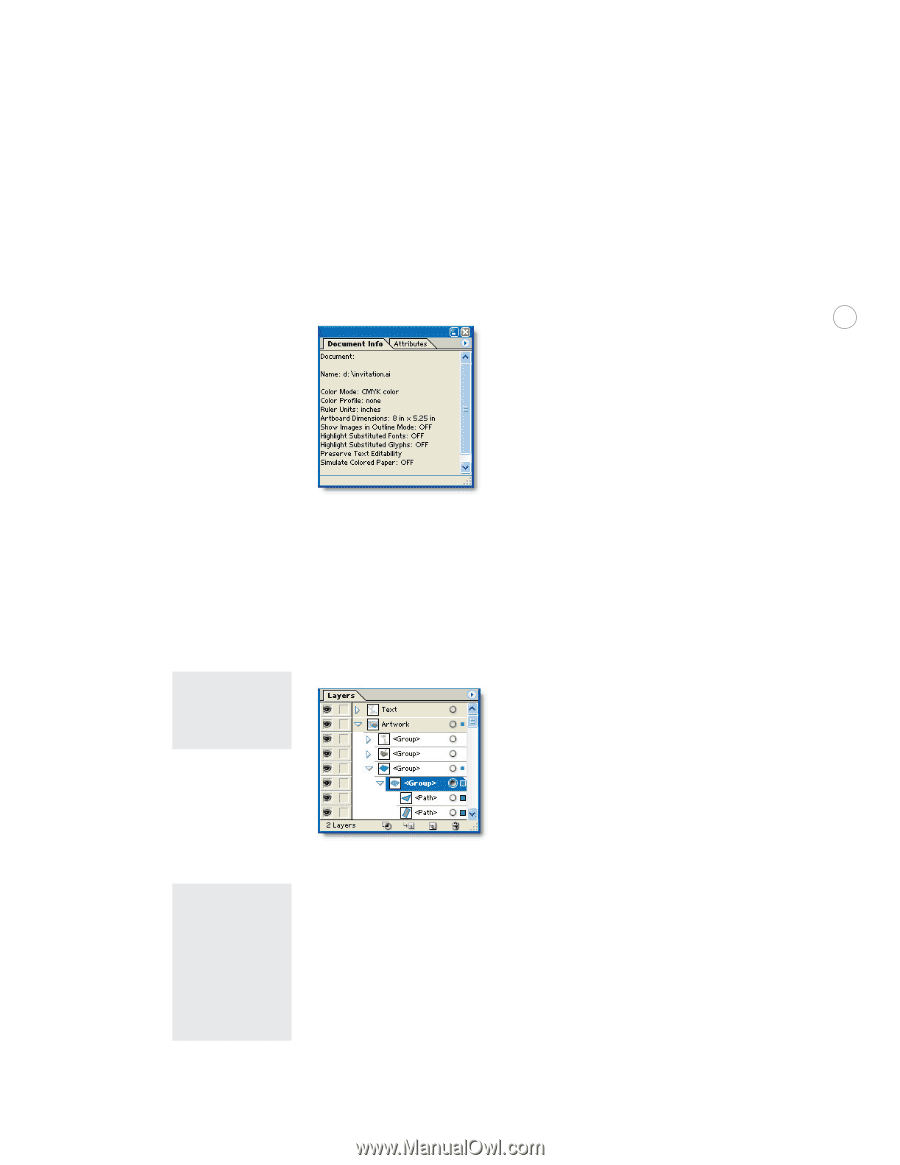
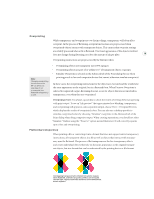
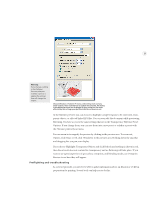
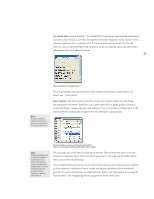
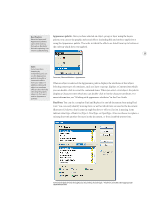
Document Info: Choose Window > Document Info to see listings of general file information and object characteristics, as well as the number and names of graphic styles, custom colors, patterns, gradients, fonts, and placed art. If you want information on only the selected object(s), choose Selection Only from the palette menu. Leaving this option deselected lists information about the entire document. 22 Note: If a layer is off (not visible), it will not be printed or included in the exported artwork. Choose Window > Document Info. You can get further information about linked images by opening the Links palette. For details, see "Links palette." Layers palette: The Layers palette provides an easy way to select, hide, lock, and change the appearance of artwork. Each layer can contain items such as paths, groups, envelopes, compound shapes, compound paths, and sublayers. You can expand or collapse items in the Layers palette by clicking the triangle to the left of the layer or group name. Note: Displaying thumbnails in the Layers palette may result in slow performance when you are working with complex files. Deselect Thumbnail choices in Layers Palette Options to improve performance. Choose Window > Layers to list and control all the layers in a document, starting with the frontmost layer. The stacking order of the layers is from top to bottom. Objects in the top layers sit on top of objects in the lower layers which can affect appearance. The order can also affect which objects are involved in flattening. Choose Palette Options from the Layers palette flyout menu to select options such as whether to show elements in addition to layers, set the row height, and when to show thumbnail previews. For more information on using the Layers palette, see "Selecting objects using the Layers palette" and "Organizing objects using layers" in the User Guide.
-
 1
1 -
2
-
3
-
4
-
5
-
6
-
7
-
8
-
9
-
10
-
11
-
12
-
13
-
14
-
15
-
16
-
17
-
18
-
 19
19 -
 20
20 -
 21
21 -
 22
22 -
 23
23 -
 24
24 -
 25
25 -
 26
26 -
 27
27 -
 28
28 -
 29
29 -
30
-
31
-
32
-
33
-
34
-
35
-
36
 |
 |