Canon PIXMA MP800R User's Guide - Page 159
Trouble scanning with MP Navigator
 |
View all Canon PIXMA MP800R manuals
Add to My Manuals
Save this manual to your list of manuals |
Page 159 highlights
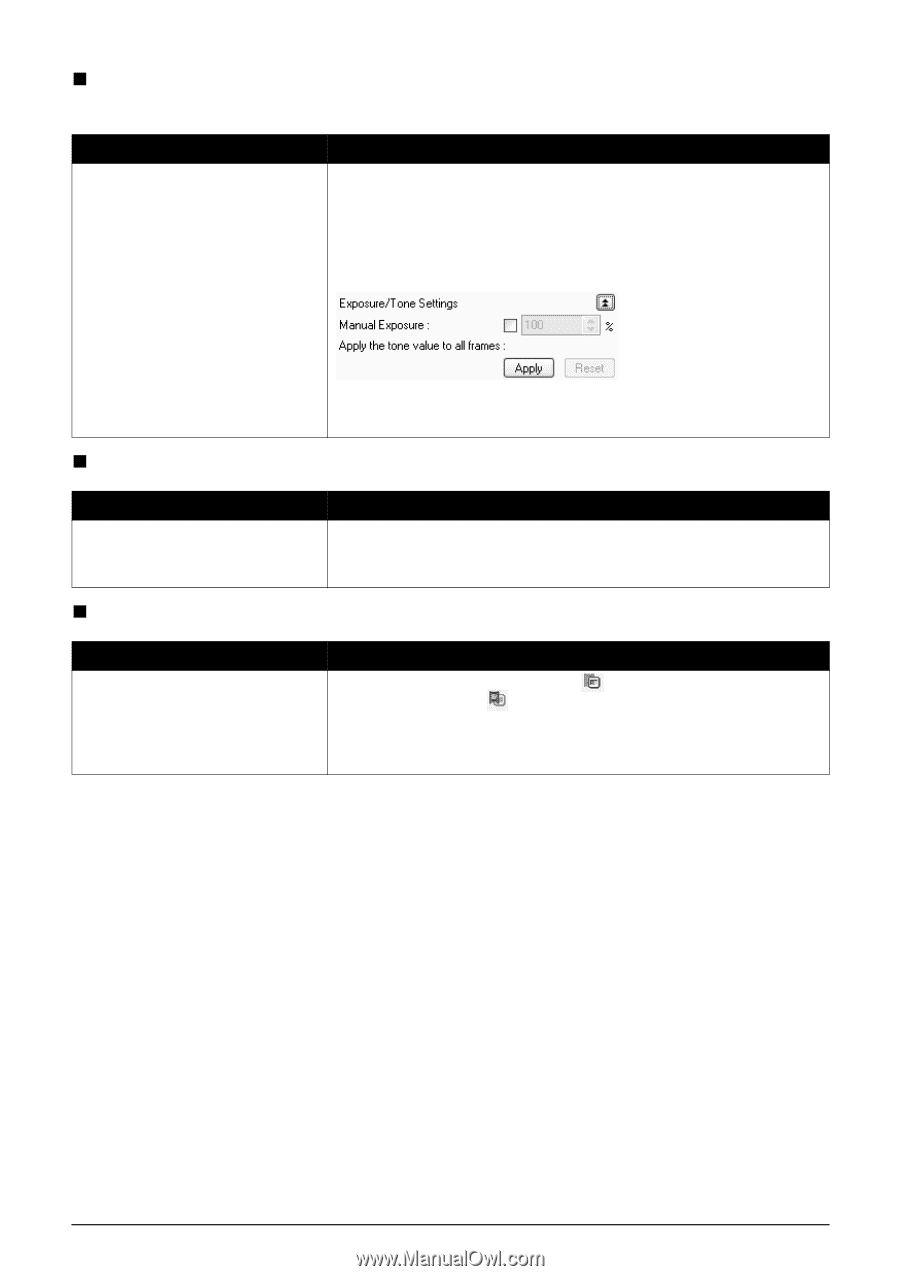
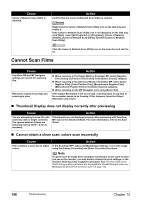
„ Image becomes too dark or too bright when cropping frame is moved, expanded or contracted Cause Changing the size or position of the cropping frame selects inappropriate color data. Action Perform the following procedures in Advanced Mode in ScanGear MP. 1. Click [Preview] to rescan the preview image. 2. Confirm that the display mode is set to [Thumbnail Display]. If the display mode is set to Thumbnail Display Off, click [Thumbnail] to change to Thumbnail Display On. 3. In the [Apply the tone value to all frames] section, click [Apply]. 4. Adjust the cropping frame. 5. Click [Scan]. „ Trouble scanning with MP Navigator Cause The film may not be scanned correctly when [Film Type] is set to [Auto]. Action Click [Specify] in Scan settings in MP Navigator, and set the [Film Type] to match the type of the film to scan, and scan it again. For more information, refer to the Scan Guide. „ Frames are not detected correctly Cause Action Some types of frames of film are not detected correctly. Click the Thumbnail Display On icon to change the display mode to Thumbnail Display Off (all film is displayed) in Advanced mode in ScanGear MP, and scan it. Adjust the cropping frame again. For more information, refer to the Scan Guide. Chapter 12 Troubleshooting 157
-
 1
1 -
2
-
3
-
4
-
5
-
6
-
7
-
8
-
9
-
10
-
11
-
12
-
13
-
14
-
15
-
16
-
17
-
18
-
19
-
20
-
21
-
22
-
23
-
24
-
25
-
26
-
27
-
28
-
29
-
30
-
31
-
32
-
33
-
34
-
35
-
36
-
37
-
38
-
39
-
40
-
41
-
42
-
43
-
44
-
45
-
46
-
47
-
48
-
49
-
50
-
51
-
52
-
53
-
54
-
55
-
56
-
57
-
58
-
59
-
60
-
61
-
62
-
63
-
64
-
65
-
66
-
67
-
68
-
69
-
70
-
71
-
72
-
73
-
74
-
75
-
76
-
77
-
78
-
79
-
80
-
81
-
82
-
83
-
84
-
85
-
86
-
87
-
88
-
89
-
90
-
91
-
92
-
93
-
94
-
95
-
96
-
97
-
98
-
99
-
100
-
101
-
102
-
103
-
104
-
105
-
106
-
107
-
108
-
109
-
110
-
111
-
112
-
113
-
114
-
115
-
116
-
117
-
118
-
119
-
120
-
121
-
122
-
123
-
124
-
125
-
126
-
127
-
128
-
129
-
130
-
131
-
132
-
133
-
134
-
135
-
136
-
137
-
138
-
139
-
140
-
141
-
142
-
143
-
144
-
145
-
146
-
147
-
148
-
149
-
150
-
151
-
152
-
153
-
 154
154 -
 155
155 -
 156
156 -
 157
157 -
 158
158 -
 159
159 -
 160
160 -
 161
161 -
 162
162 -
 163
163 -
 164
164 -
165
-
166
-
167
-
168
-
169
-
170
-
171
-
172
-
173
-
174
-
175
-
176
-
177
-
178
-
179
-
180
-
181
-
182
-
183
-
184
-
185
-
186
-
187
-
188
 |
 |