Dell B3460dn Mono Laser Printer User's Guide - Page 137
Incorrect characters print, Tray linking does not work, Large jobs do not collate, Step 1
 |
View all Dell B3460dn Mono Laser Printer manuals
Add to My Manuals
Save this manual to your list of manuals |
Page 137 highlights
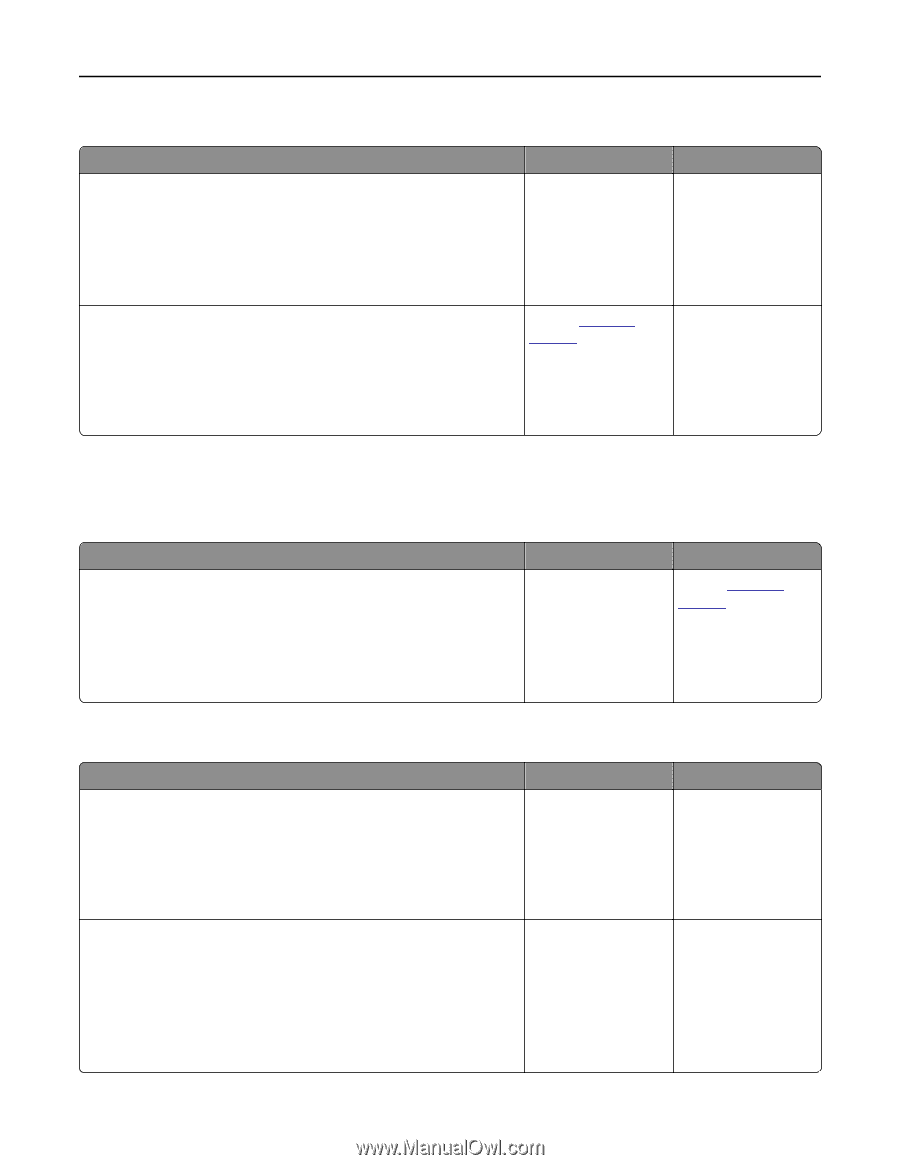
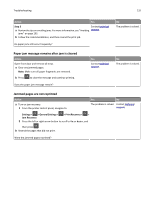
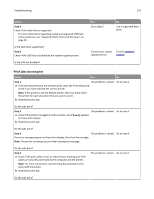
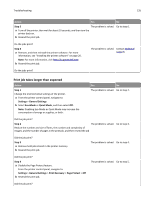
Troubleshooting 137 Incorrect characters print Action Step 1 Make sure the printer is not in Hex Trace mode. Note: If Ready Hex appears on the printer display, then turn off the printer, and then turn it back on to deactivate Hex Trace mode. Yes Deactivate Hex Trace mode. No Go to step 2. Is the printer in Hex Trace mode? Step 2 a From the printer control panel, select Standard Network or Network [x], and then set SmartSwitch to On. b Resend the print job. Contact technical support. The problem is solved. Do incorrect characters print? Tray linking does not work Note: The trays and the multipurpose feeder do not automatically detect the paper size. You must set the size from the Paper Size/Type menu. Action Yes No a From the printer control panel, set the paper size and type in the Paper The problem is solved. Contact technical menu to match the paper loaded in the trays to be linked. support. Note: The paper size and type must match for trays to be linked. b Resend the print job. Do the trays link correctly? Large jobs do not collate Action Yes No Step 1 a From the Finishing menu on the printer control panel, set Collate to (1,2,3) (1,2,3). b Resend the print job. The problem is solved. Go to step 2. Did the job print and collate correctly? Step 2 a From the printer software, set Collate to (1,2,3) (1,2,3). Note: Setting Collate to (1,1,1) (2,2,2) in the software overrides the setting in the Finishing menu. b Resend the print job. The problem is solved. Go to step 3. Did the job print and collate correctly?
-
 1
1 -
2
-
3
-
4
-
5
-
6
-
7
-
8
-
9
-
10
-
11
-
12
-
13
-
14
-
15
-
16
-
17
-
18
-
19
-
20
-
21
-
22
-
23
-
24
-
25
-
26
-
27
-
28
-
29
-
30
-
31
-
32
-
33
-
34
-
35
-
36
-
37
-
38
-
39
-
40
-
41
-
42
-
43
-
44
-
45
-
46
-
47
-
48
-
49
-
50
-
51
-
52
-
53
-
54
-
55
-
56
-
57
-
58
-
59
-
60
-
61
-
62
-
63
-
64
-
65
-
66
-
67
-
68
-
69
-
70
-
71
-
72
-
73
-
74
-
75
-
76
-
77
-
78
-
79
-
80
-
81
-
82
-
83
-
84
-
85
-
86
-
87
-
88
-
89
-
90
-
91
-
92
-
93
-
94
-
95
-
96
-
97
-
98
-
99
-
100
-
101
-
102
-
103
-
104
-
105
-
106
-
107
-
108
-
109
-
110
-
111
-
112
-
113
-
114
-
115
-
116
-
117
-
118
-
119
-
120
-
121
-
122
-
123
-
124
-
125
-
126
-
127
-
128
-
129
-
130
-
131
-
 132
132 -
 133
133 -
 134
134 -
 135
135 -
 136
136 -
 137
137 -
 138
138 -
 139
139 -
 140
140 -
 141
141 -
 142
142 -
143
-
144
-
145
-
146
-
147
-
148
-
149
-
150
-
151
-
152
-
153
-
154
-
155
-
156
-
157
-
158
-
159
-
160
-
161
-
162
-
163
-
164
-
165
-
166
-
167
 |
 |