Epson XP-600 Epson Connect Guide - Page 21
Creating a Destination List for the Scan to Cloud service, 4. Setting the Remote Print service, Setting Up Google Cloud Print, Creating a Google account - printer driver
 |
View all Epson XP-600 manuals
Add to My Manuals
Save this manual to your list of manuals |
Page 21 highlights
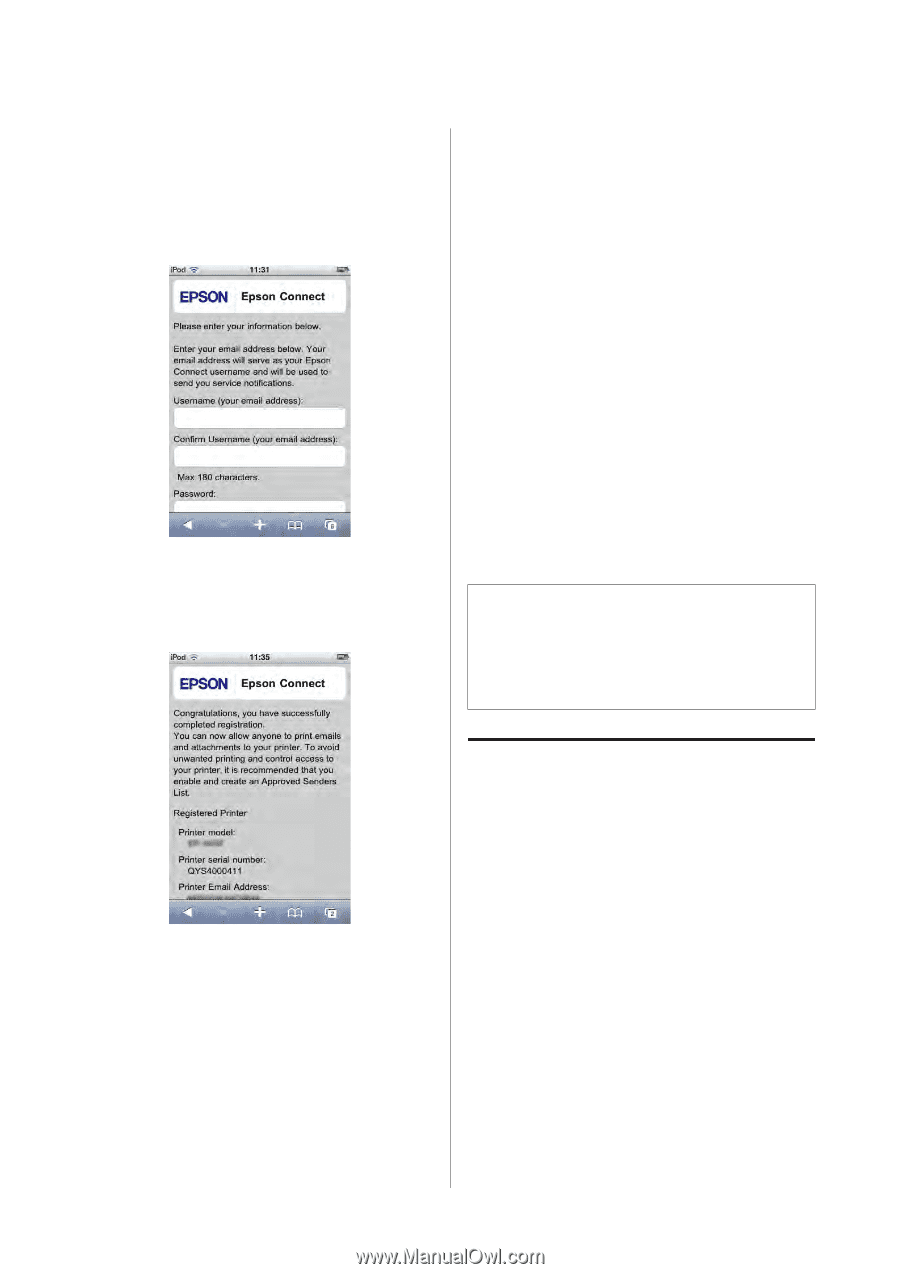
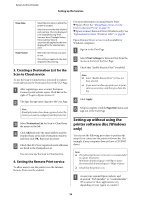
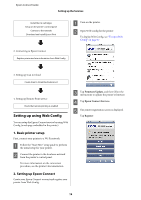
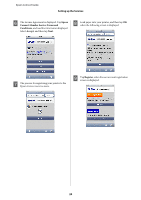
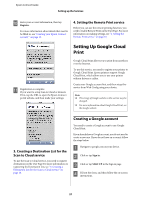
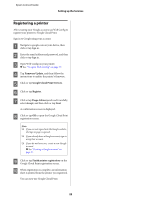
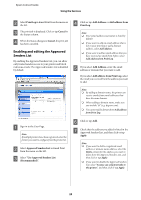
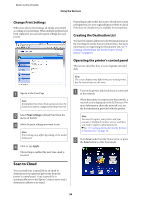
Epson Connect Guide Setting up the Services J Enter your account information, then tap Register. For more information about details that need to be filled in, see "Creating your Epson Connect account " on page 15. 4. Setting the Remote Print service Before you can use the remote printing function, you need to enable Remote Print on the User Page. For more information on making settings, see "4. Setting the Remote Print service" on page 16. K Registration is complete. If you want to setup Scan to Cloud or Remote Print, tap the URL to open the Epson Connect portal website, and then make your settings. Setting Up Google Cloud Print Google Cloud Print allows you to print from anywhere over the Internet. To use this service, you need to register your printer to Google Cloud Print. Epson printers support Google Cloud Print, which allows you to use your printer without drivers or cables. Create your Google account first, and then setup this service from Web Config using your device. Note: ❏ The strings of Google website in this section may be changed. ❏ For more information about Google Cloud Print, see the Google website. 3. Creating a Destination List for the Scan to Cloud service To use the Scan to Cloud service, you need to register destinations on the User Page For more information on registering the Destination List, see "3. Creating a Destination List for the Scan to Cloud service" on page 16. Creating a Google account You need to create a Google account to use Google Cloud Print. If you already have a Google account, you do not need to create a new one. If you do not have an account, follow the steps below. A Navigate to google.com on your device. B Click or tap Sign in. C Click or tap SIGN UP in the Sign in page. D Fill out the form, and then follow the on-screen instructions. 21
-
 1
1 -
2
-
3
-
4
-
5
-
6
-
7
-
8
-
9
-
10
-
11
-
12
-
13
-
14
-
15
-
 16
16 -
 17
17 -
 18
18 -
 19
19 -
 20
20 -
 21
21 -
 22
22 -
 23
23 -
 24
24 -
 25
25 -
 26
26 -
27
-
28
-
29
-
30
-
31
-
32
-
33
-
34
-
35
-
36
-
37
-
38
-
39
-
40
-
41
-
42
-
43
-
44
-
45
-
46
 |
 |