Gateway C-120 Gateway Notebook Reference Guide R2 for Windows XP - Page 105
Loosen the two hard drive bay cover screws they cannot
 |
View all Gateway C-120 manuals
Add to My Manuals
Save this manual to your list of manuals |
Page 105 highlights
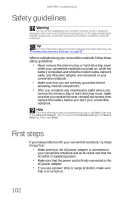
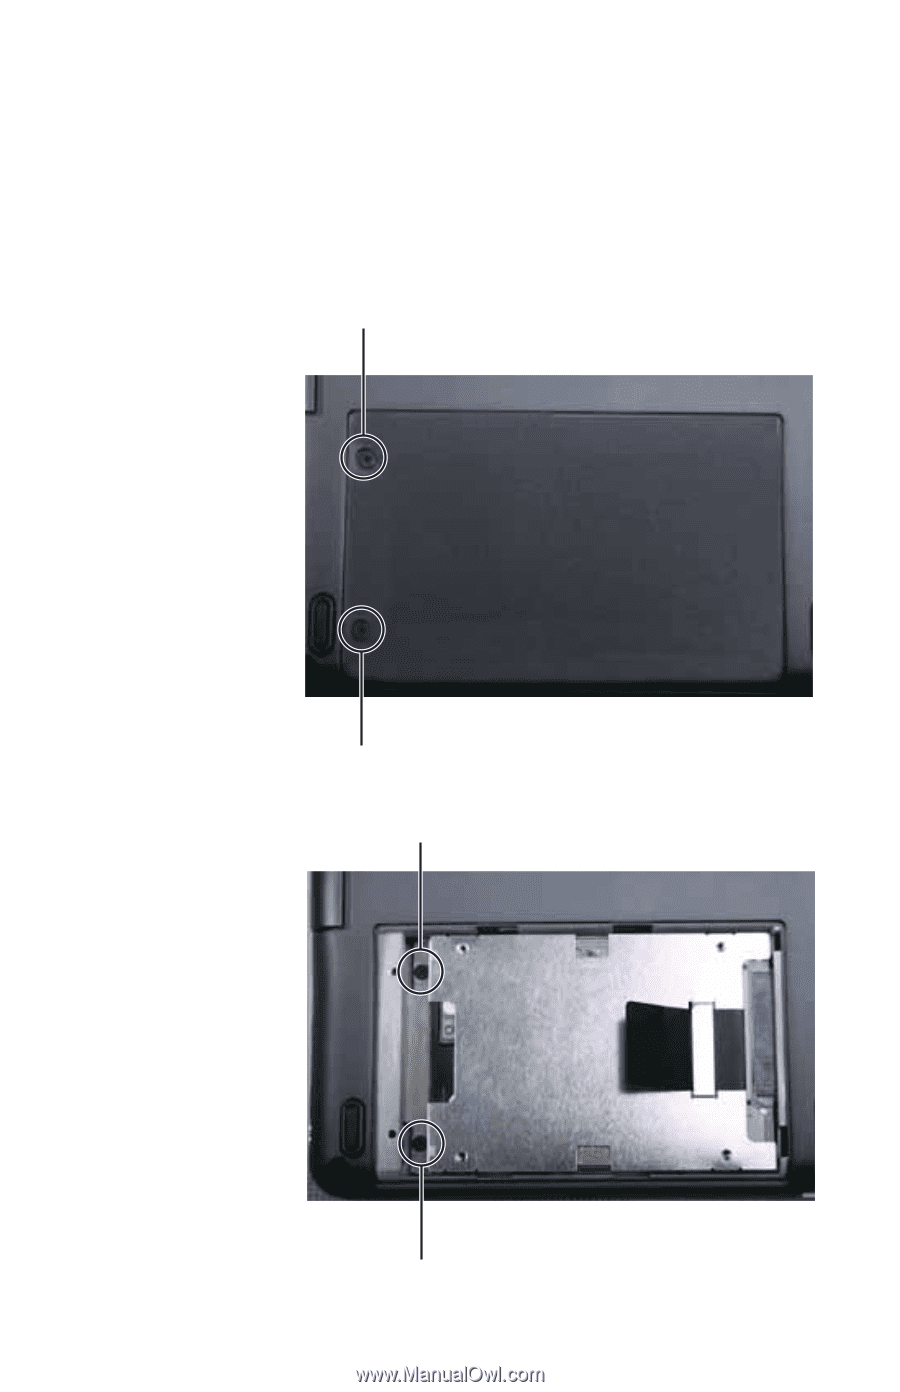
www.gateway.com 9 Disconnect all peripheral devices connected to the convertible notebook and remove any PC cards. 10 Turn your convertible notebook over so the bottom is facing up, then remove the battery. For more information, see "Changing the battery" on page 65. 11 Loosen the two hard drive bay cover screws (they cannot be removed), then remove the hard drive bay cover. Screw Screw 12 Remove the two hard drive screws. Screw Screw 97
-
 1
1 -
2
-
3
-
4
-
5
-
6
-
7
-
8
-
9
-
10
-
11
-
12
-
13
-
14
-
15
-
16
-
17
-
18
-
19
-
20
-
21
-
22
-
23
-
24
-
25
-
26
-
27
-
28
-
29
-
30
-
31
-
32
-
33
-
34
-
35
-
36
-
37
-
38
-
39
-
40
-
41
-
42
-
43
-
44
-
45
-
46
-
47
-
48
-
49
-
50
-
51
-
52
-
53
-
54
-
55
-
56
-
57
-
58
-
59
-
60
-
61
-
62
-
63
-
64
-
65
-
66
-
67
-
68
-
69
-
70
-
71
-
72
-
73
-
74
-
75
-
76
-
77
-
78
-
79
-
80
-
81
-
82
-
83
-
84
-
85
-
86
-
87
-
88
-
89
-
90
-
91
-
92
-
93
-
94
-
95
-
96
-
97
-
98
-
99
-
 100
100 -
 101
101 -
 102
102 -
 103
103 -
 104
104 -
 105
105 -
 106
106 -
 107
107 -
 108
108 -
 109
109 -
 110
110 -
111
-
112
-
113
-
114
-
115
-
116
-
117
-
118
-
119
-
120
-
121
-
122
-
123
-
124
-
125
-
126
-
127
-
128
-
129
-
130
-
131
-
132
-
133
-
134
-
135
-
136
-
137
-
138
-
139
-
140
-
141
-
142
-
143
-
144
-
145
-
146
-
147
-
148
-
149
-
150
-
151
-
152
-
153
-
154
-
155
-
156
 |
 |
www.gateway.com
97
9
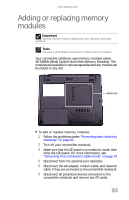
Disconnect all peripheral devices connected to the
convertible notebook and remove any PC cards.
10
Turn your convertible notebook over so the bottom is
facing up, then remove the battery. For more
information, see
“Changing the battery” on page 65
.
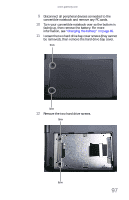
11
Loosen the two hard drive bay cover screws (they cannot
be removed), then remove the hard drive bay cover.
12
Remove the two hard drive screws.
Screw
Screw
Screw
Screw