HP LaserJet 1100 Service Manual - Page 125
areas within
 |
View all HP LaserJet 1100 manuals
Add to My Manuals
Save this manual to your list of manuals |
Page 125 highlights
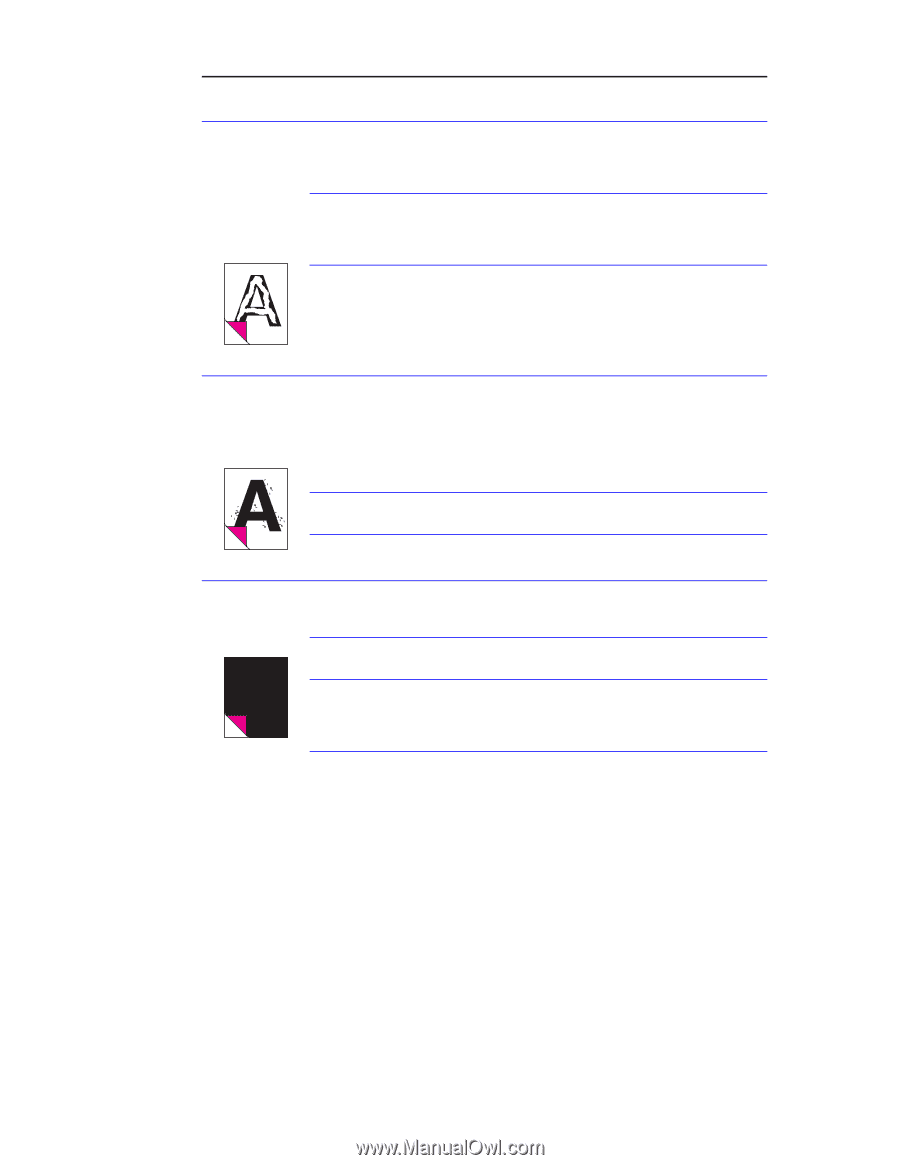
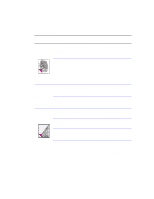
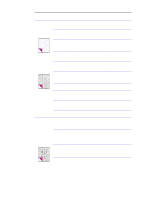
Table 5-3. Solving image quality problems Problem Cause Solution Character voids appear (white areas within the parts of characters that should be solid black). The paper or transparencies do not meet HP's specifications. You are printing on the wrong surface of the paper. Make sure that the media meets specifications detailed in HP's media specifications guide. Remove the paper and turn it around. (The wrapper on many reams of paper has an arrow indicating the print side.) Poor fusing. Check for wrap jam in fuser. Background scatter appears on a printed page. Background scatter results from bits of toner distributed on the front or back of a printed page. Background scatter often is isolated to a specific area of the page. Try changing the print density setting. If that doesn't work, change the paper type, weight, or surface finish. If background scatter occurs on an envelope, try moving the text to an area with no seams. Printing on seams can cause this problem. Toner has spilled inside the product. See "Cleaning procedures" in this chapter. The pickup roller is dirty. See "Cleaning procedures" in this chapter. The page is completely black. The toner cartridge was improperly installed. Remove the cartridge and reinstall it. The toner cartridge is defective. Replace the toner cartridge. Discontinuity exists in the high-voltage contact points. Perform the "High-voltage power supply check," which is discussed later in this chapter. There is a problem in the ECU or the laser/scanner. Follow the steps in "Basic troubleshooting" to isolate the problem. Replace the ECU or the laser/scanner, as needed. 130 Troubleshooting/Maintenance C4224-90962
-
 1
1 -
2
-
3
-
4
-
5
-
6
-
7
-
8
-
9
-
10
-
11
-
12
-
13
-
14
-
15
-
16
-
17
-
18
-
19
-
20
-
21
-
22
-
23
-
24
-
25
-
26
-
27
-
28
-
29
-
30
-
31
-
32
-
33
-
34
-
35
-
36
-
37
-
38
-
39
-
40
-
41
-
42
-
43
-
44
-
45
-
46
-
47
-
48
-
49
-
50
-
51
-
52
-
53
-
54
-
55
-
56
-
57
-
58
-
59
-
60
-
61
-
62
-
63
-
64
-
65
-
66
-
67
-
68
-
69
-
70
-
71
-
72
-
73
-
74
-
75
-
76
-
77
-
78
-
79
-
80
-
81
-
82
-
83
-
84
-
85
-
86
-
87
-
88
-
89
-
90
-
91
-
92
-
93
-
94
-
95
-
96
-
97
-
98
-
99
-
100
-
101
-
102
-
103
-
104
-
105
-
106
-
107
-
108
-
109
-
110
-
111
-
112
-
113
-
114
-
115
-
116
-
117
-
118
-
119
-
 120
120 -
 121
121 -
 122
122 -
 123
123 -
 124
124 -
 125
125 -
 126
126 -
 127
127 -
 128
128 -
 129
129 -
 130
130 -
131
-
132
-
133
-
134
-
135
-
136
-
137
-
138
-
139
-
140
-
141
-
142
-
143
-
144
-
145
-
146
-
147
-
148
-
149
-
150
-
151
-
152
-
153
-
154
-
155
-
156
-
157
-
158
-
159
-
160
-
161
-
162
-
163
-
164
-
165
-
166
-
167
-
168
-
169
-
170
-
171
-
172
-
173
-
174
-
175
-
176
-
177
-
178
-
179
-
180
-
181
-
182
-
183
-
184
-
185
-
186
-
187
-
188
-
189
-
190
-
191
 |
 |