HP Photosmart M305 HP Photosmart M305/M307 digital camera with HP Instant Shar - Page 29
Recording Video Clips
 |
View all HP Photosmart M305 manuals
Add to My Manuals
Save this manual to your list of manuals |
Page 29 highlights
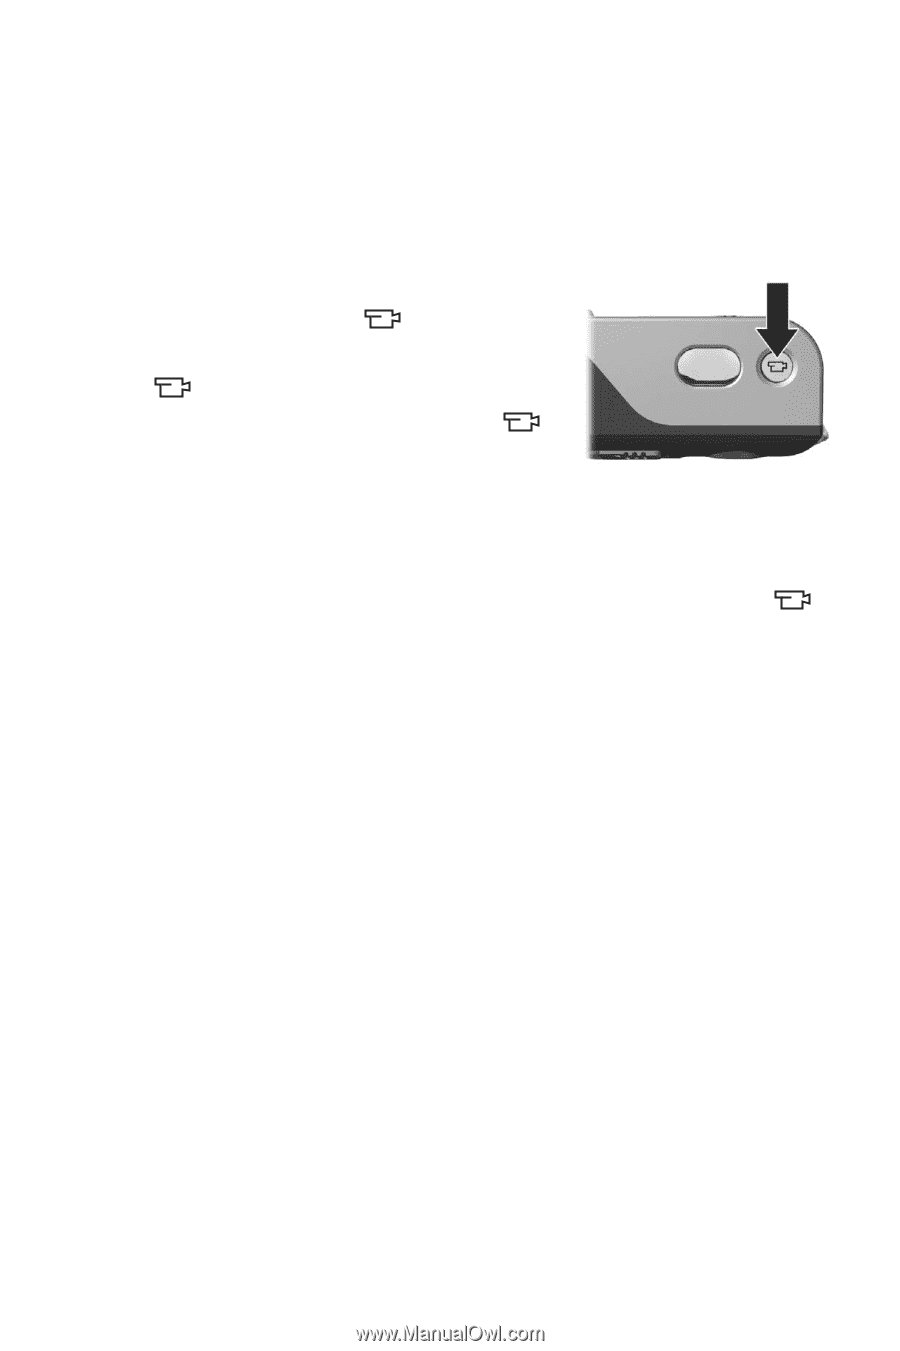
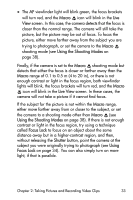
Recording Video Clips NOTE Zoom is disabled while recording video clips. A video clip includes audio. 1 Frame the subject for your video in the viewfinder. 2 To start recording video, press and release the Video button on the top of the camera. The Video viewfinder light turns on solid red. If Live View is on, a video icon, REC, a video counter, and a message instructing how to end the video appear on the Image Display. (See Using Live View on page 30.) 3 To stop recording video, press and release the Video button again; otherwise, the video will continue recording until the camera runs out of memory. NOTE If you have set the camera to Self-Timer or Self-Timer 2 Shots (see Using the Self-Timer Settings on page 40), the camera will start recording 10 seconds after you press the Video button. However, with the Self-Timer - 2 Shots setting, the camera only records one video clip. After recording has stopped, the last frame of the video clip appears for several seconds on the Image Display. This is called Instant Review. You can delete the video clip during Instant Review by pressing the Menu/OK button. You can use Playback on the camera to review the video clips you have recorded. See Using Playback on page 53. Chapter 2: Taking Pictures and Recording Video Clips 29
-
 1
1 -
2
-
3
-
4
-
5
-
6
-
7
-
8
-
9
-
10
-
11
-
12
-
13
-
14
-
15
-
16
-
17
-
18
-
19
-
20
-
21
-
22
-
23
-
 24
24 -
 25
25 -
 26
26 -
 27
27 -
 28
28 -
 29
29 -
 30
30 -
 31
31 -
 32
32 -
 33
33 -
 34
34 -
35
-
36
-
37
-
38
-
39
-
40
-
41
-
42
-
43
-
44
-
45
-
46
-
47
-
48
-
49
-
50
-
51
-
52
-
53
-
54
-
55
-
56
-
57
-
58
-
59
-
60
-
61
-
62
-
63
-
64
-
65
-
66
-
67
-
68
-
69
-
70
-
71
-
72
-
73
-
74
-
75
-
76
-
77
-
78
-
79
-
80
-
81
-
82
-
83
-
84
-
85
-
86
-
87
-
88
-
89
-
90
-
91
-
92
-
93
-
94
-
95
-
96
-
97
-
98
-
99
-
100
-
101
-
102
-
103
-
104
-
105
-
106
-
107
-
108
-
109
-
110
-
111
-
112
-
113
-
114
-
115
-
116
-
117
-
118
-
119
-
120
-
121
-
122
-
123
-
124
-
125
-
126
-
127
-
128
-
129
-
130
-
131
-
132
-
133
-
134
-
135
-
136
-
137
-
138
-
139
-
140
-
141
-
142
-
143
-
144
-
145
-
146
-
147
-
148
-
149
-
150
-
151
-
152
-
153
-
154
 |
 |