Konica Minolta bizhub 25e bizhub 25e Administrators Guide - Page 28
Changing the soft keys
 |
View all Konica Minolta bizhub 25e manuals
Add to My Manuals
Save this manual to your list of manuals |
Page 28 highlights
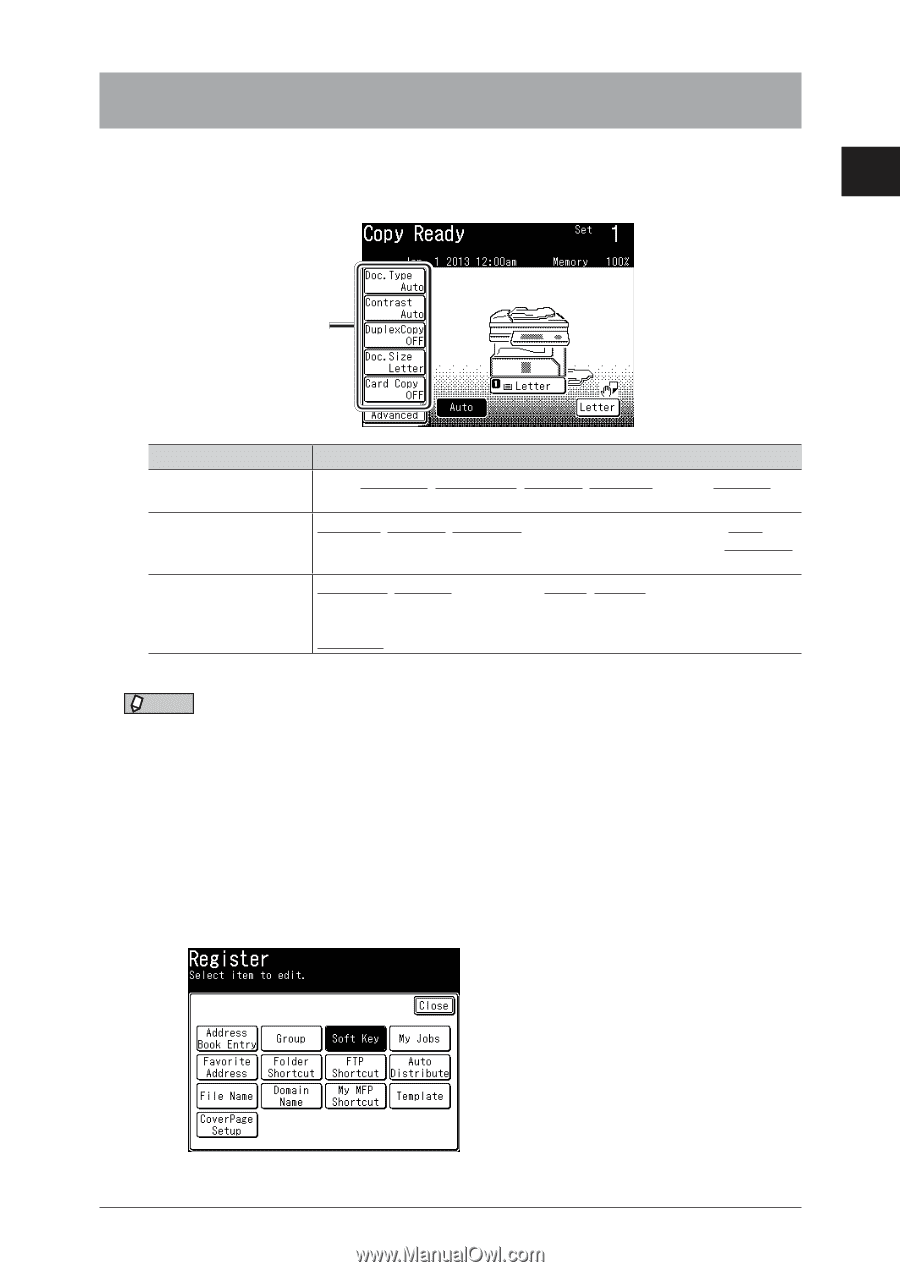
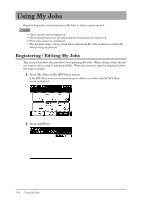
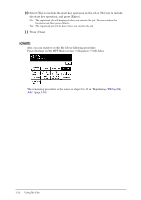
Using common functions Changing the soft keys Up to five advanced functions of each mode can be displayed on the ready screen. By assigning frequently used functions, you can use them from the ready screen. 1 Example of the copy ready screen: Soft keys Ready screen Copy screen Scanner screen Fax screen Functions that can be assigned Zoom, Card Copy, Duplex Copy, Doc. Size, Doc. Type, Bypass, Contrast, Sort, Combine, Next Doc., DocIndex Doc. Type, Contrast, Resolution, Scan Size, Stamp*1, Next Doc., Color, DuplexScan, Broadcast, Batch Scan, File Format, Speed-Dial, File Name, Mail Address, e-mail Subject, Mail History, Color Adjust, Group Tx Resolution, Contrast, DuplexScan, Redial, Monitor, Speed-Dial, AutoDist., Group Tx, Auto Rx, SecurityRx, TTI, Cover Page, Tx Report, Scan Size, Stamp, Next Doc., Closed Tx,ID Check, MemoryTx, Dialing Options, Broadcast, Delayed Tx, E Gateway *1 Only when the "Scan confirmation stamp option" is attached. NOTE Underlined values are the default settings specified at the time of shipment. 1 Press [Setting] on My MFP Menu screen. If My MFP Menu screen is not displayed, press repeatedly until My MFP Menu screen is displayed. 2 Press [Register]. 3 Press [Soft Key]. Changing the soft keys 1-15
-
 1
1 -
2
-
3
-
4
-
5
-
6
-
7
-
8
-
9
-
10
-
11
-
12
-
13
-
14
-
15
-
16
-
17
-
18
-
19
-
20
-
21
-
22
-
 23
23 -
 24
24 -
 25
25 -
 26
26 -
 27
27 -
 28
28 -
 29
29 -
 30
30 -
 31
31 -
 32
32 -
 33
33 -
34
-
35
-
36
-
37
-
38
-
39
-
40
-
41
-
42
-
43
-
44
-
45
-
46
-
47
-
48
-
49
-
50
-
51
-
52
-
53
-
54
-
55
-
56
-
57
-
58
-
59
-
60
-
61
-
62
-
63
-
64
-
65
-
66
-
67
-
68
-
69
-
70
-
71
-
72
-
73
-
74
-
75
-
76
-
77
-
78
-
79
-
80
-
81
-
82
-
83
-
84
-
85
-
86
-
87
-
88
-
89
-
90
-
91
-
92
-
93
-
94
-
95
-
96
-
97
-
98
-
99
-
100
-
101
-
102
-
103
-
104
-
105
-
106
-
107
-
108
-
109
-
110
-
111
-
112
-
113
-
114
-
115
-
116
-
117
-
118
-
119
-
120
-
121
-
122
-
123
-
124
-
125
-
126
-
127
-
128
 |
 |