LG DML200 User Manual - Page 17
Contacts
 |
View all LG DML200 manuals
Add to My Manuals
Save this manual to your list of manuals |
Page 17 highlights
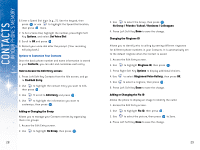
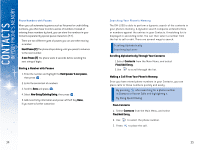
CONTACTS IN YOUR PHONE'S MEMORY 6.Enter a Speed Dial digit (e.g., 2). Use the keypad, then press or use to highlight the Speed Dial location, then press twice. 7. To Set a Voice Dial, highlight the number, press Right Soft Key Options, and select Set Voice Dial. 8. Scroll to OK and press . 9. Record your voice dial after the prompt. (Your recording will play back.) Options to Customize Your Contacts Once the basic phone number and name information is stored in your Contacts, you can edit and customize each entry. How to Access the Edit Entry screen: 1. Press Left Soft Key Contacts from the Idle screen, and go to Find/Add Entry. 2. Use to highlight the contact entry you want to edit, then press . 3. Use to scroll to Edit Entry and press . 4. Use to highlight the information you want to customize, then press . Adding or Changing the Group Allows you to manage your Contacts entries by organizing them into groups. 1. Access the Edit Entry screen. 2. Use to highlight No Group, then press . 28 3. Use to select the Group, then press . No Group / Friends / School / Business / Colleagues 4. Press Left Soft Key Done to save the change. Changing the Ringtone ID Allows you to identify who is calling by setting different ringtones for different phone numbers in your Contacts. It is automatically set to the default ringtone when the Contact is saved. 1. Access the Edit Entry screen. 2. Use to highlight Ringtone ID, then press . 3. Press Right Soft Key Options to display additional choices. 4. Use to select Ringtones/Voice Gallery, then press OK. 5. Use to select a ringtone, then press . 6. Press Left Soft Key Done to save the change. Adding or Changing the Pix ID Allows the phone to display an image to identify the caller. 1. Access the Edit Entry screen. 2. Use to highlight Pix ID, then press . 3. Use to select the picture, then press to Save. 4. Press Left Soft Key Done to save the change. 29
-
 1
1 -
2
-
3
-
4
-
5
-
6
-
7
-
8
-
9
-
10
-
11
-
 12
12 -
 13
13 -
 14
14 -
 15
15 -
 16
16 -
 17
17 -
 18
18 -
 19
19 -
 20
20 -
 21
21 -
 22
22 -
23
-
24
-
25
-
26
-
27
-
28
-
29
-
30
-
31
-
32
-
33
-
34
-
35
-
36
-
37
-
38
-
39
-
40
-
41
-
42
-
43
-
44
-
45
-
46
-
47
-
48
-
49
-
50
-
51
-
52
-
53
-
54
-
55
-
56
-
57
-
58
-
59
-
60
-
61
-
62
-
63
 |
 |
