Lexmark Genesis S815 Quick Reference Guide - Page 16
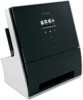
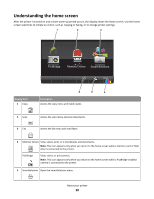
Understanding the parts of the printer
 |
View all Lexmark Genesis S815 manuals
Add to My Manuals
Save this manual to your list of manuals |
Page 16 highlights
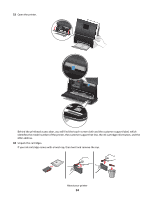
19 From the printer control panel, touch Continue to print an alignment page. Notes: • Do not remove the page until printing stops. The alignment page may take a while to print and will move in and out during the process. • Streaks on the alignment page are normal and not an indication of a problem. • The alignment page that prints may differ from the one shown. • Recycle the alignment page. Understanding the parts of the printer 2 3 1 5 6 7 4 Use the 1 Scanner lid 2 Scanner glass 3 Scanner clip 4 Placement corner 11 10 9 8 To Access the scanner glass. Scan, copy, or fax photos and documents. Hold photos, cards, or other small media in place. Correctly place photos and documents on the scanner glass. About your printer 16
-
 1
1 -
2
-
3
-
4
-
5
-
6
-
7
-
8
-
9
-
10
-
 11
11 -
 12
12 -
 13
13 -
 14
14 -
 15
15 -
 16
16 -
 17
17 -
 18
18 -
 19
19 -
 20
20 -
 21
21 -
22
-
23
-
24
-
25
-
26
-
27
-
28
-
29
-
30
-
31
-
32
-
33
-
34
-
35
-
36
-
37
-
38
-
39
-
40
-
41
-
42
-
43
-
44
-
45
-
46
-
47
-
48
-
49
-
50
-
51
-
52
-
53
-
54
-
55
-
56
-
57
-
58
-
59
-
60
-
61
-
62
-
63
-
64
-
65
-
66
-
67
-
68
-
69
-
70
-
71
-
72
-
73
-
74
-
75
-
76
-
77
-
78
-
79
-
80
-
81
-
82
-
83
-
84
-
85
-
86
-
87
-
88
-
89
-
90
-
91
-
92
-
93
-
94
-
95
-
96
-
97
 |
 |
19
From the printer control panel, touch
Continue
to print an alignment page.
Notes:
•
Do not remove the page until printing stops. The alignment page may take a while to print and will move in
and out during the process.
•
Streaks on the alignment page are normal and not an indication of a problem.
•
The alignment page that prints may differ from the one shown.
•
Recycle the alignment page.
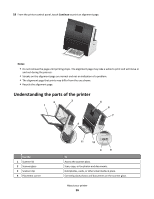
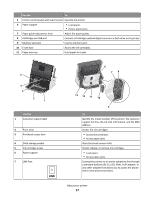
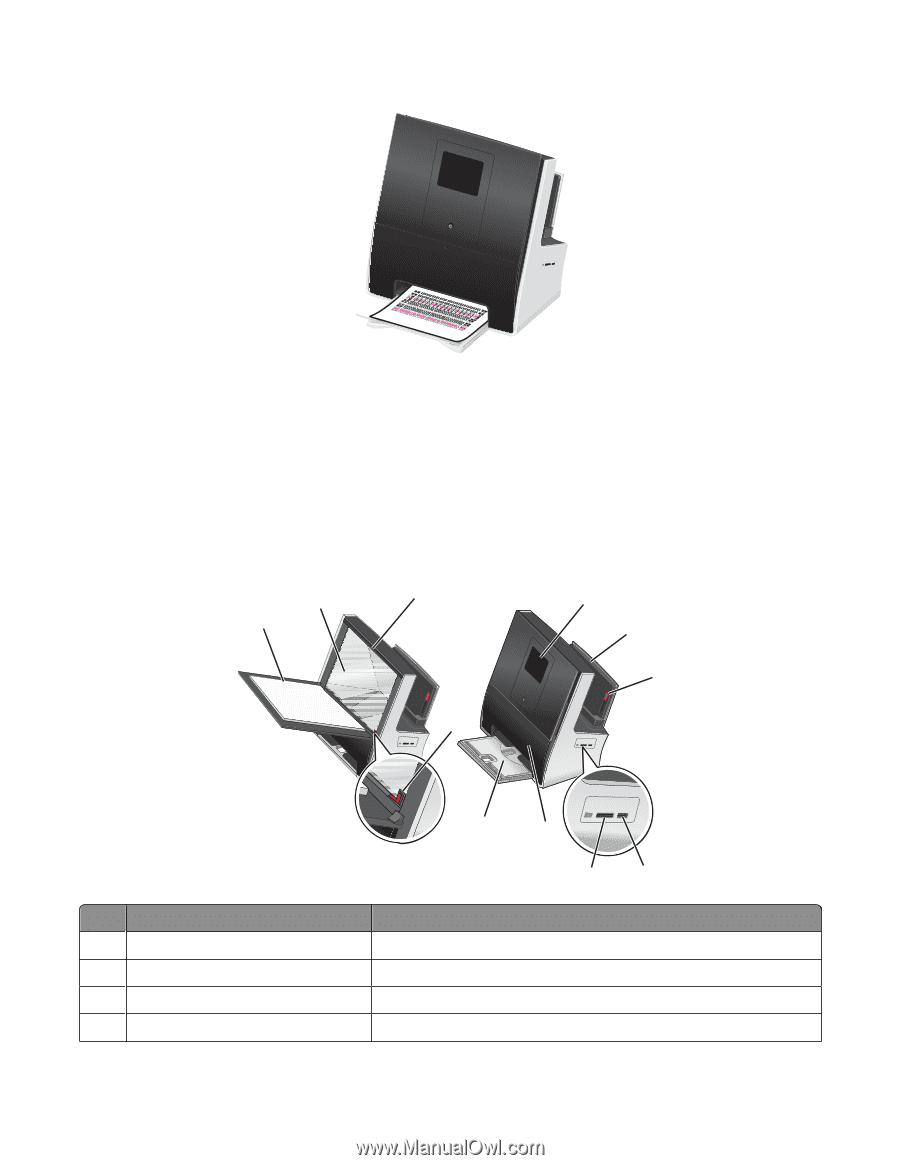
Understanding the parts of the printer
1
2
3
6
7
10
11
8
9
4
5
Use the
To
1
Scanner lid
Access the scanner glass.
2
Scanner glass
Scan, copy, or fax photos and documents.
3
Scanner clip
Hold photos, cards, or other small media in place.
4
Placement corner
Correctly place photos and documents on the scanner glass.
About your printer
16