Lexmark Genesis S815 User Manual - Page 61
Scanning, Tips for scanning, Scanning to a local or network computer
 |
View all Lexmark Genesis S815 manuals
Add to My Manuals
Save this manual to your list of manuals |
Page 61 highlights
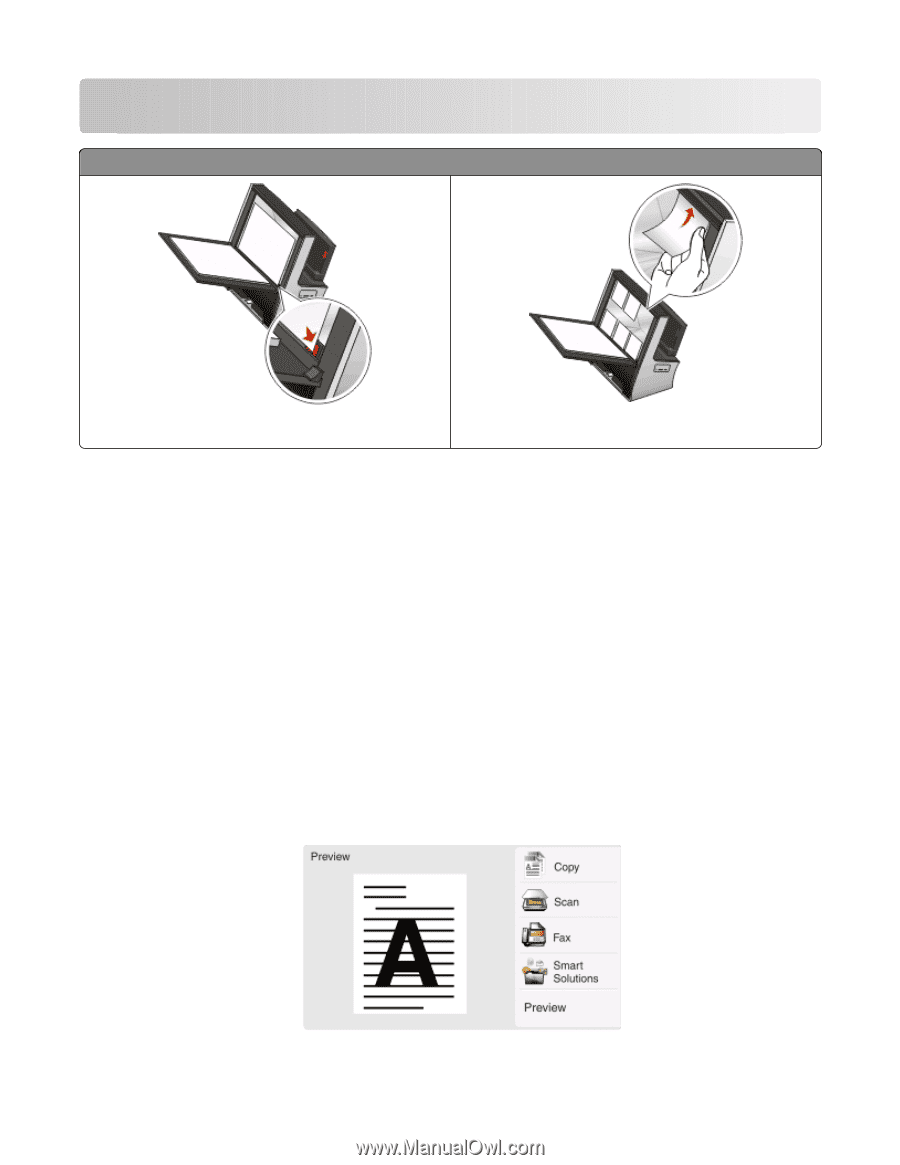
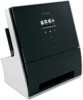
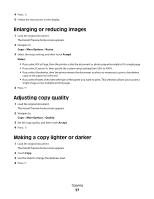
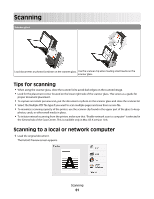
Scanning Scanner glass Load documents or photos facedown on the scanner glass. Use the scanner clip when loading small media on the scanner glass. Tips for scanning • When using the scanner glass, close the scanner lid to avoid dark edges on the scanned image. • Look for the placement corner located on the lower right side of the scanner glass. This serves as a guide for proper document placement. • To capture an instant preview scan, put the document or photo on the scanner glass and close the scanner lid. • Select the Multiple PDF file type if you want to scan multiple pages and save them as one file. • To maximize scanning capacity of the printer, use the scanner clip found in the upper part of the glass to keep photos, cards, or other small media in place. • To initiate network scanning from the printer, make sure that "Enable network scan to computer" is selected in the General tab of the Scan Center. This is available only in Mac OS X version 10.6. Scanning to a local or network computer 1 Load the original document. The Instant Preview screen appears. Scanning 61
-
 1
1 -
2
-
3
-
4
-
5
-
6
-
7
-
8
-
9
-
10
-
11
-
12
-
13
-
14
-
15
-
16
-
17
-
18
-
19
-
20
-
21
-
22
-
23
-
24
-
25
-
26
-
27
-
28
-
29
-
30
-
31
-
32
-
33
-
34
-
35
-
36
-
37
-
38
-
39
-
40
-
41
-
42
-
43
-
44
-
45
-
46
-
47
-
48
-
49
-
50
-
51
-
52
-
53
-
54
-
55
-
 56
56 -
 57
57 -
 58
58 -
 59
59 -
 60
60 -
 61
61 -
 62
62 -
 63
63 -
 64
64 -
 65
65 -
 66
66 -
67
-
68
-
69
-
70
-
71
-
72
-
73
-
74
-
75
-
76
-
77
-
78
-
79
-
80
-
81
-
82
-
83
-
84
-
85
-
86
-
87
-
88
-
89
-
90
-
91
-
92
-
93
-
94
-
95
-
96
-
97
-
98
-
99
-
100
-
101
-
102
-
103
-
104
-
105
-
106
-
107
-
108
-
109
-
110
-
111
-
112
-
113
-
114
-
115
-
116
-
117
-
118
-
119
-
120
-
121
-
122
-
123
-
124
-
125
-
126
-
127
-
128
-
129
-
130
-
131
-
132
-
133
-
134
-
135
-
136
-
137
-
138
-
139
-
140
-
141
-
142
-
143
-
144
-
145
-
146
-
147
-
148
-
149
-
150
-
151
-
152
-
153
-
154
-
155
-
156
-
157
-
158
-
159
-
160
-
161
-
162
-
163
-
164
-
165
-
166
-
167
-
168
-
169
-
170
-
171
-
172
-
173
-
174
-
175
-
176
-
177
-
178
-
179
-
180
-
181
-
182
-
183
-
184
-
185
-
186
-
187
-
188
-
189
-
190
-
191
-
192
-
193
-
194
-
195
-
196
-
197
 |
 |