Linksys WMLS11B User Guide - Page 32
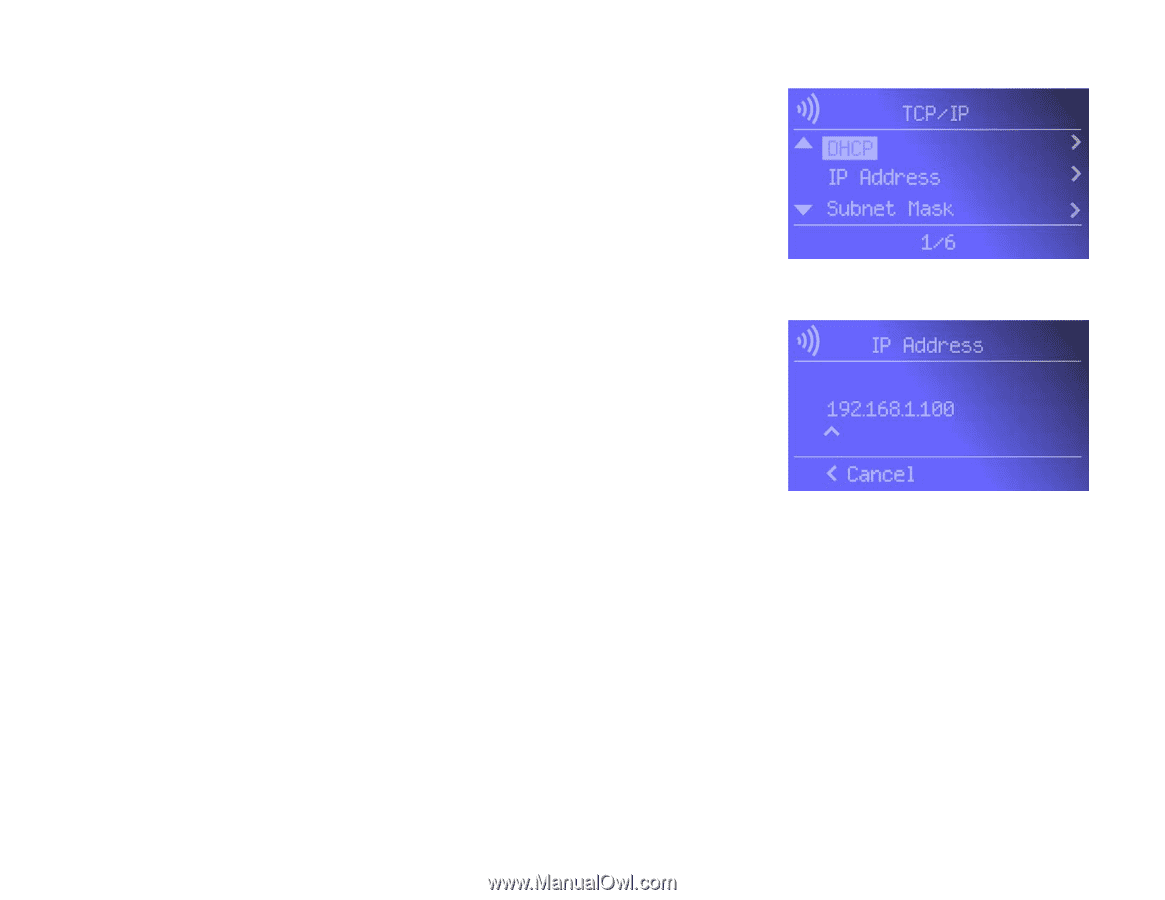
IP Address, Subnet Mask, Gateway, DNS Server 1 and DNS Server 2, You will not see the IP Address
 |
UPC - 745883559282
View all Linksys WMLS11B manuals
Add to My Manuals
Save this manual to your list of manuals |
Page 32 highlights
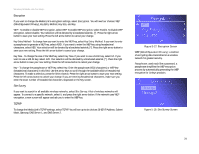
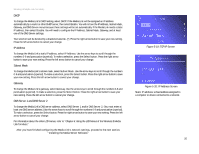
Wireless-B Media Link for Music DHCP To change the Media Link's DHCP setting, select DHCP. If the Media Link will be assigned an IP address automatically by a router or other DHCP server, then select Enable. You will not see the IP Address, Subnet Mask, Gateway, and DNS Server menus because these settings will be set automatically. If the Media Link needs a static IP address, then select Disable. You will need to configure the IP Address, Subnet Mask, Gateway, and at least one of the DNS Server settings. Your selection will be denoted by a bracketed asterisk, [*]. Press the right arrow button to save your new setting. Press the left arrow button to cancel your change. IP Address To change the Media Link's static IP address, select IP Address. Use the arrow keys to scroll through the numbers 0-9 and punctuation (a period). To make a selection, press the Select button. Press the right arrow button to save your new setting. Press the left arrow button to cancel your change. Subnet Mask To change the Media Link's subnet mask, select Subnet Mask. Use the arrow keys to scroll through the numbers 0-9 and punctuation (a period). To make a selection, press the Select button. Press the right arrow button to save your new setting. Press the left arrow button to cancel your change. Gateway To change the Media Link's gateway, select Gateway. Use the arrow keys to scroll through the numbers 0-9 and punctuation (a period). To make a selection, press the Select button. Press the right arrow button to save your new setting. Press the left arrow button to cancel your change. DNS Server 1 and DNS Server 2 To change the Media Link's DNS server address, select DNS Server 1 and/or DNS Server 2. (You must enter at least one DNS server address.) Use the arrow keys to scroll through the numbers 0-9 and punctuation (a period). To make a selection, press the Select button. Press the right arrow button to save your new setting. Press the left arrow button to cancel your change. For information about the other LCD menus, refer to "Chapter 6: Using the LCD Menus of the Wireless-B Media LInk for Music." After you have finished configuring the Media Link's network settings, proceed to the next section, "Installing the Media Server Software." Chapter 5: Connecting the Wireless-B Media Link for Music to Your Audio System Using the LCD Menus to Set up the Media Link Figure 5-19: TCP/IP Screen Figure 5-20: IP Address Screen Static IP address: a fixed address assigned to a computer or device connected to a network. 25
-
 1
1 -
2
-
3
-
4
-
5
-
6
-
7
-
8
-
9
-
10
-
11
-
12
-
13
-
14
-
15
-
16
-
17
-
18
-
19
-
20
-
21
-
22
-
23
-
24
-
25
-
26
-
 27
27 -
 28
28 -
 29
29 -
 30
30 -
 31
31 -
 32
32 -
 33
33 -
 34
34 -
 35
35 -
 36
36 -
 37
37 -
38
-
39
-
40
-
41
-
42
-
43
-
44
-
45
-
46
-
47
-
48
-
49
-
50
-
51
-
52
-
53
-
54
-
55
-
56
-
57
-
58
-
59
-
60
-
61
-
62
-
63
-
64
-
65
-
66
-
67
-
68
 |
 |