Sony HT-8800DP Operating Instructions (RDR-GX300 DVD Recorder) - Page 42
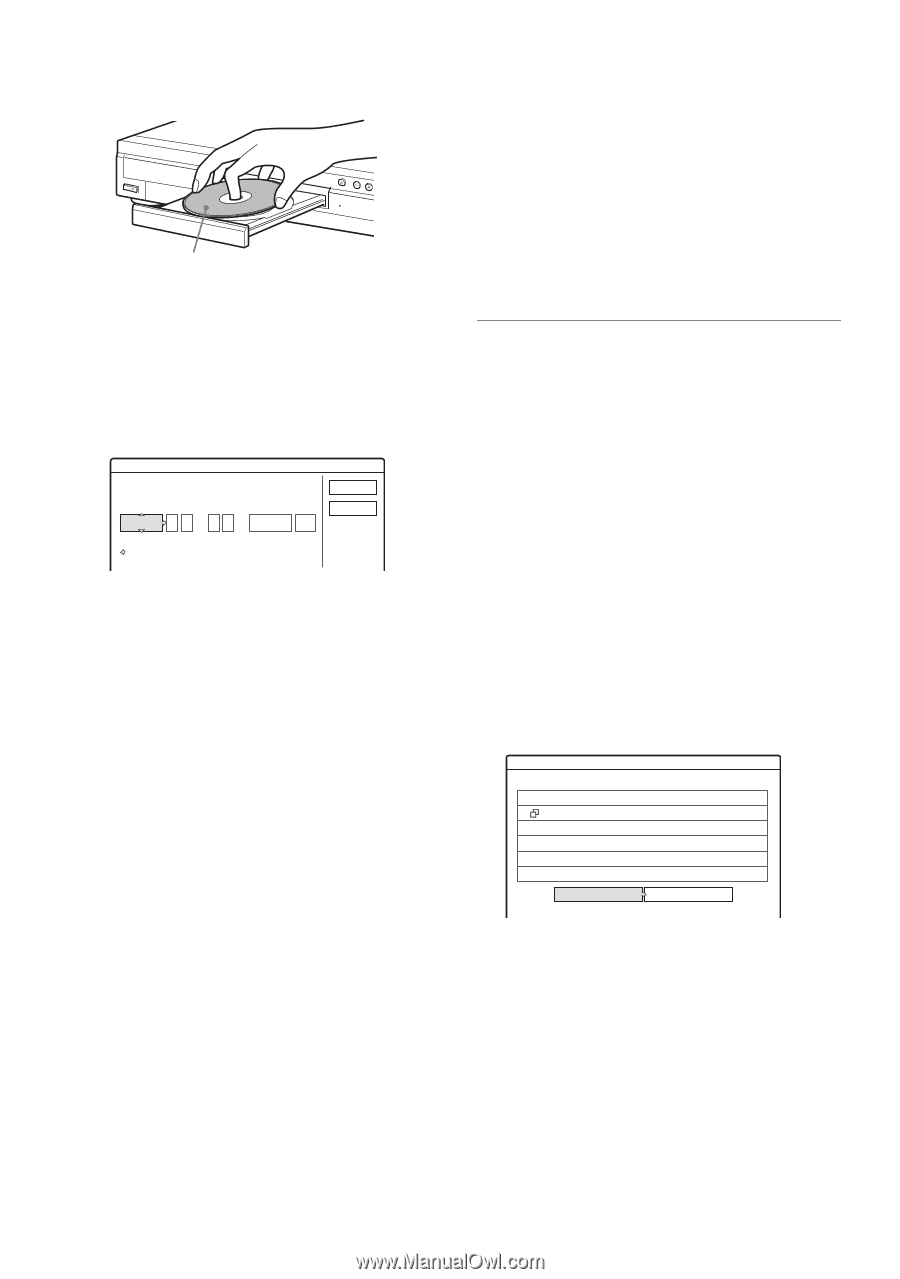
Select OK, and press ENTER., Rec Mode Adjust
 |
View all Sony HT-8800DP manuals
Add to My Manuals
Save this manual to your list of manuals |
Page 42 highlights
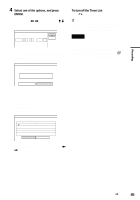
1 Press Z OPEN/CLOSE, and place a recordable disc on the disc tray. With the recording side facing down 2 Press Z OPEN/CLOSE to close the disc tray. Wait until "LOAD" disappears from the front panel display. Unused DVDs are formatted automatically. 3 Press [TIMER]. Timer - Standard Set the timer manually. Date Today Start : Stop : VCR Plus+ CH Mode OK Cancel If the Timer programming (VCR Plus+) menu appears, press < to switch the display to "Standard." 4 Select an item using
-
 1
1 -
2
-
3
-
4
-
5
-
6
-
7
-
8
-
9
-
10
-
11
-
12
-
13
-
14
-
15
-
16
-
17
-
18
-
19
-
20
-
21
-
22
-
23
-
24
-
25
-
26
-
27
-
28
-
29
-
30
-
31
-
32
-
33
-
34
-
35
-
36
-
 37
37 -
 38
38 -
 39
39 -
 40
40 -
 41
41 -
 42
42 -
 43
43 -
 44
44 -
 45
45 -
 46
46 -
 47
47 -
48
-
49
-
50
-
51
-
52
-
53
-
54
-
55
-
56
-
57
-
58
-
59
-
60
-
61
-
62
-
63
-
64
-
65
-
66
-
67
-
68
-
69
-
70
-
71
-
72
-
73
-
74
-
75
-
76
-
77
-
78
-
79
-
80
-
81
-
82
-
83
-
84
-
85
-
86
-
87
-
88
-
89
-
90
-
91
-
92
-
93
-
94
-
95
-
96
-
97
-
98
-
99
-
100
-
101
-
102
-
103
-
104
 |
 |
42
1
Press
Z
OPEN/CLOSE, and place a
recordable disc on the disc tray.
2
Press
Z
OPEN/CLOSE to close the disc
tray.
Wait until “LOAD” disappears from the front
panel display.
Unused DVDs are formatted automatically.
3
Press
[TIMER]
.
If the Timer programming (VCR Plus+) menu
appears, press
<
to switch the display to
“Standard.”
4
Select an item using
<
/
,
and adjust
using
M
/
m
.
“Date”: Sets the date.
The item changes as follows.
Today
y
Tomorrow
y
……
y
Tue 10/
28 (1 month later)
y
Sun (every Sunday)
y
……
y
Sat (every Saturday)
y
Mon-Fri (Monday to Friday)
y
Mon-Sat
(Monday to Saturday)
y
Sun-Sat (Sunday to
Saturday)
y
Today
“Start”: Sets the start time.
“Stop”: Sets the stop time.
“CH”: Selects the channel or input source.
◆
When using the cable box/satellite box
control
Turn on the cable box or satellite receiver and
enter the channel number.
Example: When selecting 215ch
Select 2 and press
,
for the next digit. Select
1 and press
,
. Then select 5.
“Mode”: Selects the recording mode
(page 40).
If you make a mistake, select the item and
change the setting.
5
Select “OK,” and press ENTER.
The Timer List menu (page 44) appears. The
TIMER REC indicator lights up on the front
panel and the recorder is ready to start
recording.
Unlike a VCR, there is no need to turn off the
recorder before the timer recording starts.
To stop recording during timer recording
Open the remote’s cover and press
x
REC STOP.
Note that it may take a few seconds for the
recorder to stop recording.
Rec Mode Adjust
If there is not enough available disc space for the
recording, the recorder automatically adjusts the
recording mode to enable the entire program to be
recorded. This function is normally set to “On.”
To cancel this function, press TOOLS while the
Timer List is displayed. Select “Rec Mode
Adjust” and press ENTER. Select “Off” and press
ENTER.
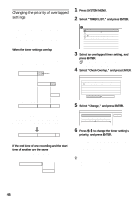
If the timer settings overlap
Overlapped timer settings are shown as follows.
To store the setting as shown, select “OK.” The
program at the top of the list has priority over the
rest of the programs.
To cancel the overlapped timer setting, select
“Cancel.”
To confirm, change, or cancel timer recording
See “Checking/Changing/Canceling Timer
Settings (Timer List)” (page 44).
With the recording side facing down
Timer - Standard
Set the timer manually.
Date
VCR Plus+
Today
Start
CH
Mode
Stop
Cancel
:
:
OK
Timer
These timer settings overlap. Do you want to continue?
OK
Cancel
Mon-Sat
10:00AM - 10:30AM
25ch
SP
Fri
10/29
9:00AM - 10:15AM
3ch
SLP