Sony PCG-TR1A VAIO User Guide - Page 29
Turning on the Wireless Network Switch, Wireless Network Connection
 |
UPC - 027242629578
View all Sony PCG-TR1A manuals
Add to My Manuals
Save this manual to your list of manuals |
Page 29 highlights
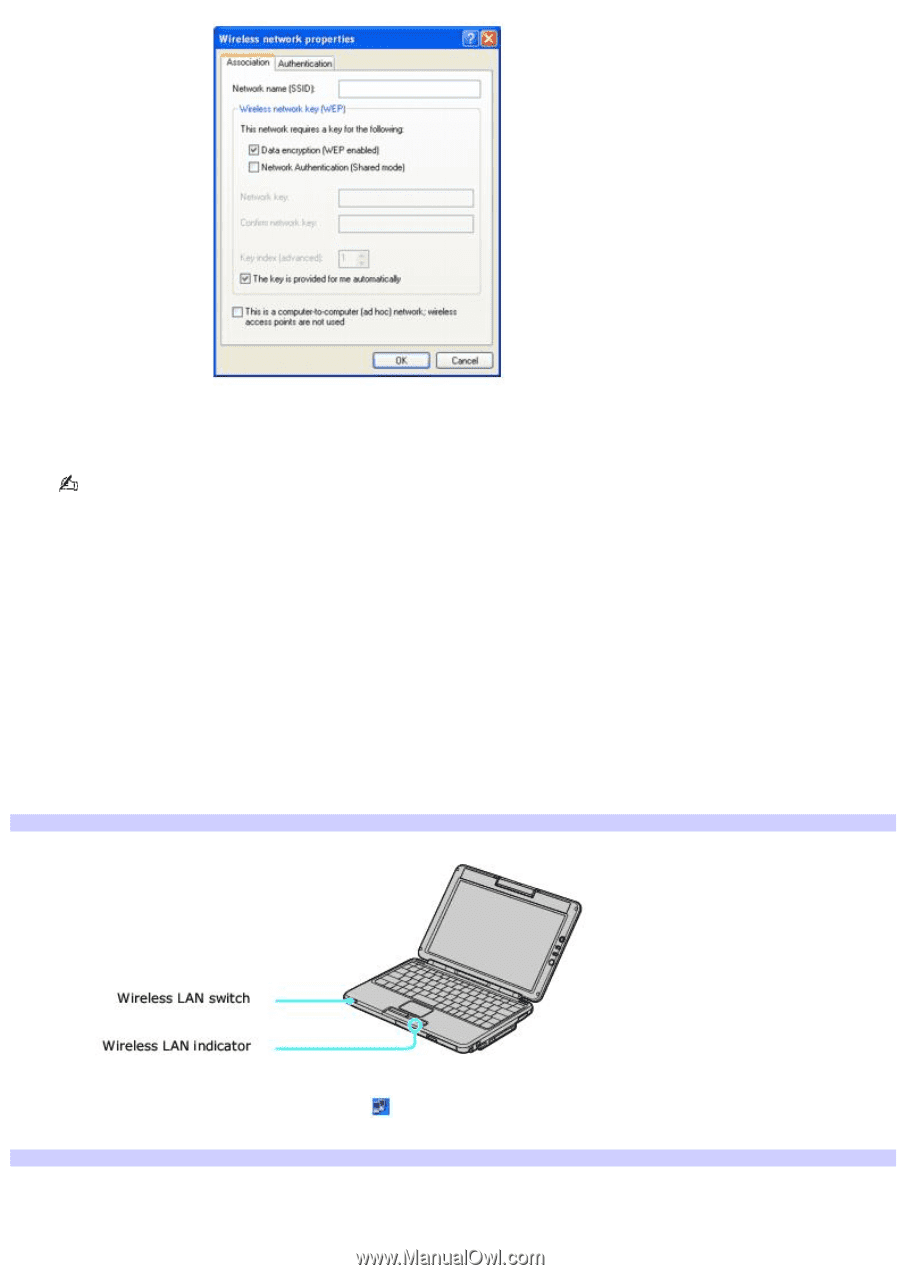
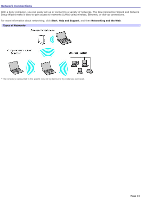
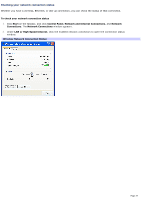
3. Type the name of the network (access point) you want to connect to in the Network name (SSID) box. (The name should be no more than 32 ASCII characters.) The following steps are for networks that require a network key. If you do not know the network key or are not sure a network key is required, see the network administrator or the guide that accompanied your access point for more information. 4. Make sure the Data encryption (WEP enabled) check box is selected. 5. Click to cancel the The key is provided for me automatically check box. 6. Type the network key in the Network key box. (The key should be 5 or 13 ASCII characters or 10 or 26 hexadecimal characters.) 7. Retype the network key in the Confirm network key box. 8. Click OK. The network name appears in the Preferred networks list box. To set up a computer-to-computer (ad-hoc) network 1. Move the Wireless LAN switch to ON. Turning on the Wireless Network Switch 2. Click the Wireless Network Connection icon appears. Wireless Network Connection on the taskbar. The Wireless Network Connection dialog box Page 29
-
 1
1 -
2
-
3
-
4
-
5
-
6
-
7
-
8
-
9
-
10
-
11
-
12
-
13
-
14
-
15
-
16
-
17
-
18
-
19
-
20
-
21
-
22
-
23
-
 24
24 -
 25
25 -
 26
26 -
 27
27 -
 28
28 -
 29
29 -
 30
30 -
 31
31 -
 32
32 -
 33
33 -
 34
34 -
35
-
36
-
37
-
38
-
39
-
40
-
41
-
42
-
43
-
44
-
45
-
46
-
47
-
48
-
49
-
50
-
51
-
52
-
53
-
54
-
55
-
56
-
57
-
58
-
59
-
60
-
61
-
62
-
63
-
64
-
65
-
66
-
67
-
68
-
69
-
70
-
71
-
72
-
73
-
74
-
75
-
76
-
77
-
78
-
79
-
80
-
81
-
82
-
83
-
84
-
85
-
86
-
87
-
88
-
89
-
90
-
91
-
92
-
93
-
94
-
95
-
96
-
97
-
98
-
99
-
100
-
101
-
102
-
103
-
104
-
105
-
106
-
107
-
108
-
109
-
110
-
111
-
112
-
113
-
114
-
115
-
116
-
117
-
118
-
119
-
120
-
121
-
122
-
123
-
124
-
125
-
126
-
127
-
128
-
129
-
130
-
131
-
132
-
133
-
134
-
135
-
136
-
137
-
138
-
139
-
140
-
141
-
142
-
143
-
144
-
145
-
146
-
147
-
148
-
149
-
150
-
151
-
152
-
153
-
154
-
155
-
156
-
157
-
158
-
159
-
160
-
161
-
162
-
163
-
164
-
165
-
166
-
167
-
168
-
169
-
170
-
171
-
172
-
173
-
174
-
175
-
176
-
177
-
178
-
179
-
180
-
181
-
182
-
183
-
184
-
185
-
186
-
187
-
188
-
189
-
190
-
191
-
192
-
193
-
194
-
195
-
196
 |
 |