Toshiba 40L2200U User Guide - Page 58
Viewing the digital signal meter, HDMI 1 Audio, Digital, Analog, ENTER
 |
View all Toshiba 40L2200U manuals
Add to My Manuals
Save this manual to your list of manuals |
Page 58 highlights
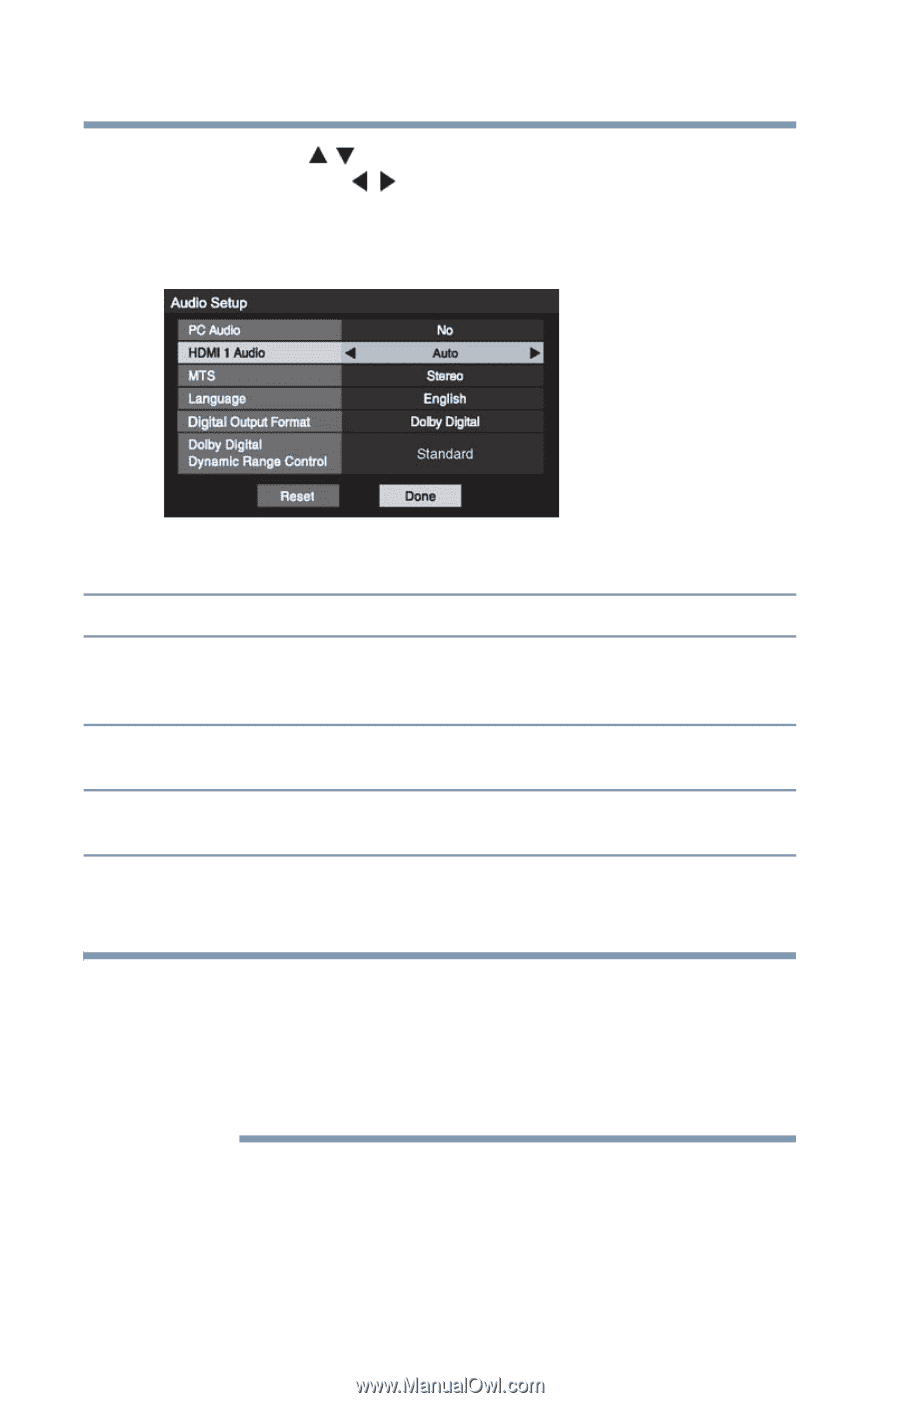
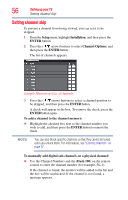
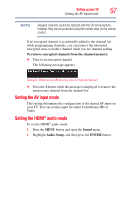
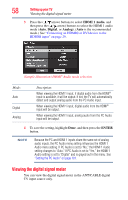
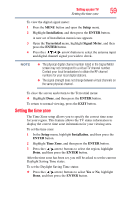
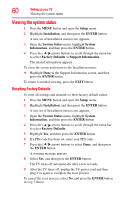
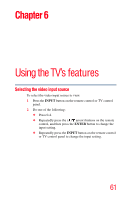
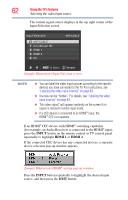
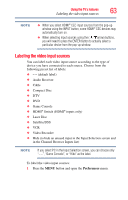
58 Setting up your TV Viewing the digital signal meter 3 Press the ( / arrow) buttons to select HDMI 1 Audio, and then press the ( / arrow) buttons to select the HDMI 1 audio mode (Auto, Digital, or Analog). (Auto is the recommended mode.) See "Connecting an HDMI® or DVI device to the HDMI® input" on page 29. (Sample Illustration) HDMI® Audio mode selection Mode: Auto Digital Analog Description: When viewing the HDMI 1 input, if digital audio from the HDMI® input is available, it will be output. If not, the TV will automatically detect and output analog audio from the PC Audio input. When viewing the HDMI 1 input, digital audio from the HDMI® input will be output. When viewing the HDMI 1 input, analog audio from the PC Audio input will be output. 4 To save the setting, highlight Done, and then press the ENTER button. NOTE Because the PC and HDMI 1 inputs share the same set of analog audio inputs, the PC Audio menu setting influences the HDMI 1 Audio menu setting. If PC Audio is set to "No," the HDMI 1 Audio setting changes to "Auto." If PC Audio is set to "Yes," the HDMI 1 Audio setting is set to "Digital" and is grayed out in the menu. See "Setting the PC Audio" on page 101. Viewing the digital signal meter You can view the digital signal meter in the ANT/CABLE digital TV input source only.
-
 1
1 -
2
-
3
-
4
-
5
-
6
-
7
-
8
-
9
-
10
-
11
-
12
-
13
-
14
-
15
-
16
-
17
-
18
-
19
-
20
-
21
-
22
-
23
-
24
-
25
-
26
-
27
-
28
-
29
-
30
-
31
-
32
-
33
-
34
-
35
-
36
-
37
-
38
-
39
-
40
-
41
-
42
-
43
-
44
-
45
-
46
-
47
-
48
-
49
-
50
-
51
-
52
-
 53
53 -
 54
54 -
 55
55 -
 56
56 -
 57
57 -
 58
58 -
 59
59 -
 60
60 -
 61
61 -
 62
62 -
 63
63 -
64
-
65
-
66
-
67
-
68
-
69
-
70
-
71
-
72
-
73
-
74
-
75
-
76
-
77
-
78
-
79
-
80
-
81
-
82
-
83
-
84
-
85
-
86
-
87
-
88
-
89
-
90
-
91
-
92
-
93
-
94
-
95
-
96
-
97
-
98
-
99
-
100
-
101
-
102
-
103
-
104
-
105
-
106
-
107
-
108
-
109
-
110
-
111
-
112
-
113
-
114
-
115
-
116
-
117
-
118
-
119
-
120
-
121
-
122
-
123
-
124
-
125
-
126
-
127
-
128
-
129
-
130
-
131
-
132
-
133
-
134
-
135
-
136
-
137
-
138
-
139
 |
 |