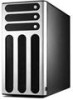
Asus AP1720-E1 User Guide - Page 39
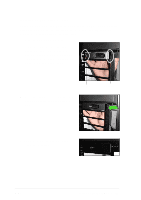
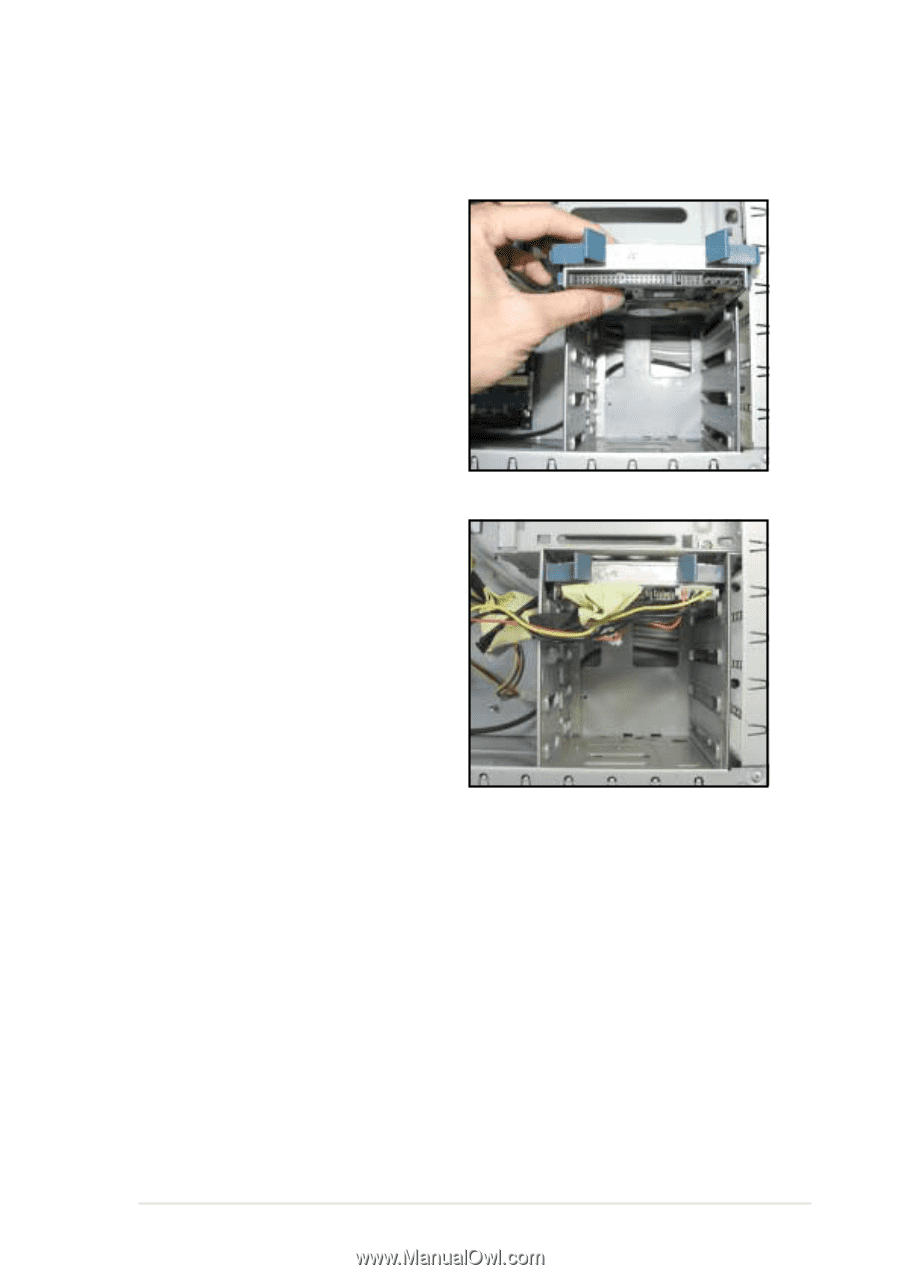
Check the HDD jumper setting. Refer to the label pasted on the HDD
 |
View all Asus AP1720-E1 manuals
Add to My Manuals
Save this manual to your list of manuals |
Page 39 highlights
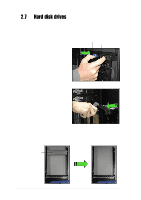
4. Check the HDD jumper setting. Refer to the label pasted on the HDD for the setting description. The setting "Cable Select" is recommended. 5. Carefully insert the drive into a bay on the second drive cage as shown. 6. Connect the IDE and power cables to their corresponding connectors on the back of the drive. 7. Follow steps 2 to 5 if you wish to install other hard disk drives. 8. Re-install the side cover when done. Refer to section "21.2 Installing the side cover." ASUS AP1720-E1 barebone server 2-23
-
 1
1 -
2
-
3
-
4
-
5
-
6
-
7
-
8
-
9
-
10
-
11
-
12
-
13
-
14
-
15
-
16
-
17
-
18
-
19
-
20
-
21
-
22
-
23
-
24
-
25
-
26
-
27
-
28
-
29
-
30
-
31
-
32
-
33
-
 34
34 -
 35
35 -
 36
36 -
 37
37 -
 38
38 -
 39
39 -
 40
40 -
 41
41 -
 42
42 -
 43
43 -
 44
44 -
45
-
46
-
47
-
48
-
49
-
50
-
51
-
52
-
53
-
54
-
55
-
56
-
57
-
58
-
59
-
60
-
61
-
62
-
63
-
64
-
65
-
66
-
67
-
68
-
69
-
70
-
71
-
72
-
73
-
74
-
75
-
76
-
77
-
78
 |
 |
2-23
ASUS AP1720-E1 barebone server
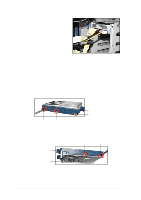
5.
Carefully insert the drive into a
bay on the second drive cage as
shown.
6.
Connect the IDE and power
cables to their corresponding
connectors on the back of the
drive.
4.
Check the HDD jumper setting. Refer to the label pasted on the HDD
for the setting description. The setting “Cable Select” is recommended.
7.
Follow steps 2 to 5 if you wish to install other hard disk drives.
8.
Re-install the side cover when done. Refer to section “21.2 Installing
the side cover.”