Asus AP1720-E1 User Guide - Page 61
and power cable.
 |
View all Asus AP1720-E1 manuals
Add to My Manuals
Save this manual to your list of manuals |
Page 61 highlights
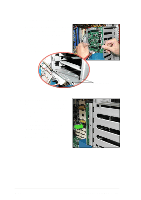
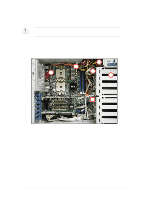
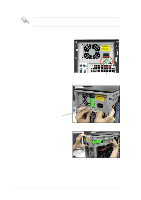
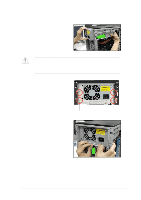
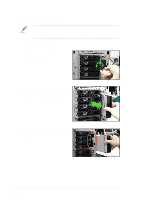
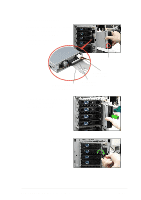
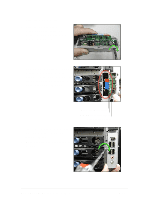
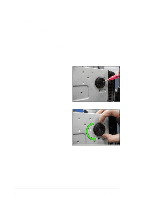
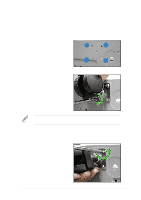
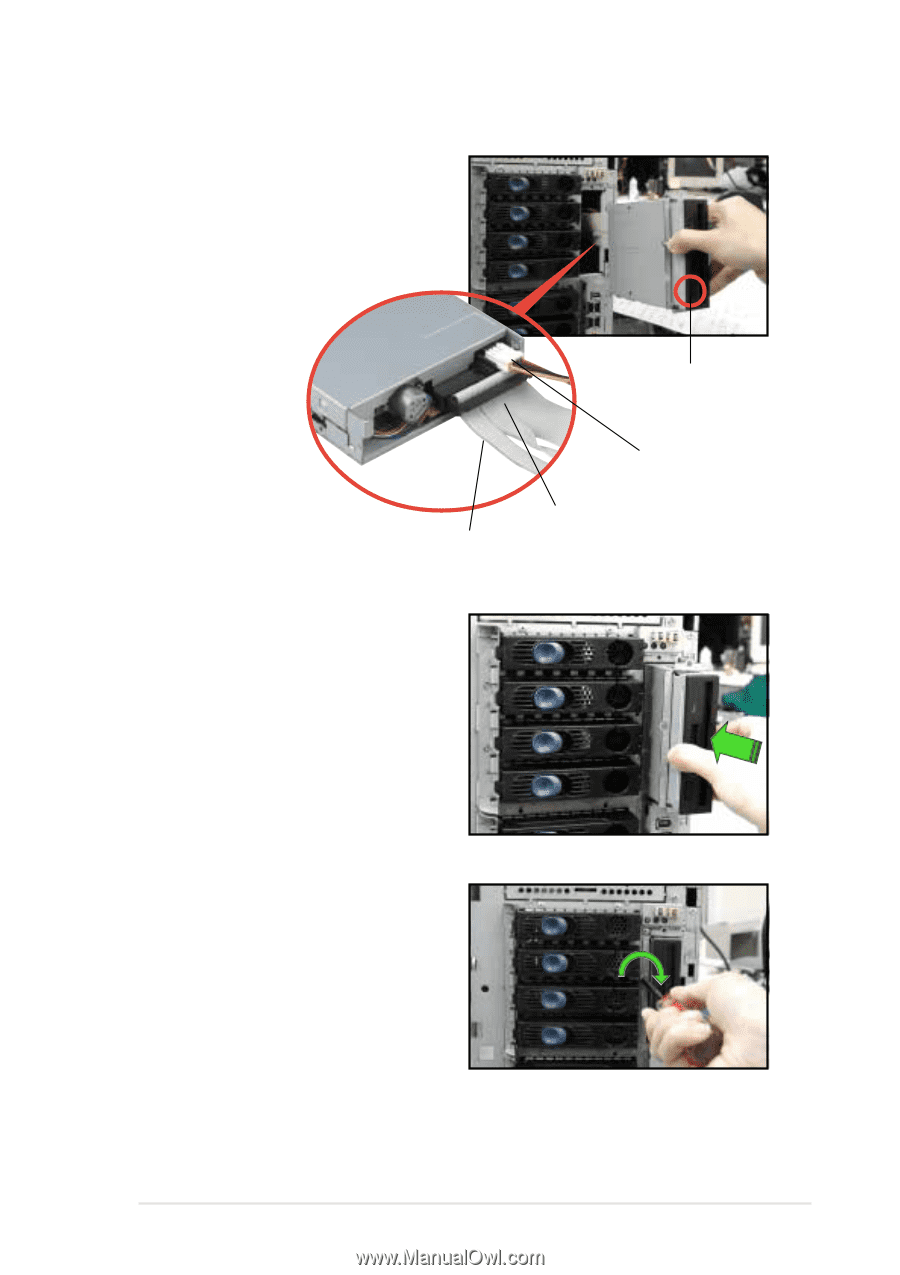
To install a floppy disk drive: 1. Position the floppy drive vertically with the eject button on the left side (close to the HDDs). 2. Connect the drive signal cable and power cable. Eject button Red stripe to match Pin 1 on the connector Floppy drive power cable Floppy drive signal cable 3. Carefully push the drive into the bay until the drive cage fits the front edge of the bay. 4. Secure the drive cage with a screw. ASUS AP1720-E1 barebone server 2-45
-
 1
1 -
2
-
3
-
4
-
5
-
6
-
7
-
8
-
9
-
10
-
11
-
12
-
13
-
14
-
15
-
16
-
17
-
18
-
19
-
20
-
21
-
22
-
23
-
24
-
25
-
26
-
27
-
28
-
29
-
30
-
31
-
32
-
33
-
34
-
35
-
36
-
37
-
38
-
39
-
40
-
41
-
42
-
43
-
44
-
45
-
46
-
47
-
48
-
49
-
50
-
51
-
52
-
53
-
54
-
55
-
 56
56 -
 57
57 -
 58
58 -
 59
59 -
 60
60 -
 61
61 -
 62
62 -
 63
63 -
 64
64 -
 65
65 -
 66
66 -
67
-
68
-
69
-
70
-
71
-
72
-
73
-
74
-
75
-
76
-
77
-
78
 |
 |
2-45
ASUS AP1720-E1 barebone server
To install a floppy disk drive:
1.
Position the floppy drive vertically
with the eject button on the left
side (close to the HDDs).
2.
Connect the drive signal cable
and power cable.
4.
Secure the drive cage with a
screw.
3.
Carefully push the drive into the
bay until the drive cage fits the
front edge of the bay.
Eject button
Floppy drive
power cable
Floppy drive
signal cable
Red stripe to match
Pin 1 on the connector