Brother International ™ QL-650TD Users Manual - English and Spanish - Page 28
Procedure for creating a label
 |
View all Brother International ™ QL-650TD manuals
Add to My Manuals
Save this manual to your list of manuals |
Page 28 highlights
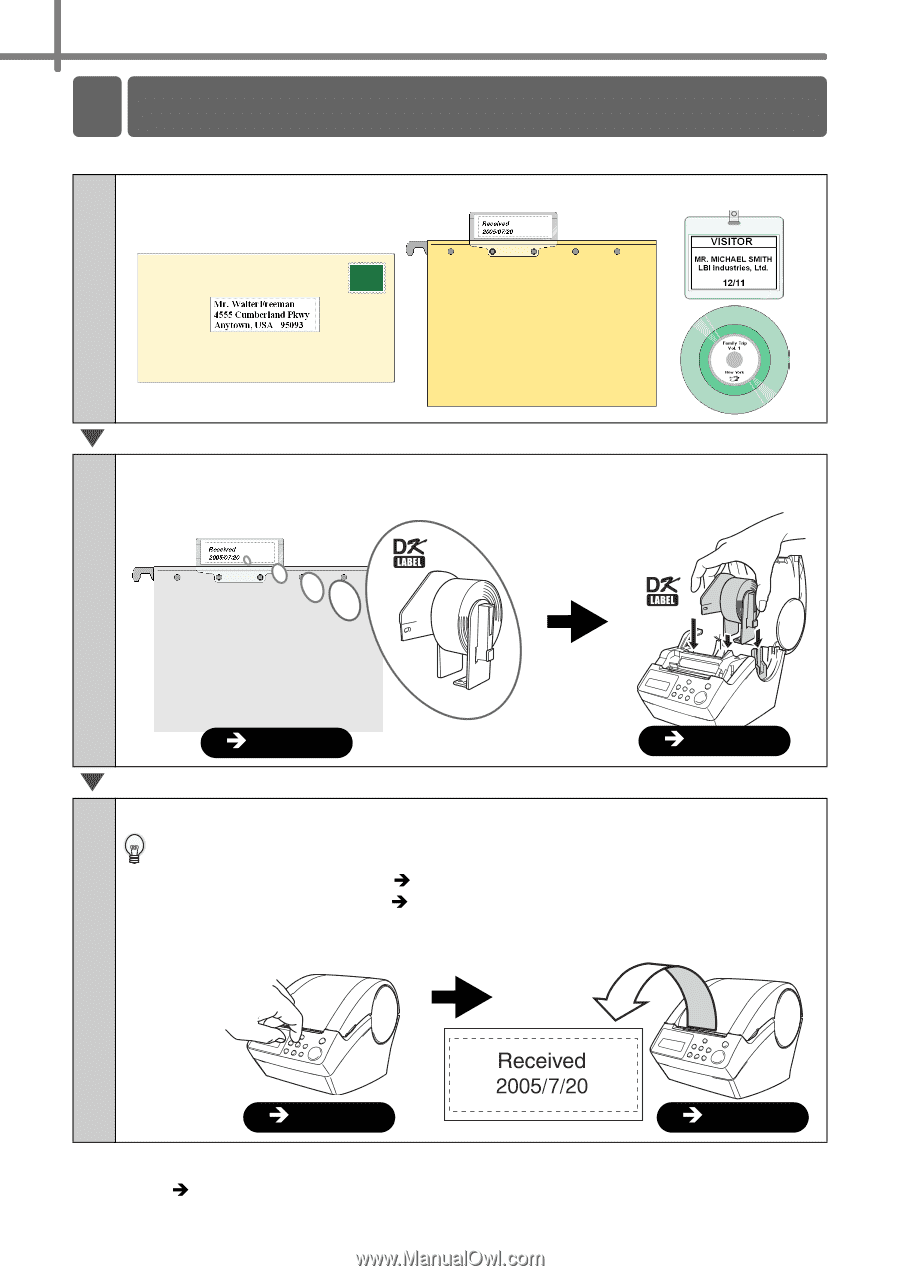
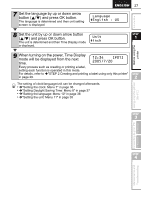
28 STEP1 Before using the printer 7 Procedure for creating a label The general procedure for creating a label with the printer is shown below. 1 Decide the type of label you want to create. Label images 2 Prepare the appropriate DK Roll to the label image. Prepare the appropriate DK Roll to the Set the DK Roll label image ÎPage 23 ÎPage 23 3 Create a label and print it. By installing the included software, it is possible to design the label by PC and print it, or to download the designed label to the printer to print it. For how to install the software, refer to Î"STEP3 Connecting the printer to your PC" in page 41, for usage, refer to Î"Software User's Guide (PDF Manual)". It is also possible to change the content of printing and printing format with the printer only for printing. Select the template Print ÎPage 30 ÎPage 31 After comprehending the flow of creating a label, let's create a label. Proceed to Î"STEP 2 Creating and printing a label using only this printer" in page 29.
-
 1
1 -
2
-
3
-
4
-
5
-
6
-
7
-
8
-
9
-
10
-
11
-
12
-
13
-
14
-
15
-
16
-
17
-
18
-
19
-
20
-
21
-
22
-
 23
23 -
 24
24 -
 25
25 -
 26
26 -
 27
27 -
 28
28 -
 29
29 -
 30
30 -
 31
31 -
 32
32 -
 33
33 -
34
-
35
-
36
-
37
-
38
-
39
-
40
-
41
-
42
-
43
-
44
-
45
-
46
-
47
-
48
-
49
-
50
-
51
-
52
-
53
-
54
-
55
-
56
-
57
-
58
-
59
-
60
-
61
-
62
-
63
-
64
-
65
-
66
-
67
-
68
-
69
-
70
-
71
-
72
-
73
-
74
-
75
-
76
-
77
-
78
-
79
-
80
-
81
-
82
-
83
-
84
-
85
-
86
-
87
-
88
-
89
-
90
-
91
-
92
-
93
-
94
-
95
-
96
-
97
-
98
-
99
-
100
-
101
-
102
-
103
-
104
-
105
-
106
-
107
-
108
-
109
-
110
-
111
-
112
-
113
-
114
-
115
-
116
-
117
-
118
-
119
-
120
-
121
-
122
-
123
-
124
-
125
-
126
-
127
-
128
 |
 |