Brother International ™ QL-650TD Users Manual - English and Spanish - Page 29
Creating and printing a label using only this printer
 |
View all Brother International ™ QL-650TD manuals
Add to My Manuals
Save this manual to your list of manuals |
Page 29 highlights
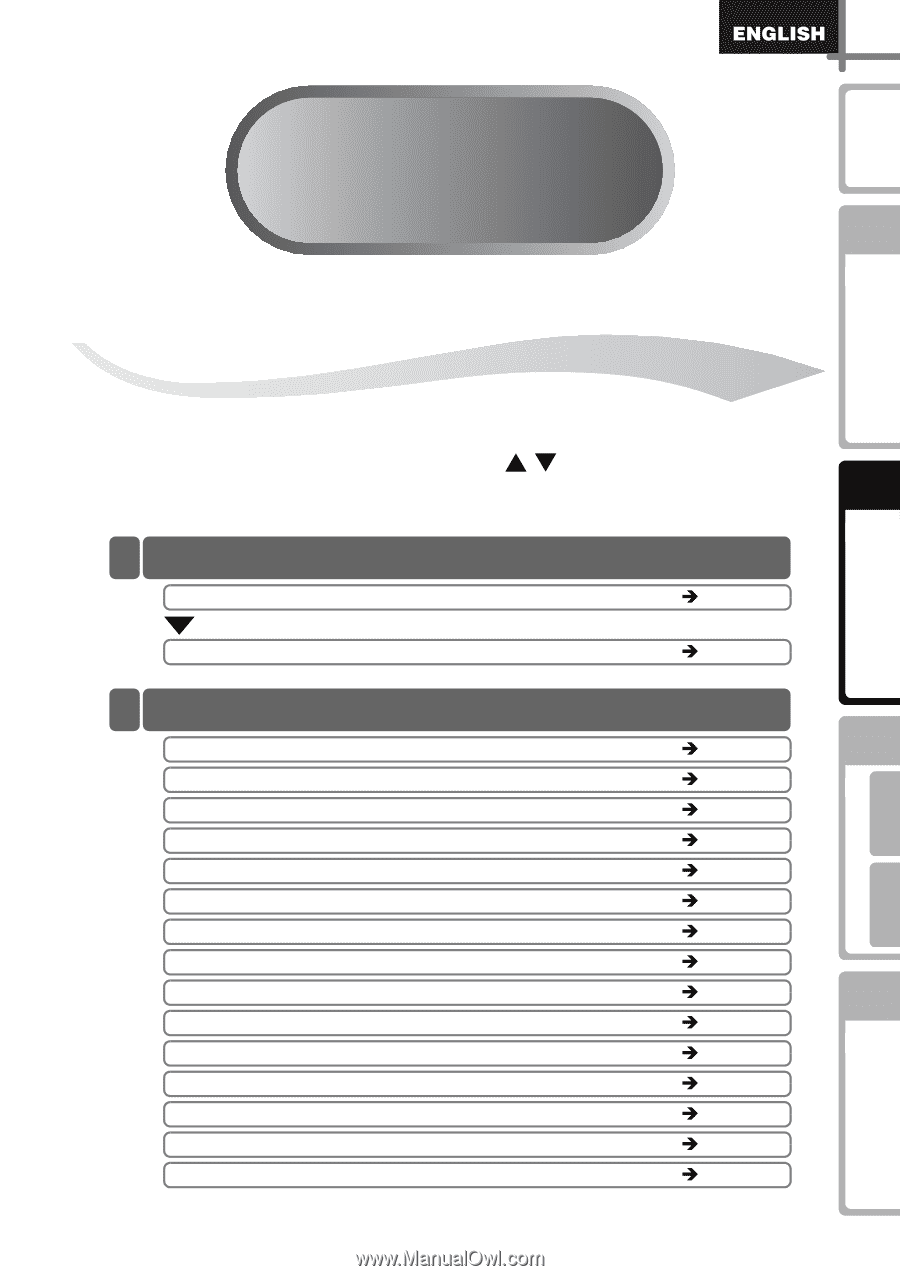
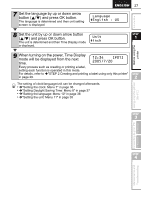
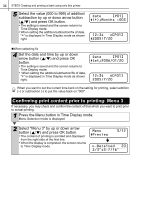
29 Introduction Before using the printer Using only this printer (No PC) 2 STEP STEP 1 Creating and printing a label using only this printer This printer has eight built-in templates for your convenience. You may select from these templates by scrolling up or down ( / ) o find the template you want and then pressing the Print button. STEP 2 Creating a label 1.Selecting a template ÎPage 30 2.Printing a label ÎPage 31 Other convenient functions Editing a template: Menu 1 Adding/reducing/fixing the date of the template: Menu 2 Confirming print content prior to printing: Menu 3 Specifying the number (quantity) of prints: Menu 4 Printing labels with label numbers: Menu 5 Printing a list of templates: Menu 6 Setting the clock: Menu 7 Setting Daylight Saving Time: Menu 8 Cutting the roll automatically when printing: Menu 9 Setting the language: Menu 10 Setting the unit of measure (inch or mm): Menu 11 Adjusting the contrast of LCD: Menu 12 Locking the Menu button Concerning the downloaded template Concerning the download of message ÎPage 32 ÎPage 33 ÎPage 34 ÎPage 35 ÎPage 35 ÎPage 36 ÎPage 36 ÎPage 37 ÎPage 37 ÎPage 38 ÎPage 38 ÎPage 39 ÎPage 39 ÎPage 39 ÎPage 39 STEP 3 STEP 4 Connecting to your PC For Macintosh For Windows Maintenance and Troubleshooting
-
 1
1 -
2
-
3
-
4
-
5
-
6
-
7
-
8
-
9
-
10
-
11
-
12
-
13
-
14
-
15
-
16
-
17
-
18
-
19
-
20
-
21
-
22
-
23
-
 24
24 -
 25
25 -
 26
26 -
 27
27 -
 28
28 -
 29
29 -
 30
30 -
 31
31 -
 32
32 -
 33
33 -
 34
34 -
35
-
36
-
37
-
38
-
39
-
40
-
41
-
42
-
43
-
44
-
45
-
46
-
47
-
48
-
49
-
50
-
51
-
52
-
53
-
54
-
55
-
56
-
57
-
58
-
59
-
60
-
61
-
62
-
63
-
64
-
65
-
66
-
67
-
68
-
69
-
70
-
71
-
72
-
73
-
74
-
75
-
76
-
77
-
78
-
79
-
80
-
81
-
82
-
83
-
84
-
85
-
86
-
87
-
88
-
89
-
90
-
91
-
92
-
93
-
94
-
95
-
96
-
97
-
98
-
99
-
100
-
101
-
102
-
103
-
104
-
105
-
106
-
107
-
108
-
109
-
110
-
111
-
112
-
113
-
114
-
115
-
116
-
117
-
118
-
119
-
120
-
121
-
122
-
123
-
124
-
125
-
126
-
127
-
128
 |
 |