Brother International BES Embroidery Software 2 Instruction Manual - English - Page 114
embroidery, before it is actually generated in your design.
 |
View all Brother International BES Embroidery Software 2 manuals
Add to My Manuals
Save this manual to your list of manuals |
Page 114 highlights
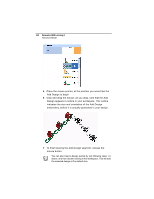
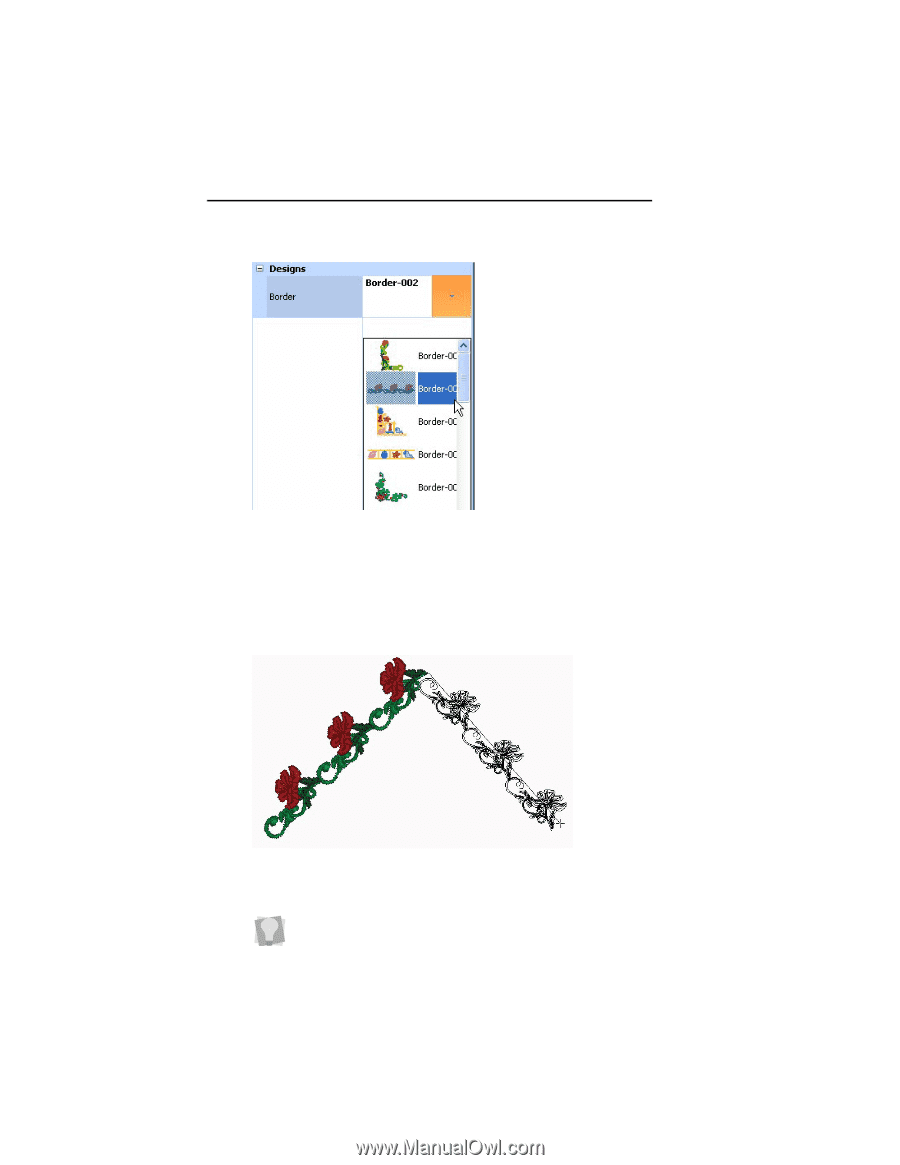
112 Pacesetter BES Lettering 2 Instruction Manual 5 Place the mouse pointer, at the position you would like the Add Design to begin 6 Click and drag the mouse; as you drag, note that the Add Design appears in outline in your workspace. This outline indicates the size and orientation of the Add Design embroidery, before it is actually generated in your design. 7 To finish placing the Add Design segment, release the mouse button. You can also insert a design quickly by just following steps 1-4 above, and then double-clicking in the workspace. This will add the selected design at the default size.
-
 1
1 -
2
-
3
-
4
-
5
-
6
-
7
-
8
-
9
-
10
-
11
-
12
-
13
-
14
-
15
-
16
-
17
-
18
-
19
-
20
-
21
-
22
-
23
-
24
-
25
-
26
-
27
-
28
-
29
-
30
-
31
-
32
-
33
-
34
-
35
-
36
-
37
-
38
-
39
-
40
-
41
-
42
-
43
-
44
-
45
-
46
-
47
-
48
-
49
-
50
-
51
-
52
-
53
-
54
-
55
-
56
-
57
-
58
-
59
-
60
-
61
-
62
-
63
-
64
-
65
-
66
-
67
-
68
-
69
-
70
-
71
-
72
-
73
-
74
-
75
-
76
-
77
-
78
-
79
-
80
-
81
-
82
-
83
-
84
-
85
-
86
-
87
-
88
-
89
-
90
-
91
-
92
-
93
-
94
-
95
-
96
-
97
-
98
-
99
-
100
-
101
-
102
-
103
-
104
-
105
-
106
-
107
-
108
-
 109
109 -
 110
110 -
 111
111 -
 112
112 -
 113
113 -
 114
114 -
 115
115 -
 116
116 -
 117
117 -
 118
118 -
 119
119 -
120
-
121
-
122
-
123
-
124
-
125
-
126
-
127
-
128
-
129
-
130
-
131
-
132
-
133
-
134
-
135
-
136
-
137
-
138
-
139
-
140
-
141
-
142
-
143
-
144
-
145
-
146
-
147
-
148
-
149
-
150
 |
 |
112
Pacesetter BES Lettering 2
Instruction Manual
5
Place the mouse pointer, at the position you would like the
Add Design to begin
6
Click and drag the mouse; as you drag, note that the Add
Design appears in outline in your workspace. This outline
indicates the size and orientation of the Add Design
embroidery, before it is actually generated in your design.
7
To finish placing the Add Design segment, release the
mouse button.
You can also insert a design quickly by just following steps 1-4
above, and then double-clicking in the workspace. This will add
the selected design at the default size.