Brother International HL-7050N Users Manual - English - Page 119
Set Ip Address, Information, Network, Tcp/ip, Tcp/ip Enable
 |
UPC - 012502603375
View all Brother International HL-7050N manuals
Add to My Manuals
Save this manual to your list of manuals |
Page 119 highlights
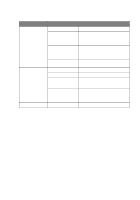
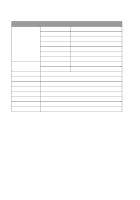
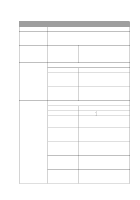
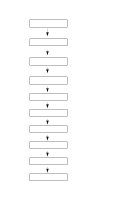
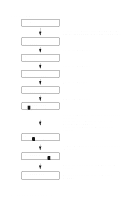
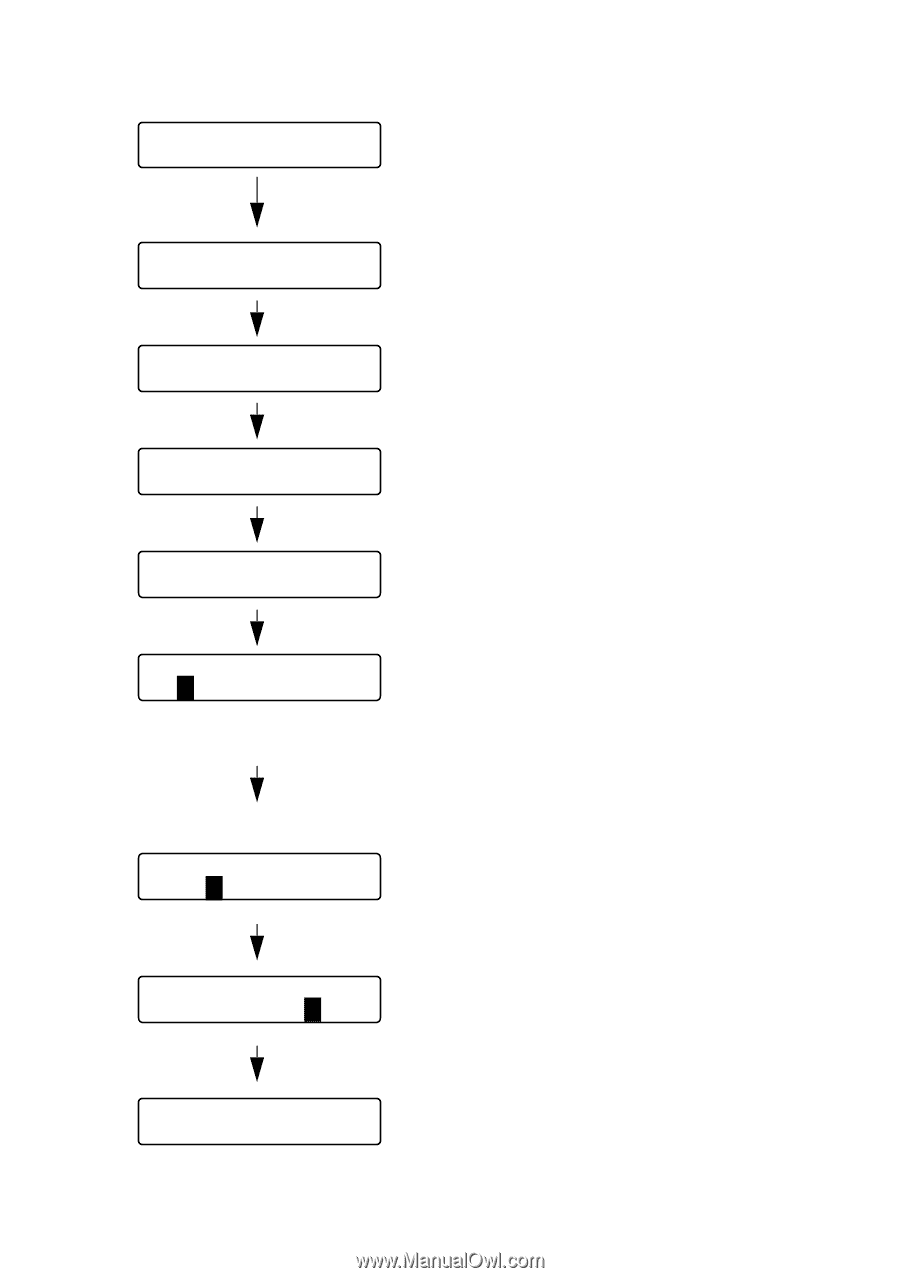
Set IP Address --MENU-INFORMATION Press the + or - button until the NETWORK mode appears (and to display each setting shown below). --MENU-NETWORK Press the Set button. NETWORK TCP/IP Press the Set button. TCP/IP TCP/IP ENABLE Press the + button. TCP/IP IP ADDRESS= Press the Set button. IP ADDRESS= 192.0.0.192 * The last digit in the first part of the number is blinking. Press the + or - button to increase or decrease the number. Press the Set button to go to the next number. IP ADDRESS= 123.0.0.192 Repeat this process until you have set your IP address. IP ADDRESS= 123.45.67.89 Press the Set button to complete the IP address. IP ADDRESS= An asterisk appears at the end of the 123.45.67.89 * display. 3 - 35 CONTROL PANEL
-
 1
1 -
2
-
3
-
4
-
5
-
6
-
7
-
8
-
9
-
10
-
11
-
12
-
13
-
14
-
15
-
16
-
17
-
18
-
19
-
20
-
21
-
22
-
23
-
24
-
25
-
26
-
27
-
28
-
29
-
30
-
31
-
32
-
33
-
34
-
35
-
36
-
37
-
38
-
39
-
40
-
41
-
42
-
43
-
44
-
45
-
46
-
47
-
48
-
49
-
50
-
51
-
52
-
53
-
54
-
55
-
56
-
57
-
58
-
59
-
60
-
61
-
62
-
63
-
64
-
65
-
66
-
67
-
68
-
69
-
70
-
71
-
72
-
73
-
74
-
75
-
76
-
77
-
78
-
79
-
80
-
81
-
82
-
83
-
84
-
85
-
86
-
87
-
88
-
89
-
90
-
91
-
92
-
93
-
94
-
95
-
96
-
97
-
98
-
99
-
100
-
101
-
102
-
103
-
104
-
105
-
106
-
107
-
108
-
109
-
110
-
111
-
112
-
113
-
 114
114 -
 115
115 -
 116
116 -
 117
117 -
 118
118 -
 119
119 -
 120
120 -
 121
121 -
 122
122 -
 123
123 -
 124
124 -
125
-
126
-
127
-
128
-
129
-
130
-
131
-
132
-
133
-
134
-
135
-
136
-
137
-
138
-
139
-
140
-
141
-
142
-
143
-
144
-
145
-
146
-
147
-
148
-
149
-
150
-
151
-
152
-
153
-
154
-
155
-
156
-
157
-
158
-
159
-
160
-
161
-
162
-
163
-
164
-
165
-
166
-
167
-
168
-
169
-
170
-
171
-
172
-
173
-
174
-
175
-
176
-
177
-
178
-
179
-
180
-
181
-
182
-
183
-
184
-
185
-
186
-
187
-
188
-
189
-
190
-
191
-
192
-
193
-
194
-
195
-
196
-
197
-
198
-
199
-
200
-
201
-
202
-
203
-
204
-
205
-
206
-
207
-
208
-
209
-
210
-
211
-
212
-
213
-
214
-
215
-
216
-
217
-
218
-
219
-
220
-
221
-
222
-
223
-
224
-
225
-
226
-
227
-
228
-
229
-
230
-
231
-
232
-
233
-
234
-
235
-
236
-
237
-
238
-
239
-
240
-
241
-
242
-
243
-
244
-
245
-
246
-
247
-
248
-
249
-
250
-
251
-
252
-
253
 |
 |
3 - 35 CONTROL PANEL
Set IP Address
Press the
+
or
-
button until the NETWORK mode
appears (and to display each setting shown below).
Press the
Set
button.
Press the
Set
button.
Press the
+
button.
Press the
Set
button.
The last digit in the first part of the number
is blinking.
Press the
+
or
-
button to increase or
decrease the number.
Press the Set button to go to the next
number.
Repeat this process until you have set your
IP address.
Press the
Set
button to complete the IP
address.
An asterisk appears at the end of the
display.
--MENU--
INFORMATION
--MENU--
NETWORK
NETWORK
TCP/IP
TCP/IP
TCP/IP ENABLE
TCP/IP
IP ADDRESS=
IP ADDRESS=
19
2
.0.0.192
*
IP ADDRESS=
123.
0
.0.192
IP ADDRESS=
123.45.67.8
9
IP ADDRESS=
123.45.67.89
*