Canon CanoScan N1240U CanoScan N670U/N676U/N1240U Toolbox3.0 for Win/Mac Guide - Page 36
Settings for the Scan-1 - Scan-3 Buttons 2/4 - drivers for windows 7
 |
View all Canon CanoScan N1240U manuals
Add to My Manuals
Save this manual to your list of manuals |
Page 36 highlights
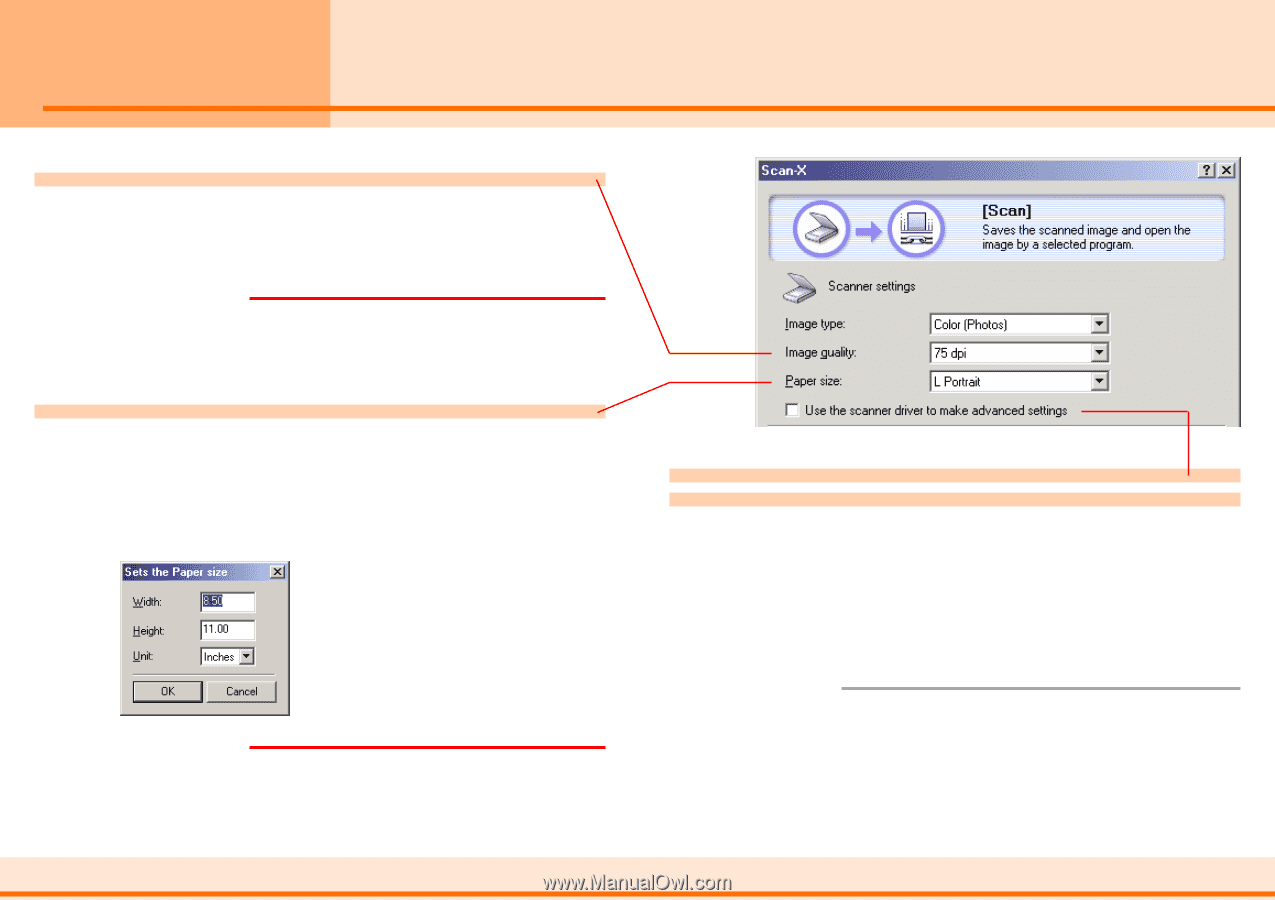
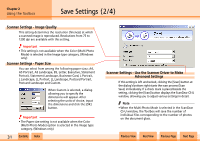
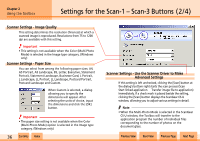
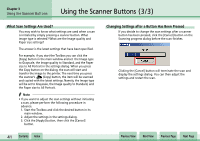
Chapter 2 Using the Toolbox Settings for the Scan-1 - Scan-3 Buttons (2/4) Scanner Settings - Image Quality This setting determines the resolution (fineness) at which a scanned image is reproduced. Resolutions from 75 to 1200 dpi are available with this setting. e Important • This setting is not available when the Color (Multi-Photo Mode) is selected in the Image type category. (Windows only) Scanner Settings - Paper Size You can select from among the following paper sizes: A4, A5 Portrait, A5 Landscape, B5, Letter, Executive, Statement Portrait, Statement Landscape, Businesse Card, L Portrait, L Landscape, LL Portrait, LL Landscape, Postcard Portrait, Postcard Landscape and Custom. When Custom is selected, a dialog allowing you to specify the dimensions will appear. After selecting the units of choice, input the dimensions and click the [OK] button. e Important • The paper size setting is not available when the Color (Multi-Photo Mode) option is selected in the Image type category. (Windows only) w w 36 Contents Index Scanner Settings - Use the Scanner Driver to Make Advanced Settings If this setting is left unchecked, clicking the [Scan] button at the dialog's bottom right starts the scan process (Scan ➝ Start linked application ➝ Transfer image file to application) immediately. If a check mark is placed beside the setting, clicking the [Scan] button displays the ScanGear CS-U window, allowing you to adjust various settings in detail. f Note • When the Multi-Photo Mode is selected in the ScanGear CS-U window, the Toolbox will transfer to the application program the number of individual files corresponding to the number of photos on the document glass. Previous View Next View Previous Page Next Page
-
 1
1 -
2
-
3
-
4
-
5
-
6
-
7
-
8
-
9
-
10
-
11
-
12
-
13
-
14
-
15
-
16
-
17
-
18
-
19
-
20
-
21
-
22
-
23
-
24
-
25
-
26
-
27
-
28
-
29
-
30
-
 31
31 -
 32
32 -
 33
33 -
 34
34 -
 35
35 -
 36
36 -
 37
37 -
 38
38 -
 39
39 -
 40
40 -
 41
41 -
42
-
43
-
44
-
45
-
46
-
47
-
48
-
49
-
50
-
51
 |
 |