Dell 2335dn User Guide - Page 21
To power on the printer, your printer restores the fax settings, as default., If you selected - firmware
 |
UPC - 884116001898
View all Dell 2335dn manuals
Add to My Manuals
Save this manual to your list of manuals |
Page 21 highlights
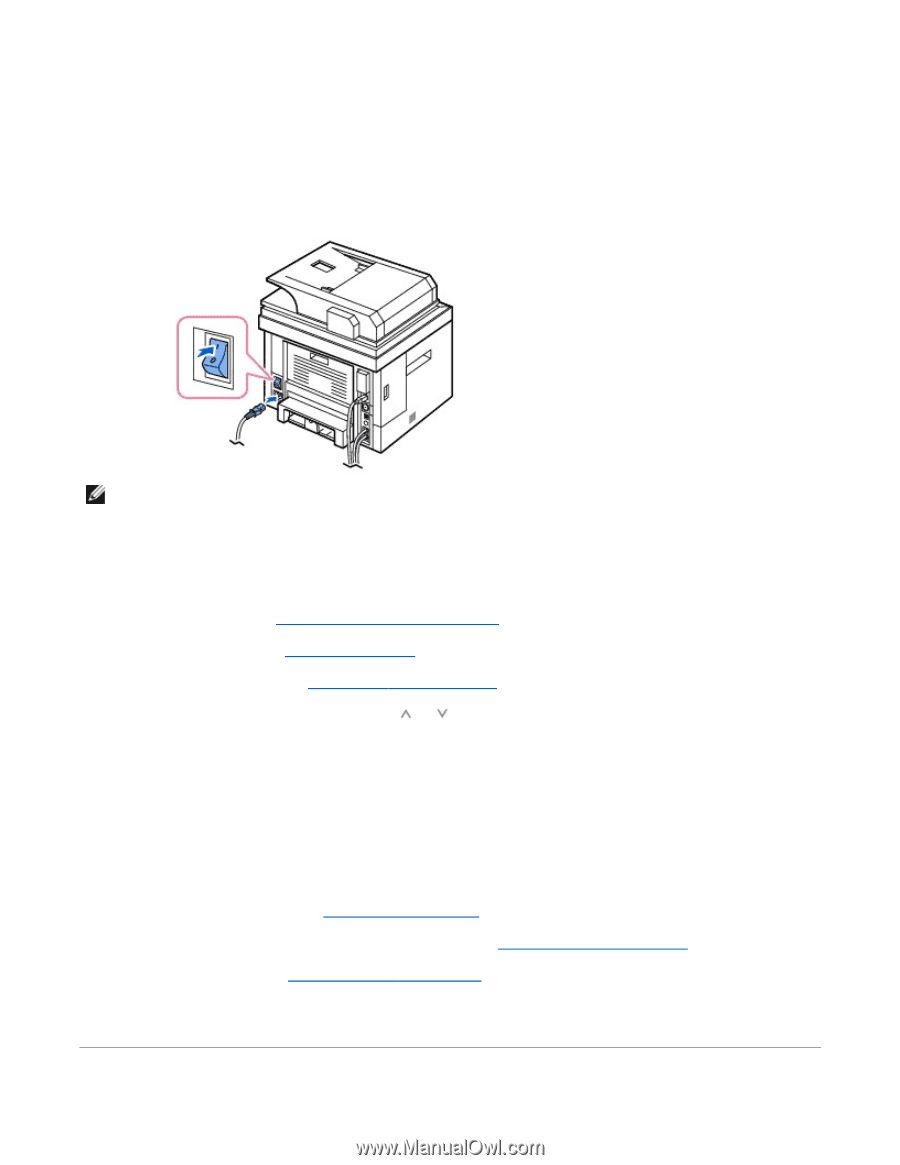
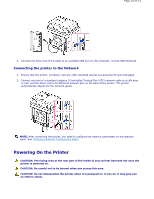
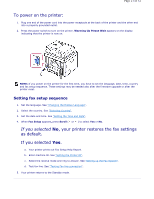
Page 21 of 52 To power on the printer: 1. Plug one end of the power cord into the power receptacle at the back of the printer and the other end into a properly grounded outlet. 2. Press the power switch to turn on the printer. Warming Up Please Wait appears on the display indicating that the printer is now on. NOTE: If you power on the printer for the first time, you have to set the language, date, time, country and fax setup sequence. These settings may be needed also after the firmware upgrade or after the printer reset. Setting fax setup sequence 1. Set the language. See "Changing the Display Language". 2. Select the country. See "Selecting Country". 3. Set the date and time. See "Setting the Time and Date". 4. When Fax Setup appears, press Scroll ( or ) to select Yes or No. If you selected No, your printer restores the fax settings as default. If you selected Yes. a. Your printer prints out Fax Setup Help Report. b. Enter machine ID. See "Setting the Printer ID". c. Select the receive mode and ring to answer. See "Setting up the Fax System". d. Test fax line. See "Testing Fax line connection". 5. Your printer returns to the Standby mode.
-
 1
1 -
2
-
3
-
4
-
5
-
6
-
7
-
8
-
9
-
10
-
11
-
12
-
13
-
14
-
15
-
 16
16 -
 17
17 -
 18
18 -
 19
19 -
 20
20 -
 21
21 -
 22
22 -
 23
23 -
 24
24 -
 25
25 -
 26
26 -
27
-
28
-
29
-
30
-
31
-
32
-
33
-
34
-
35
-
36
-
37
-
38
-
39
-
40
-
41
-
42
-
43
-
44
-
45
-
46
-
47
-
48
-
49
-
50
-
51
-
52
 |
 |