Dell 962 All In One Photo Printer User's Guide - Page 39
E-mailing a Scanned Image or Document, Enlarging or Reducing Images or Documents
 |
View all Dell 962 All In One Photo Printer manuals
Add to My Manuals
Save this manual to your list of manuals |
Page 39 highlights
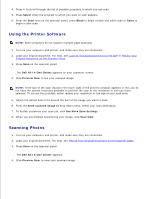
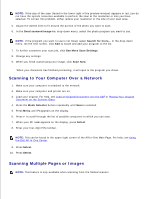
2. In the Productivity Tools section, click Save an image on my computer. 3. Follow the instructions on your computer screen to save an image on your computer. E-mailing a Scanned Image or Document To send scanned photographs or documents through e-mail: 1. Load your original document. For help, see Load an Original Document Into the ADF or Placing Your Original Document on the Scanner Glass. 2. Click Start Programs or All Programs Dell Printers Dell Photo AIO Printer 962 Dell All-In-One Center. The Dell All-In-One Center appears. 3. Click Preview Now. NOTE: If the size of the scan (found in the lower right of the preview window) appears in red, you do not have the system resources available to perform the scan at the resolution or size you have selected. To correct this problem, either reduce your resolution or the size of your scan area. 4. In the Productivity Tools section, click E-mail an image or document. 5. In the What is being scanned? menu, make a selection. 6. Follow the instructions on the screen to prepare the photograph or document for e-mail. 7. Click Attach Now. 8. Write a note to accompany the attached photo, and then send it. NOTE: If you have questions about how to do this, consult the Help for your e-mail program. Enlarging or Reducing Images or Documents If you are using your printer with a computer, you can enlarge or reduce your document between 25-400 percent using the Dell All-In-One Center. If you are using your printer without a computer, you can enlarge or reduce your document by a percent, and Fit-to options using the operator panel. 1. Load paper in the paper support. For help, see Load Plain Paper Into the Paper Support. 2. Load your original document. For help, see Placing Your Original Document on the Scanner Glass or Load an Original Document Into the ADF. 3.
-
 1
1 -
2
-
3
-
4
-
5
-
6
-
7
-
8
-
9
-
10
-
11
-
12
-
13
-
14
-
15
-
16
-
17
-
18
-
19
-
20
-
21
-
22
-
23
-
24
-
25
-
26
-
27
-
28
-
29
-
30
-
31
-
32
-
33
-
 34
34 -
 35
35 -
 36
36 -
 37
37 -
 38
38 -
 39
39 -
 40
40 -
 41
41 -
 42
42 -
 43
43 -
 44
44 -
45
-
46
-
47
-
48
-
49
-
50
-
51
-
52
-
53
-
54
-
55
-
56
-
57
-
58
-
59
-
60
-
61
-
62
-
63
-
64
-
65
-
66
-
67
-
68
-
69
-
70
-
71
-
72
-
73
-
74
-
75
-
76
-
77
-
78
-
79
-
80
-
81
-
82
-
83
-
84
-
85
-
86
-
87
-
88
-
89
-
90
-
91
-
92
 |
 |