Dell 962 All In One Photo Printer User's Guide - Page 57
Using Printing Preferences, See More Scan Settings
 |
View all Dell 962 All In One Photo Printer manuals
Add to My Manuals
Save this manual to your list of manuals |
Page 57 highlights
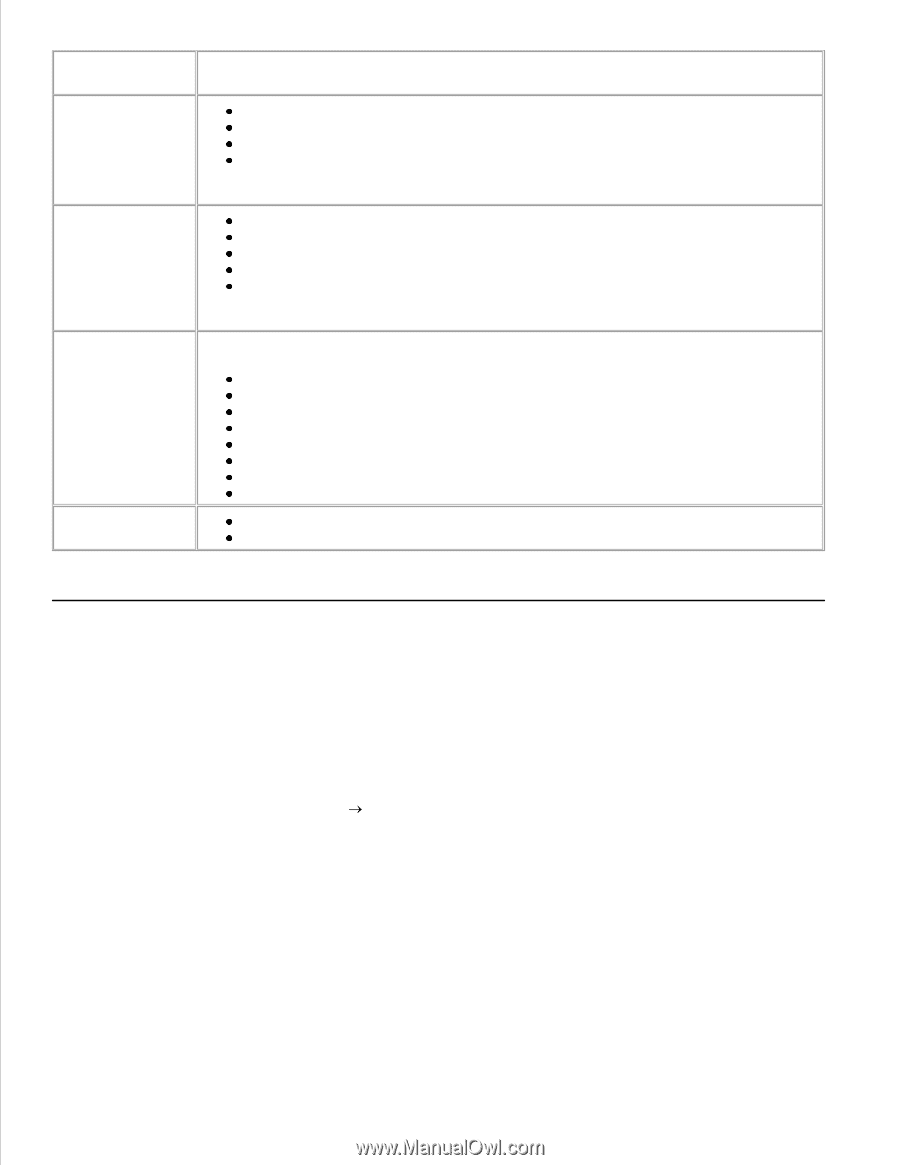
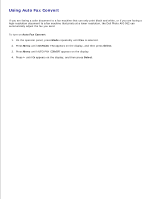
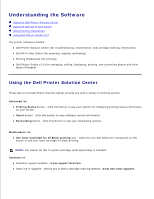
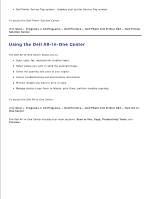
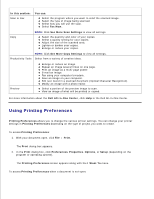
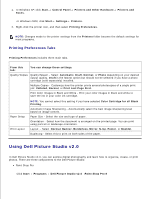
In this section: Scan or Fax You can: Select the program where you want to send the scanned image. Select the type of image being scanned. Select how you will use the scan. Select Fax Now. Copy NOTE: Click See More Scan Settings to view all settings. Select the quantity and color of your copies. Select a quality setting for your copies. Adjust the size of the scanned area. Lighten or darken your copies. Enlarge or reduce your copies. NOTE: Click See More Copy Settings to view all settings. Productivity Tools Select from a variety of creative ideas. Preview Enlarge or reduce an image. Repeat an image several times on one page. Print an image as a multi-page poster. E-mail an image. Fax using your computer's modem. Save an image on your computer. Edit text found in a scanned document (Optical Character Recognition). Modify an image with a photo editor. Select a portion of the preview image to scan. View an image of what will be printed or copied. For more information about the Dell All-In-One Center, click Help in the Dell All-In-One Center. Using Printing Preferences Printing Preferences allows you to change the various printer settings. You can change your printer settings in Printing Preferences depending on the type of project you want to create. To access Printing Preferences: 1. With your document open, click File Print. The Print dialog box appears. 2. In the Print dialog box, click Preferences, Properties, Options, or Setup (depending on the program or operating system). The Printing Preferences screen appears along with the I Want To menu. To access Printing Preferences when a document is not open: 1.
-
 1
1 -
2
-
3
-
4
-
5
-
6
-
7
-
8
-
9
-
10
-
11
-
12
-
13
-
14
-
15
-
16
-
17
-
18
-
19
-
20
-
21
-
22
-
23
-
24
-
25
-
26
-
27
-
28
-
29
-
30
-
31
-
32
-
33
-
34
-
35
-
36
-
37
-
38
-
39
-
40
-
41
-
42
-
43
-
44
-
45
-
46
-
47
-
48
-
49
-
50
-
51
-
 52
52 -
 53
53 -
 54
54 -
 55
55 -
 56
56 -
 57
57 -
 58
58 -
 59
59 -
 60
60 -
 61
61 -
 62
62 -
63
-
64
-
65
-
66
-
67
-
68
-
69
-
70
-
71
-
72
-
73
-
74
-
75
-
76
-
77
-
78
-
79
-
80
-
81
-
82
-
83
-
84
-
85
-
86
-
87
-
88
-
89
-
90
-
91
-
92
 |
 |