Epson 8300NL User Manual - Page 60
Choosing When to Display the Image, Select the screens on which you want your image to appear
 |
UPC - 010343846029
View all Epson 8300NL manuals
Add to My Manuals
Save this manual to your list of manuals |
Page 60 highlights
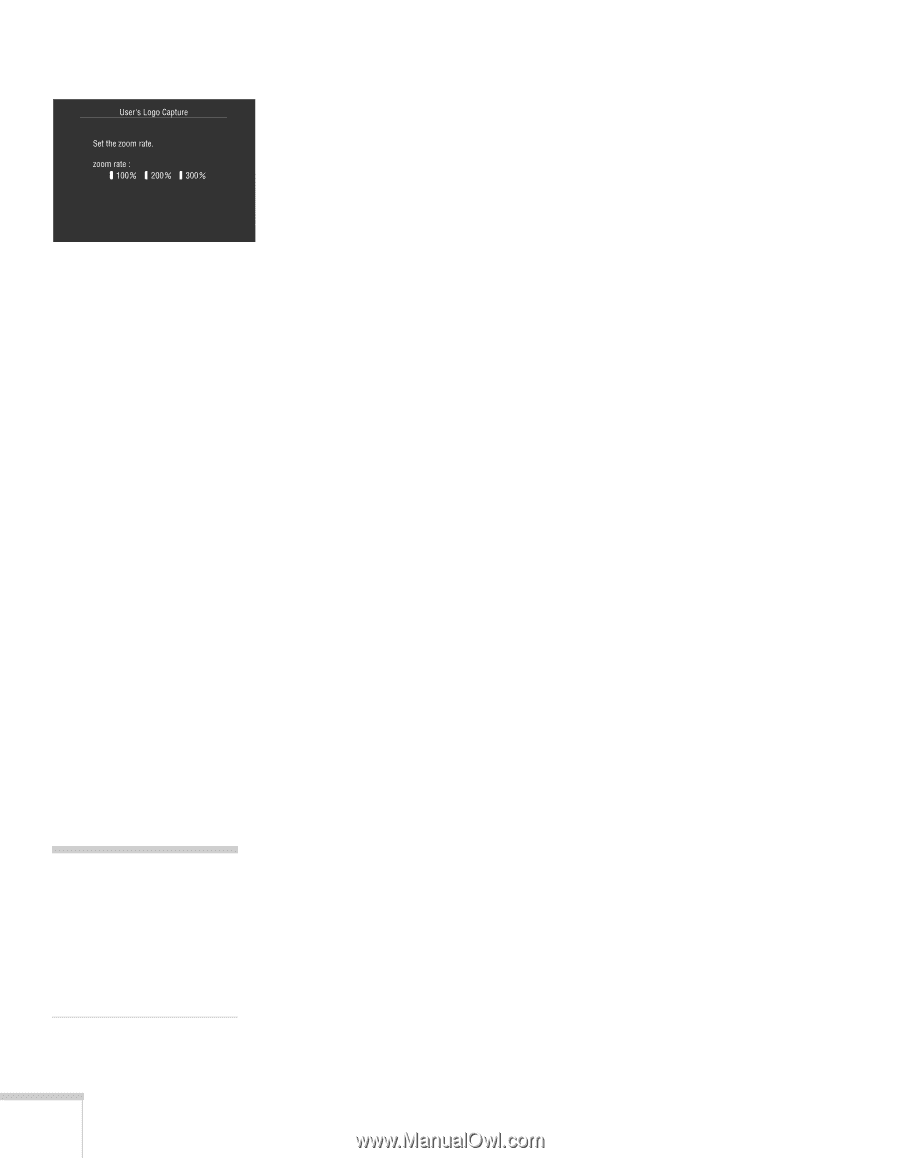
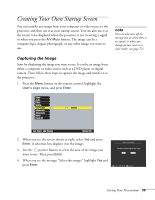
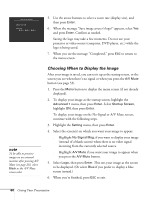
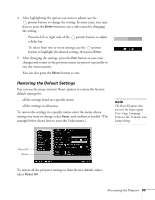
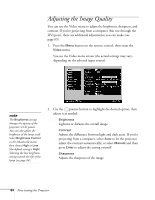
note To be able to preview images on an external monitor after pressing A/V Mute (see page 28), select Black as the A/V Mute screen color. 5. Use the arrow buttons to select a zoom rate (display size), and then press Enter. 6. When the message "Save image as user's logo?" appears, select Yes and press Enter. Confirm as needed. Saving the logo may take a few moments. Do not use your projector or video source (computer, DVD player, etc.) while the logo is being saved. 7. When you see the message "Completed," press ESC to return to the menu screen. Choosing When to Display the Image After your image is saved, you can set it up as the startup screen, or the screen you see when there's no signal or when you press the A/V Mute button (see page 53). 1. Press the Menu button to display the menu screen (if not already displayed). 2. To display your image as the startup screen, highlight the Advanced 1 menu, then press Enter. Select Startup Screen, highlight ON, then press Enter. To display your image on the No-Signal or A/V Mute screen, continue with the following steps. 3. Highlight the Setting menu, then press Enter. 4. Select the screen(s) on which you want your image to appear: ■ Highlight No-Signal Msg. if you want to display your image (instead of a blank screen) when there is no video signal incoming from the currently selected source. ■ Highlight A/V Mute if you want your image to appear when you press the A/V Mute button. 5. Select Logo, then press Enter. This sets your image as the screen to be displayed. (Or select Blue if you prefer to display a blue screen instead.) 6. When you're finished, press ESC to exit. 60 Giving Your Presentation
-
 1
1 -
2
-
3
-
4
-
5
-
6
-
7
-
8
-
9
-
10
-
11
-
12
-
13
-
14
-
15
-
16
-
17
-
18
-
19
-
20
-
21
-
22
-
23
-
24
-
25
-
26
-
27
-
28
-
29
-
30
-
31
-
32
-
33
-
34
-
35
-
36
-
37
-
38
-
39
-
40
-
41
-
42
-
43
-
44
-
45
-
46
-
47
-
48
-
49
-
50
-
51
-
52
-
53
-
54
-
 55
55 -
 56
56 -
 57
57 -
 58
58 -
 59
59 -
 60
60 -
 61
61 -
 62
62 -
 63
63 -
 64
64 -
 65
65 -
66
-
67
-
68
-
69
-
70
-
71
-
72
-
73
-
74
-
75
-
76
-
77
-
78
-
79
-
80
-
81
-
82
-
83
-
84
-
85
-
86
-
87
-
88
-
89
-
90
-
91
-
92
-
93
-
94
-
95
-
96
-
97
-
98
-
99
-
100
-
101
-
102
-
103
-
104
-
105
-
106
-
107
-
108
-
109
-
110
-
111
-
112
-
113
-
114
-
115
-
116
-
117
-
118
-
119
-
120
-
121
-
122
-
123
-
124
-
125
-
126
-
127
-
128
-
129
-
130
-
131
-
132
-
133
-
134
-
135
-
136
-
137
-
138
 |
 |