HP 4100n HP LaserJet 4100 series printers - Getting Started Guide - Page 9
Installation checklist, Step 15: Install the software for network clients optional.. .1-32
 |
View all HP 4100n manuals
Add to My Manuals
Save this manual to your list of manuals |
Page 9 highlights
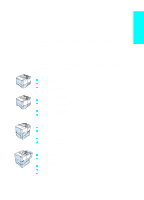
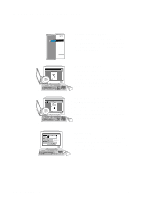
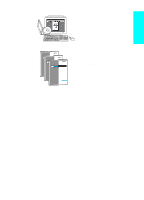
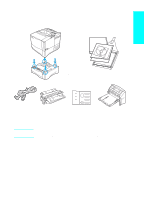
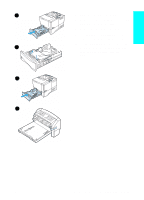
Installation checklist Follow the steps below to set up and install the printer. G Step 1: Check package contents 1-9 G Step 2: Remove internal packaging 1-10 G Step 3: Prepare printer location 1-12 G Step 4: Locate printer parts 1-14 G Step 5: Install accessories 1-16 G Step 6: Install the toner cartridge 1-17 G Step 7: Load trays 1-18 G Step 8: Attach the power cord 1-21 G Step 9: Change the control panel language (optional 1-22 G Step 10: Test the printer 1-23 G Step 11: Connect printer cables 1-24 G Step 12: Install the printing software 1-27 G Step 13: Verify printer setup 1-30 G Step 14: Distribute software to network clients (optional) . . . .1-31 G Step 15: Install the software for network clients (optional). . . .1-32 G Step 16: Access the user documentation 1-33 WARNING! The printer is heavy. We recommend having two people move it. Note To learn about all the features and capabilities of the printer, see the online user guide (available on the CD that came with the printer) and the Help menus (in the printer driver online help). 1-8 Getting Started EN
-
 1
1 -
2
-
3
-
 4
4 -
 5
5 -
 6
6 -
 7
7 -
 8
8 -
 9
9 -
 10
10 -
 11
11 -
 12
12 -
 13
13 -
 14
14 -
15
-
16
-
17
-
18
-
19
-
20
-
21
-
22
-
23
-
24
-
25
-
26
-
27
-
28
-
29
-
30
-
31
-
32
-
33
-
34
-
35
-
36
-
37
-
38
-
39
-
40
-
41
-
42
-
43
-
44
-
45
-
46
-
47
-
48
-
49
-
50
-
51
-
52
-
53
-
54
-
55
-
56
-
57
-
58
-
59
-
60
-
61
-
62
-
63
-
64
-
65
-
66
-
67
-
68
-
69
-
70
-
71
-
72
-
73
-
74
 |
 |
