HP 4500 HP Color LaserJet 4500, 4500 N, 4500 DN Printer - User Guide, C4084-90 - Page 171
Installing DIMMs, To install a DIMM
 |
View all HP 4500 manuals
Add to My Manuals
Save this manual to your list of manuals |
Page 171 highlights
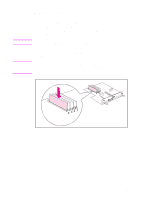
Installing DIMMs 1 2 3 To install a DIMM CAUTION To reduce the possibility of damage caused by static electricity, always wear an electrostatic discharge (ESD) wrist strap or touch the surface of the antistatic package before handling DIMMs. When handling the formatter board, wear an antistatic wrist strap or frequently touch bare metal on the printer. 1 Turn the printer off and wait for the fans to stop. CAUTION Wait for the printer's fans to turn off before unplugging the printer. 2 Disconnect all power and interface cables. 3 Locate the formatter board in the upper-left corner of the rear of the printer and loosen the two screws. EN Appendix A 171
-
 1
1 -
2
-
3
-
4
-
5
-
6
-
7
-
8
-
9
-
10
-
11
-
12
-
13
-
14
-
15
-
16
-
17
-
18
-
19
-
20
-
21
-
22
-
23
-
24
-
25
-
26
-
27
-
28
-
29
-
30
-
31
-
32
-
33
-
34
-
35
-
36
-
37
-
38
-
39
-
40
-
41
-
42
-
43
-
44
-
45
-
46
-
47
-
48
-
49
-
50
-
51
-
52
-
53
-
54
-
55
-
56
-
57
-
58
-
59
-
60
-
61
-
62
-
63
-
64
-
65
-
66
-
67
-
68
-
69
-
70
-
71
-
72
-
73
-
74
-
75
-
76
-
77
-
78
-
79
-
80
-
81
-
82
-
83
-
84
-
85
-
86
-
87
-
88
-
89
-
90
-
91
-
92
-
93
-
94
-
95
-
96
-
97
-
98
-
99
-
100
-
101
-
102
-
103
-
104
-
105
-
106
-
107
-
108
-
109
-
110
-
111
-
112
-
113
-
114
-
115
-
116
-
117
-
118
-
119
-
120
-
121
-
122
-
123
-
124
-
125
-
126
-
127
-
128
-
129
-
130
-
131
-
132
-
133
-
134
-
135
-
136
-
137
-
138
-
139
-
140
-
141
-
142
-
143
-
144
-
145
-
146
-
147
-
148
-
149
-
150
-
151
-
152
-
153
-
154
-
155
-
156
-
157
-
158
-
159
-
160
-
161
-
162
-
163
-
164
-
165
-
 166
166 -
 167
167 -
 168
168 -
 169
169 -
 170
170 -
 171
171 -
 172
172 -
 173
173 -
 174
174 -
 175
175 -
 176
176 -
177
-
178
-
179
-
180
-
181
-
182
-
183
-
184
-
185
-
186
-
187
-
188
-
189
-
190
-
191
-
192
-
193
-
194
-
195
-
196
-
197
-
198
-
199
-
200
-
201
-
202
-
203
-
204
-
205
-
206
-
207
-
208
-
209
-
210
-
211
-
212
-
213
-
214
-
215
-
216
-
217
-
218
-
219
-
220
 |
 |
EN
Appendix A
171
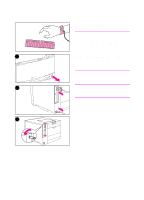
Installing DIMMs
To install a DIMM
CAUTION
To reduce the possibility of damage
caused by static electricity, always wear
an electrostatic discharge (ESD) wrist
strap or touch the surface of the
antistatic package before handling
DIMMs. When handling the formatter
board, wear an antistatic wrist strap or
frequently touch bare metal on the
printer.
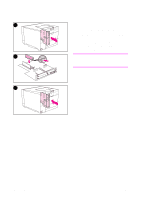
1
Turn the printer off and wait for the
fans to stop.
CAUTION
Wait for the printer’s fans to turn off
before unplugging the printer.
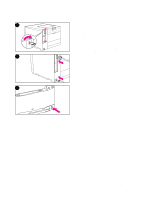
2
Disconnect all power and interface
cables.
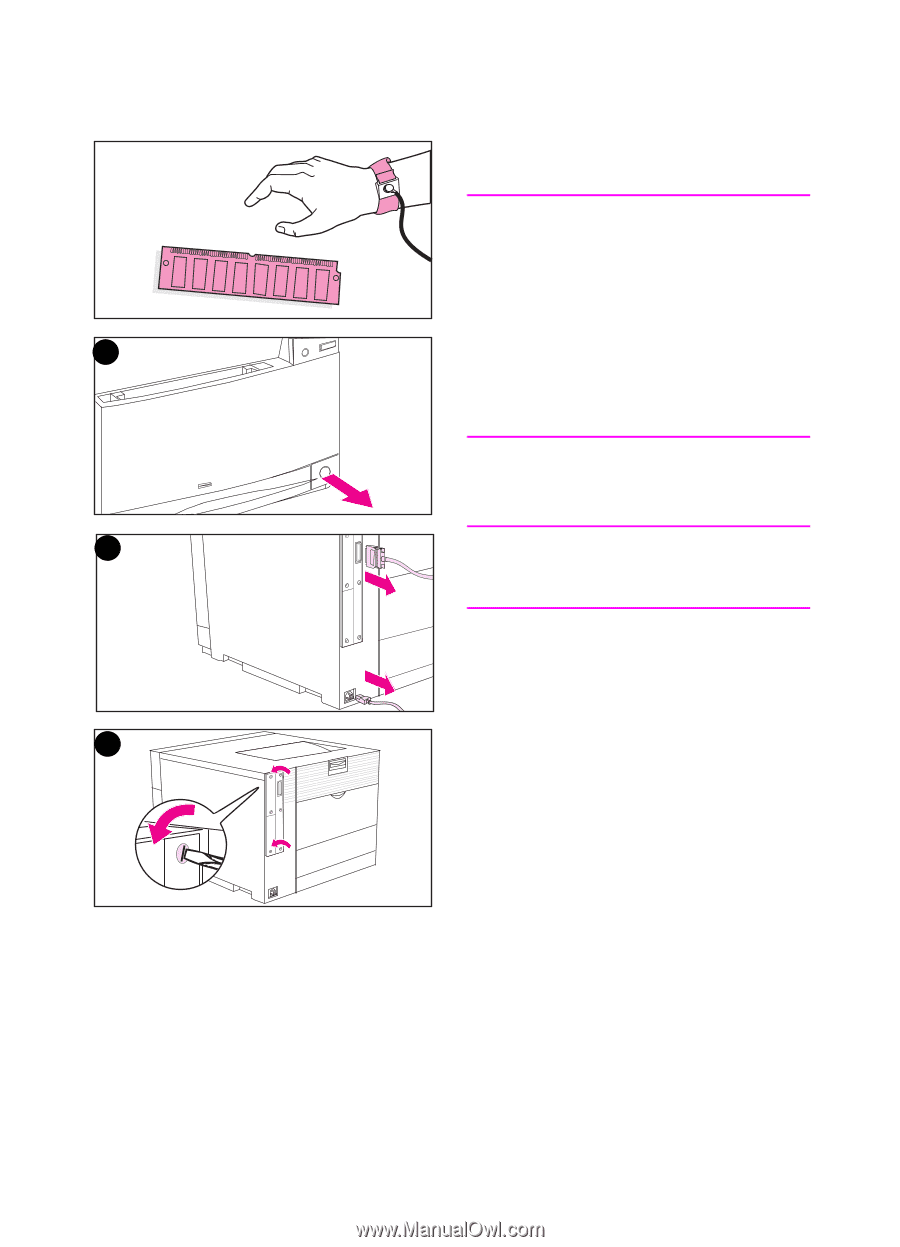
3
Locate the formatter board in the
upper-left corner of the rear of the
printer and loosen the two screws.
1
2
3