HP Officejet Pro 8100 User Guide - Page 25
Con trays, Tray Lock, Default Tray - installation
 |
View all HP Officejet Pro 8100 manuals
Add to My Manuals
Save this manual to your list of manuals |
Page 25 highlights
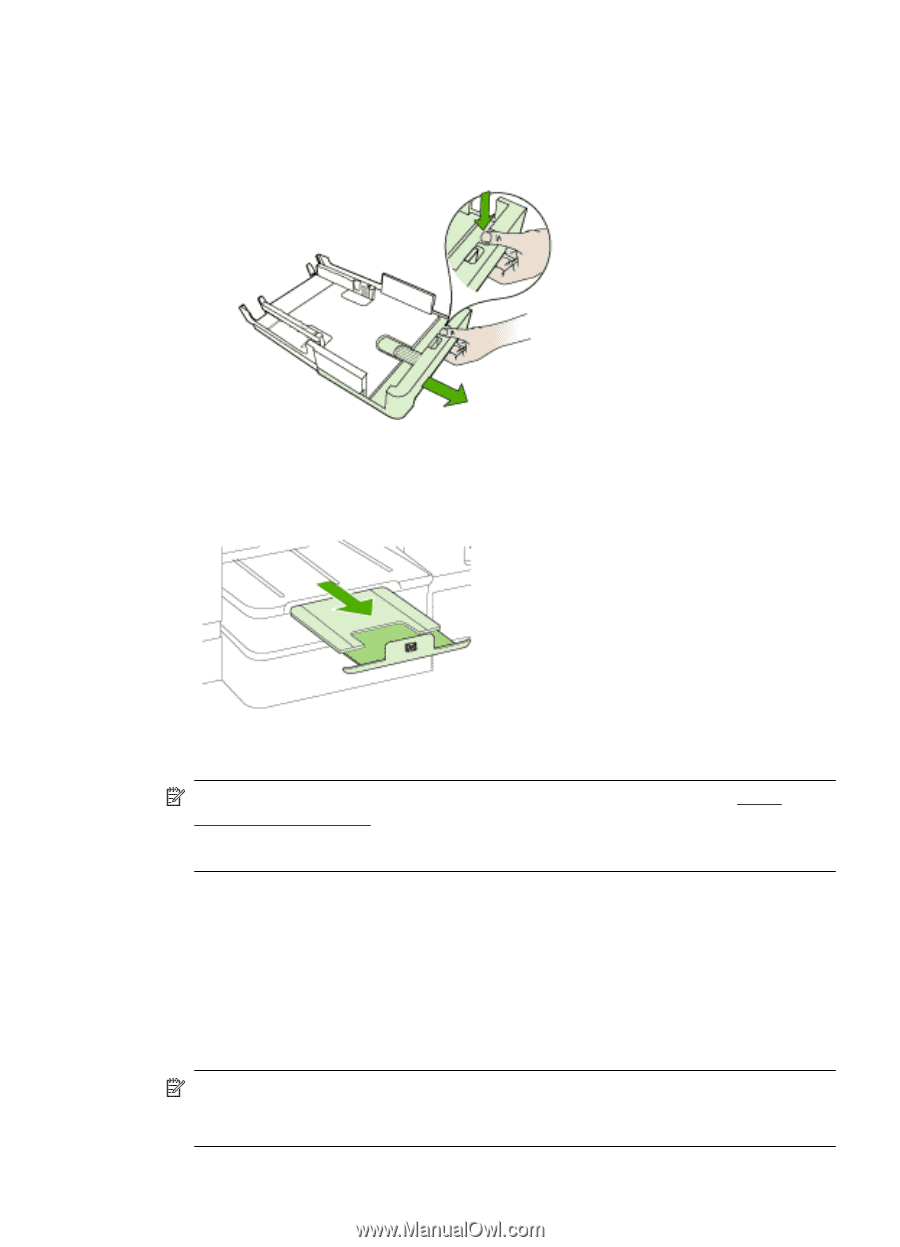
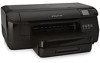
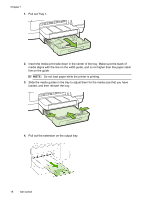
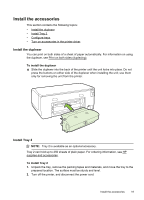
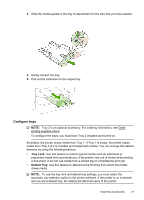
3. Slide the media guides in the tray to adjust them for the size that you have loaded. 4. Gently reinsert the tray. 5. Pull out the extension on the output tray. Configure trays NOTE: Tray 2 is an optional accessory. For ordering information, see Order printing supplies online. To configure the trays, you must have Tray 2 installed and turned on. By default, the printer draws media from Tray 1. If Tray 1 is empty, the printer draws media from Tray 2 (if it is installed and loaded with media). You can change this default behavior by using the following features: • Tray Lock: Use this feature to protect special media such as letterhead or preprinted media from accidental use. If the printer runs out of media while printing a document, it will not use media from a locked tray to complete the print job. • Default Tray: Use this feature to determine the first tray from which the printer draws media. NOTE: To use the tray lock and default tray settings, you must select the automatic tray selection option in the printer software. If the printer is on a network and you set a default tray, the setting will affect all users of the printer. Install the accessories 21
-
 1
1 -
2
-
3
-
4
-
5
-
6
-
7
-
8
-
9
-
10
-
11
-
12
-
13
-
14
-
15
-
16
-
17
-
18
-
19
-
 20
20 -
 21
21 -
 22
22 -
 23
23 -
 24
24 -
 25
25 -
 26
26 -
 27
27 -
 28
28 -
 29
29 -
 30
30 -
31
-
32
-
33
-
34
-
35
-
36
-
37
-
38
-
39
-
40
-
41
-
42
-
43
-
44
-
45
-
46
-
47
-
48
-
49
-
50
-
51
-
52
-
53
-
54
-
55
-
56
-
57
-
58
-
59
-
60
-
61
-
62
-
63
-
64
-
65
-
66
-
67
-
68
-
69
-
70
-
71
-
72
-
73
-
74
-
75
-
76
-
77
-
78
-
79
-
80
-
81
-
82
-
83
-
84
-
85
-
86
-
87
-
88
-
89
-
90
-
91
-
92
-
93
-
94
-
95
-
96
-
97
-
98
-
99
-
100
-
101
-
102
-
103
-
104
-
105
-
106
-
107
-
108
-
109
-
110
-
111
-
112
-
113
-
114
-
115
-
116
-
117
-
118
-
119
-
120
-
121
-
122
-
123
-
124
-
125
-
126
-
127
-
128
-
129
-
130
-
131
-
132
-
133
-
134
-
135
-
136
-
137
-
138
-
139
-
140
-
141
-
142
-
143
-
144
-
145
-
146
 |
 |